Missing or poorly executed kick-out flashing
This is one of the biggest culprits.
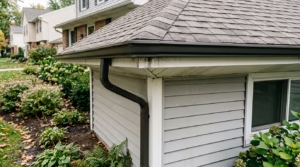
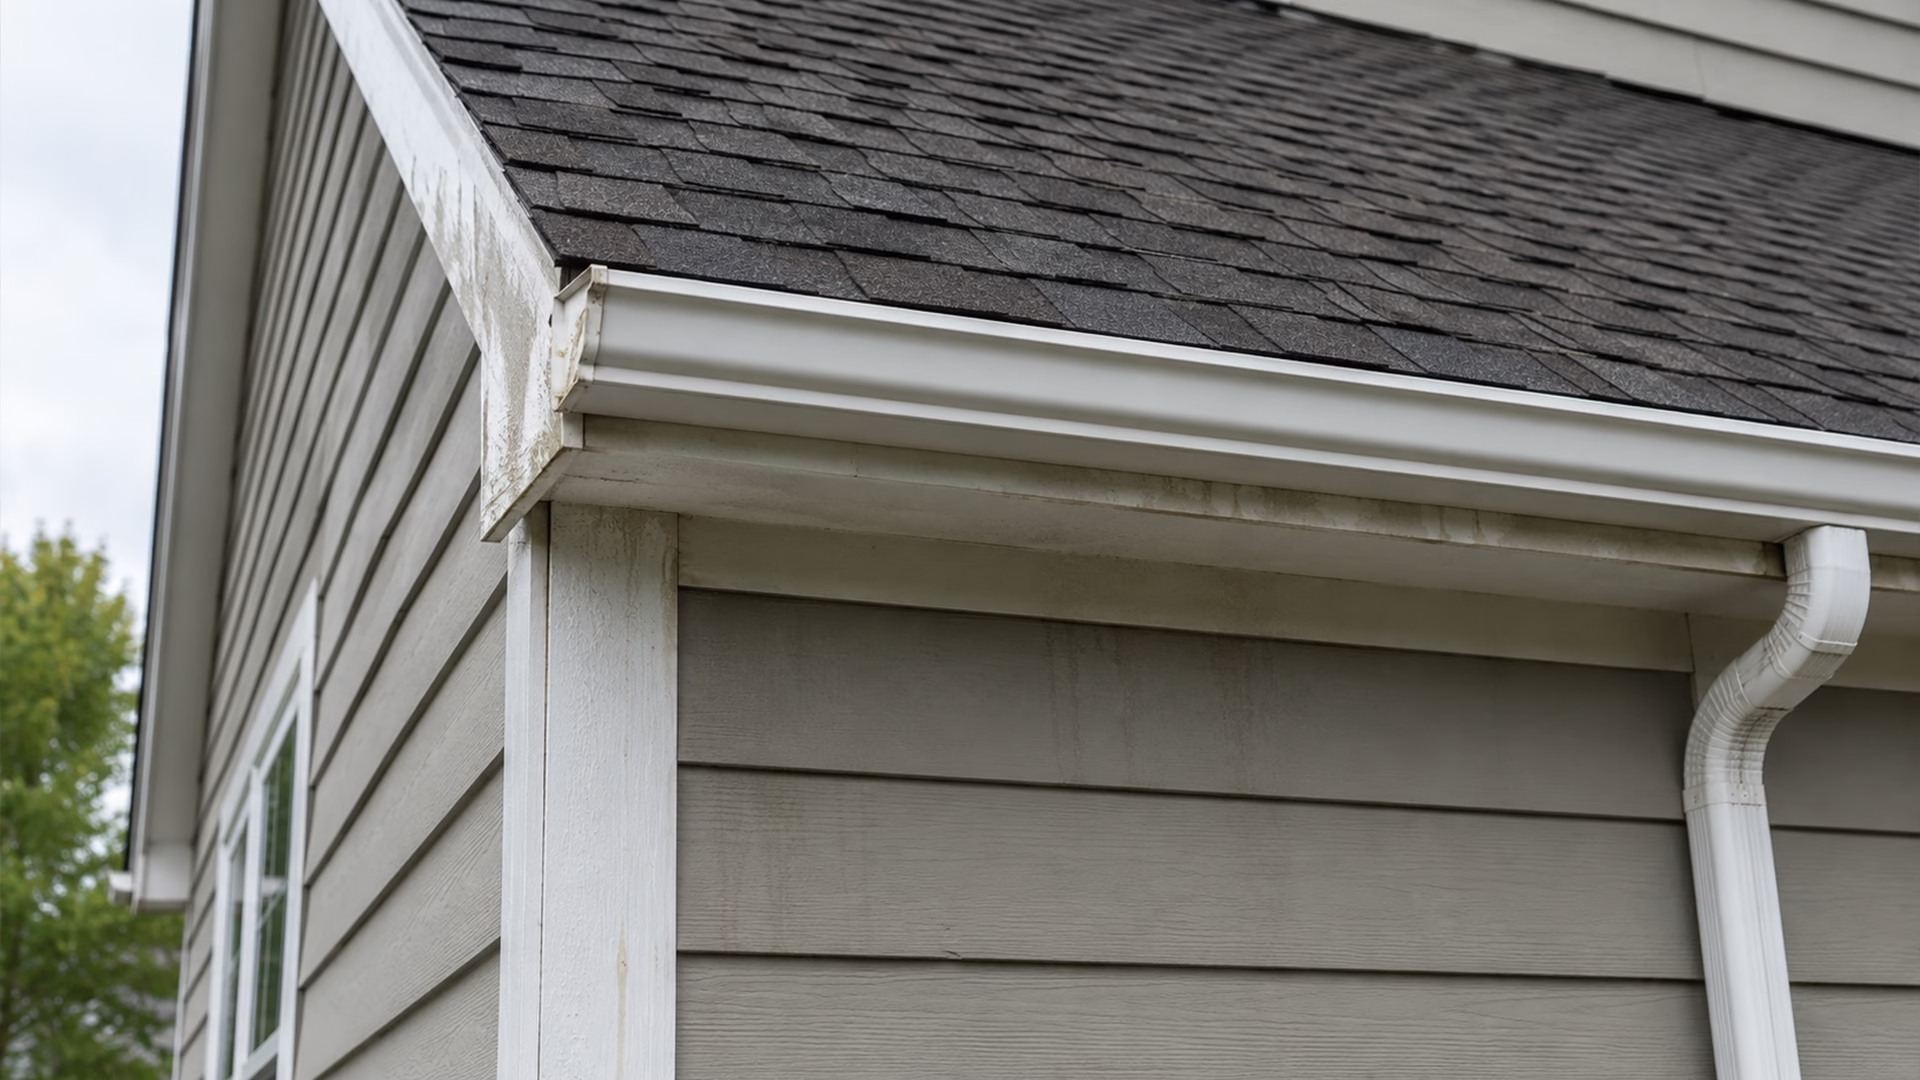
At the bottom of a roof-to-wall intersection, a kick-out flashing is supposed to throw water away from the wall and into the gutter or away from the siding surface. Building Science calls it a critical component of step flashing and says it prevents roof runoff from concentrating on the adjoining wall. When it is missing, the wall becomes the water target.
Bad step flashing or roof-to-wall flashing integration
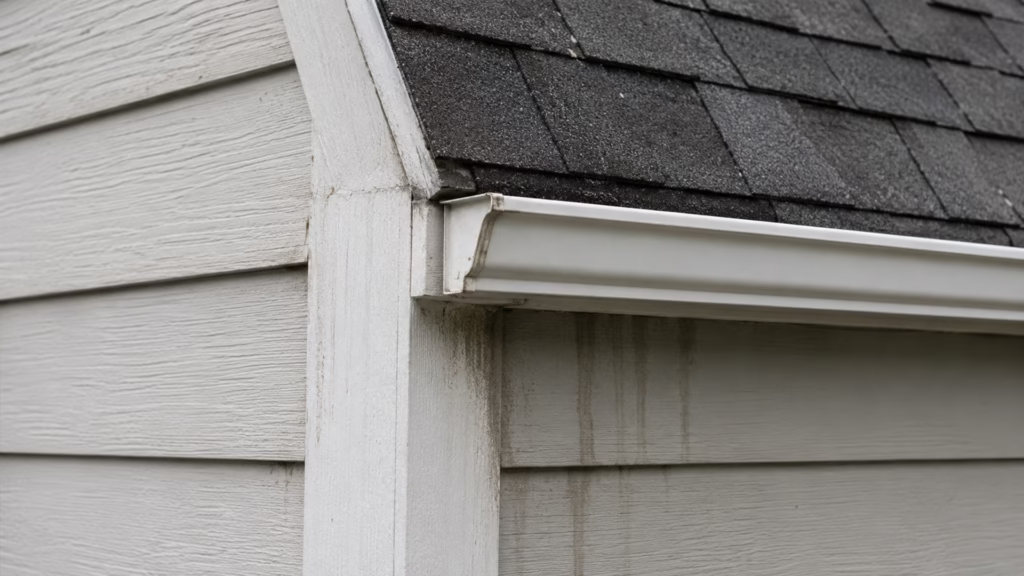
If the flashing layers are not lapped correctly into the wall drainage plane, water can move behind the siding instead of safely back out. Building Science’s flashing guidance says flashings must follow the basic rule of “down and out” and must direct water out over the cladding or drainage plane without openings that send water back into the wall.
Not enough clearance between the siding and the roof
This one gets ignored a lot.
If the siding or trim sits too close to shingles, water, debris, and snow can keep that lower edge wet. James Hardie’s installation instructions require a 2-inch minimum clearance between roofing and the bottom edge of siding and trim at roof-to-wall junctions. When that clearance is missing, the assembly gets less forgiving.
Gutters or roof drainage problems
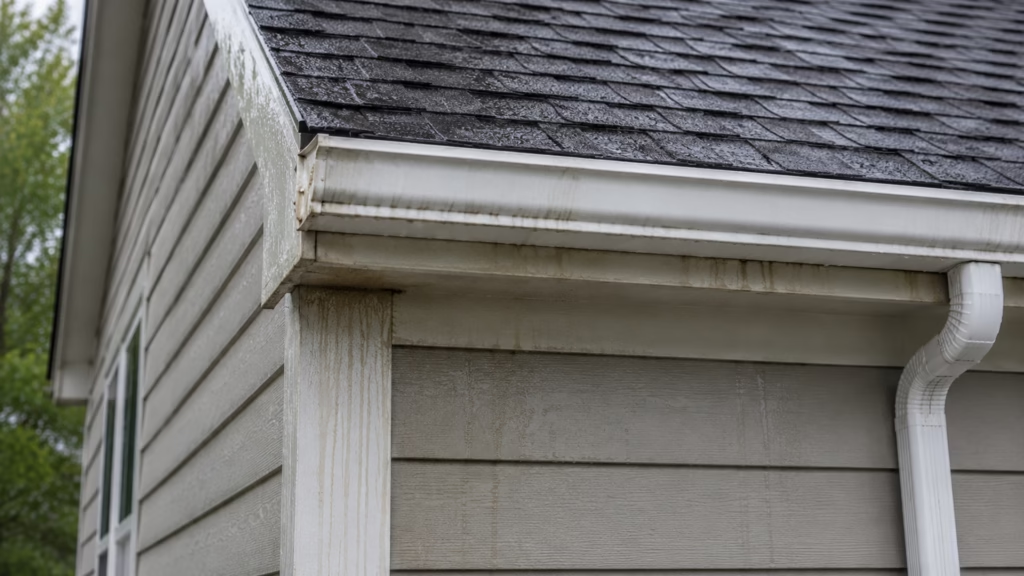
If runoff is overshooting, backing up, or dumping too hard near the wall, the same area gets hammered repeatedly. Building Science’s guidance on “mind the drip” shows how even minor-looking details that dump roof runoff onto a wall can have major effects on wetting and cladding deterioration.
A wall system that cannot drain or dry well
Even good-looking siding is not supposed to be the only rain defense.
Building Science explains that durable water-managed walls use a drainage plane, flashings, and some drainage space so water that gets behind the cladding has a way to get back out. EPA’s moisture-control guidance makes the same basic point from a broader building perspective: the building envelope should not only resist moisture entry, but also allow moisture that does get in to escape.
Why It Gets Missed
Roofline rot gets missed because the visible damage is easy to misread.
Homeowners see peeling paint and think paint problem. They see a soft corner and think bad board. They see a failed caulk joint and think they need more caulk. But water problems are often harder to diagnose because water moves, changes form, and shows up where it is easiest to notice, not necessarily where it first got in. Building Science’s moisture-diagnosis guidance says investigating water problems is challenging precisely because water changes form and must be tracked by “thinking like water.”
It also gets missed because repairs often focus on the surface instead of the geometry. A fresh board or new caulk may make the area look better for a while, but if the roof runoff is still being concentrated on that same wall, the damage usually comes back with the same bad attitude and a bigger invoice.
What Can Happen If Ignored
Ignoring roofline rot rarely keeps it small.
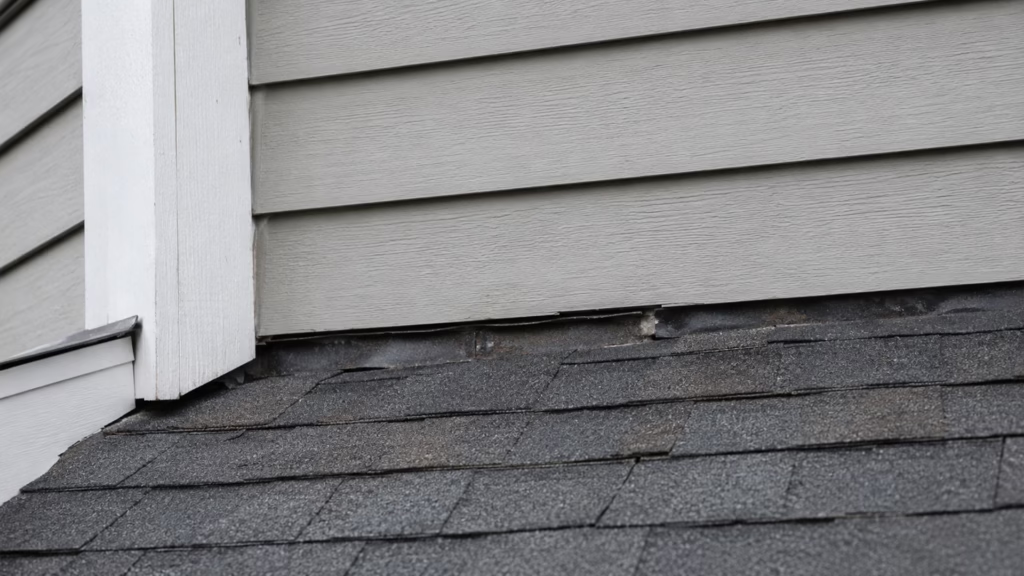
Repeated wetting can lead to trim decay, sheathing damage, paint failure, hidden moisture in the wall assembly, and broader deterioration around the opening or transition. EPA’s moisture-control guidance warns that uncontrolled moisture can damage materials and that rainwater entry into building enclosures needs to be controlled. USDA’s wood-decay guidance also makes clear that prolonged wetting is what lets decay fungi do their work.
The visible siding damage is often just the earliest part you can see. The more expensive part may be behind it.
Repair vs. Replace
When repair may make sense
A focused repair can make sense when the damage is truly localized and the water source can be corrected at the same time.
That usually means the affected siding or trim area is limited, the surrounding materials are still sound, and the fix includes the actual cause, such as flashing correction, better drainage, or proper clearance. A cosmetic board swap without correcting the water path is not a repair. It is a timeout.
When replacement is the smarter call
Replacement starts making more sense when the damage is spreading, the surrounding materials show repeated wetting, or the wall details suggest a broader failure pattern.
If the roof-to-wall intersection was wrong, the siding was installed too close to the roof, the drainage plane is compromised, or multiple materials around that area are deteriorating, broader replacement is often the more honest option. Building Science warns that one reverse lap or one unflashed penetration can ruin a wall, which is a pretty good reminder that small visible damage can sit on top of a bigger detailing problem.
When temporary stabilization is the honest answer
Sometimes the right move is to stabilize the area and plan the correct repair once the full water path is understood.
That is especially true when the damage suggests a larger roofline, gutter, or wall-system problem and you do not want to perform a “repair” that just inherits a broken assembly.
What a Proper Evaluation Should Check
A proper evaluation should not stop at the rotted board.
It should check:
- Whether a kick-out flashing is present and doing its job
- Whether step flashing is integrated correctly with the roof and wall
- Whether the siding and trim have proper roof clearance
- Whether the gutter is catching and moving runoff correctly
- Whether staining or moisture patterns continue below the visible damage
- Whether the wall behind the cladding has drainage and drying potential
- Whether nearby trim, fascia, sheathing, or framing show signs of repeated wetting
- Whether the visible damage is isolated or part of a broader roof-to-wall failure pattern
That is how you figure out whether the siding failed, or whether the wall kept getting fed water until the siding finally gave up.
The Bottom Line
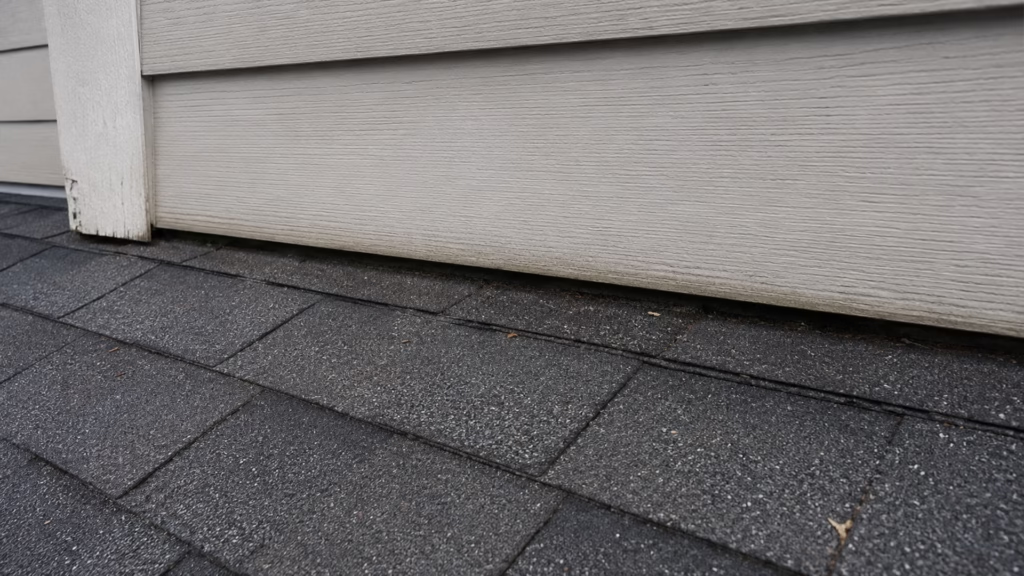
Siding near the roofline usually does not rot because that spot got unlucky.
It rots because water keeps getting concentrated there, and the assembly is not managing that water correctly. The most common reasons are missing kick-out flashing, bad roof-to-wall flashing, poor siding-to-roof clearance, and wall systems that are not draining or drying the way they should.
The smart question is not just, “How do we replace this damaged piece?” It is, “Why does this area keep getting wet?” That question usually leads to the real fix.