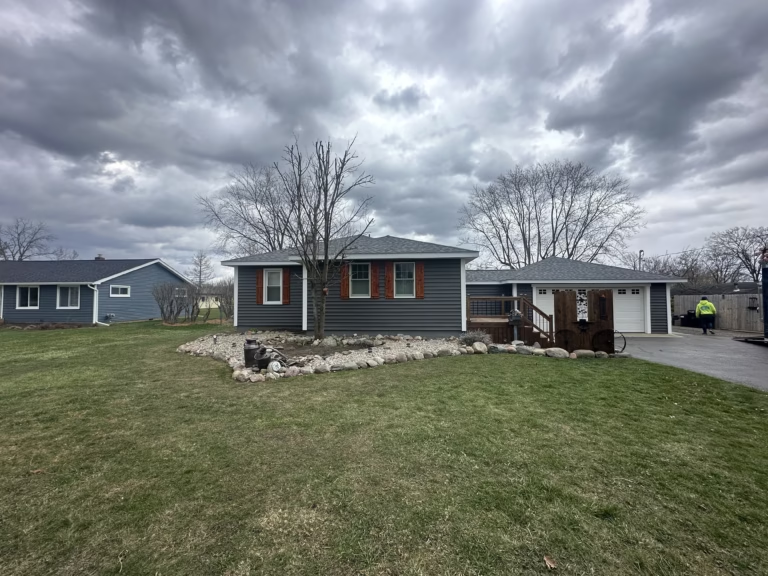
Birmingham, Michigan
Project Overview
The Clein family reached out after the fiber cement-style siding on their Birmingham ranch began failing only about seven years after installation. One panel had already fallen completely from the home, and several others were loose, brittle, or beginning to pull away.
A single repair might have covered the most obvious opening, but it would not have corrected the widespread installation and material issues across the exterior. After evaluating the home, the project shifted from patching isolated panels to rebuilding the siding system properly.
Temporary repairs were completed first to secure loose siding and protect the home until the full renovation could begin.
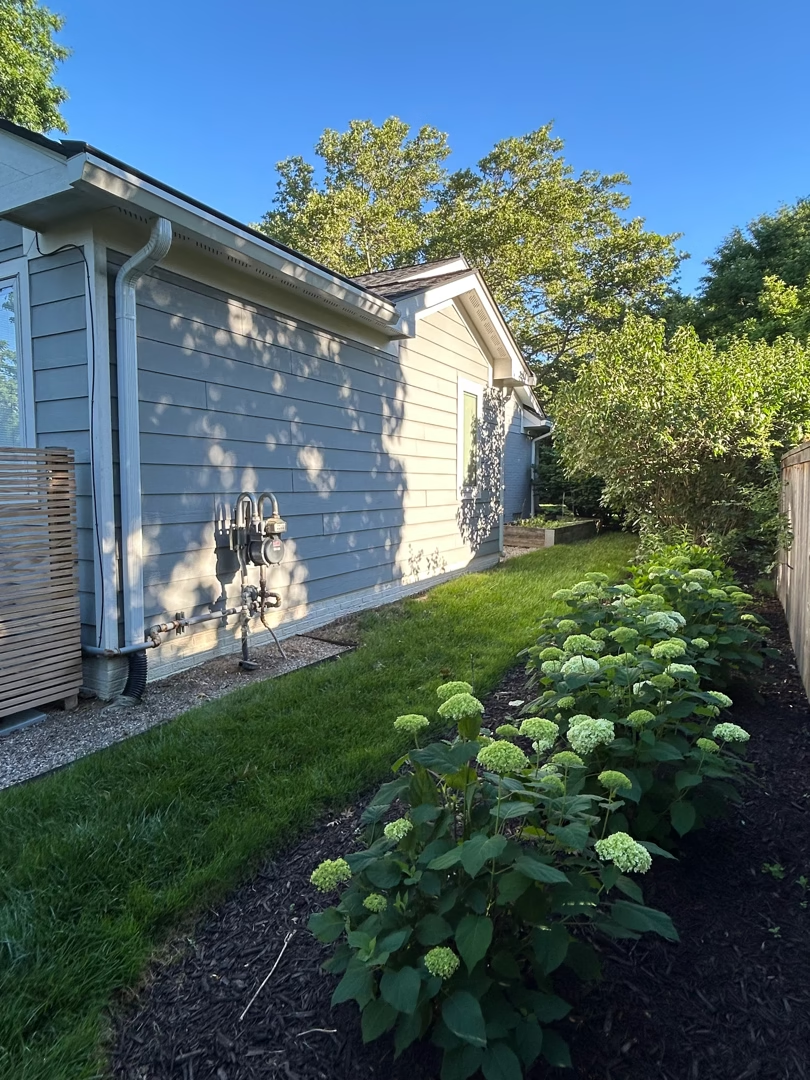
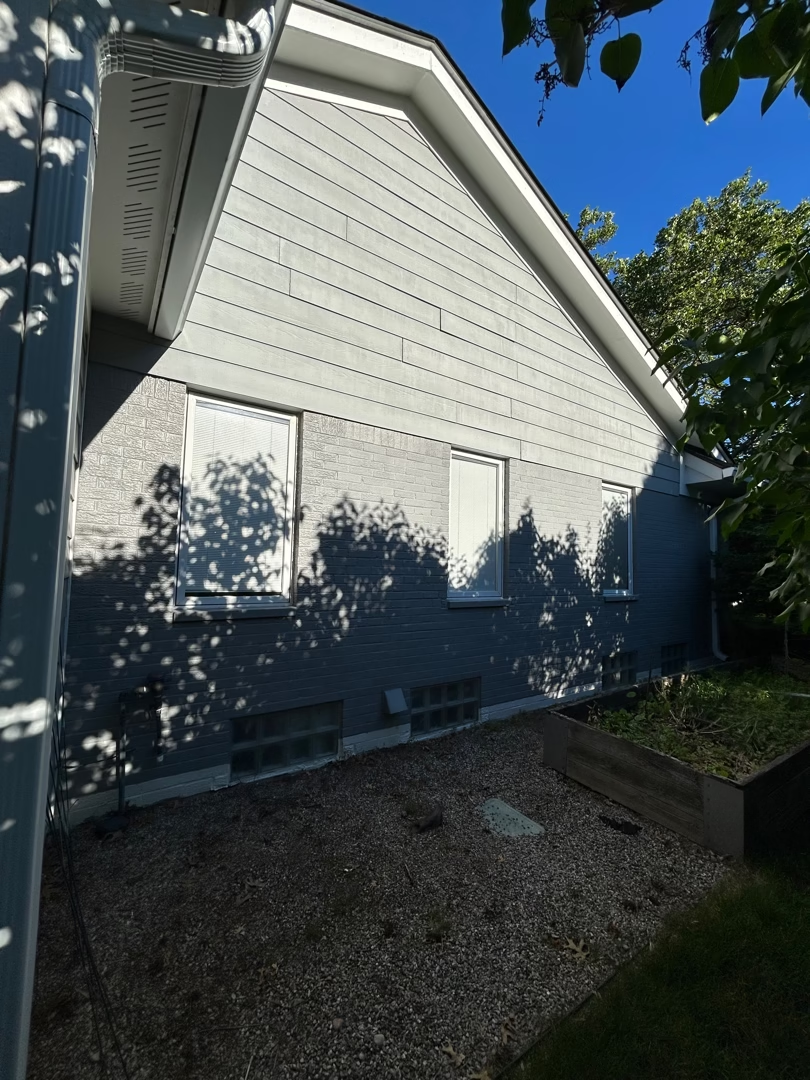
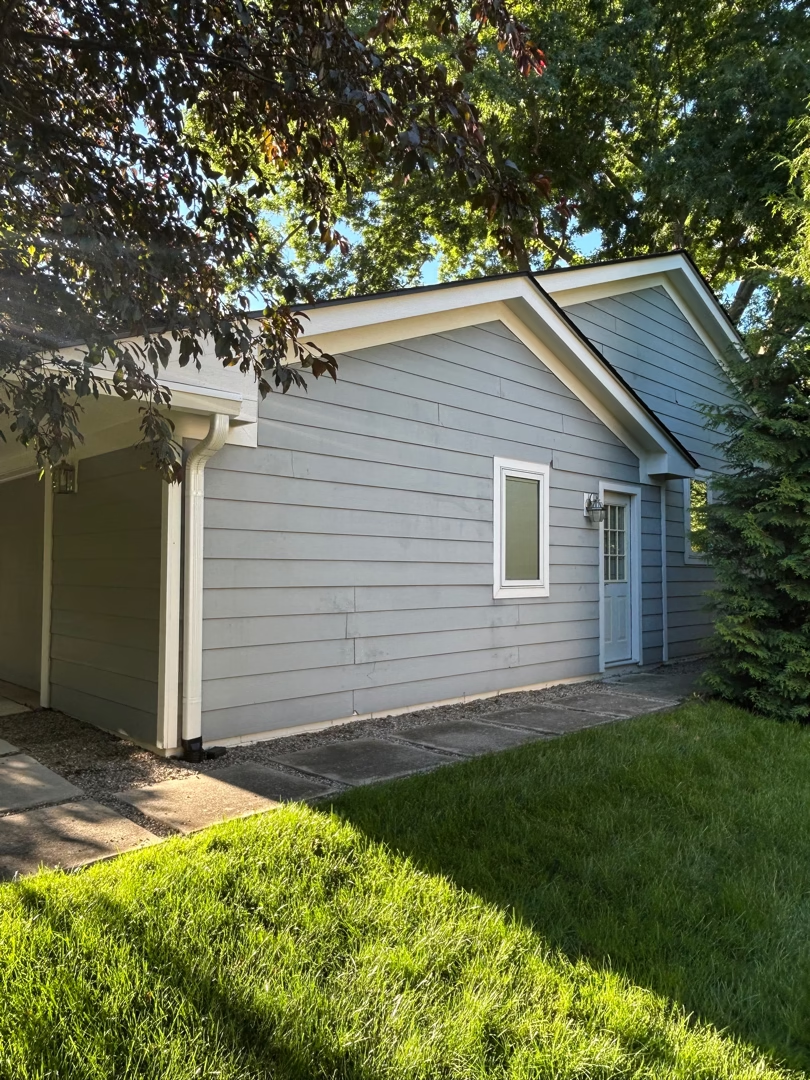
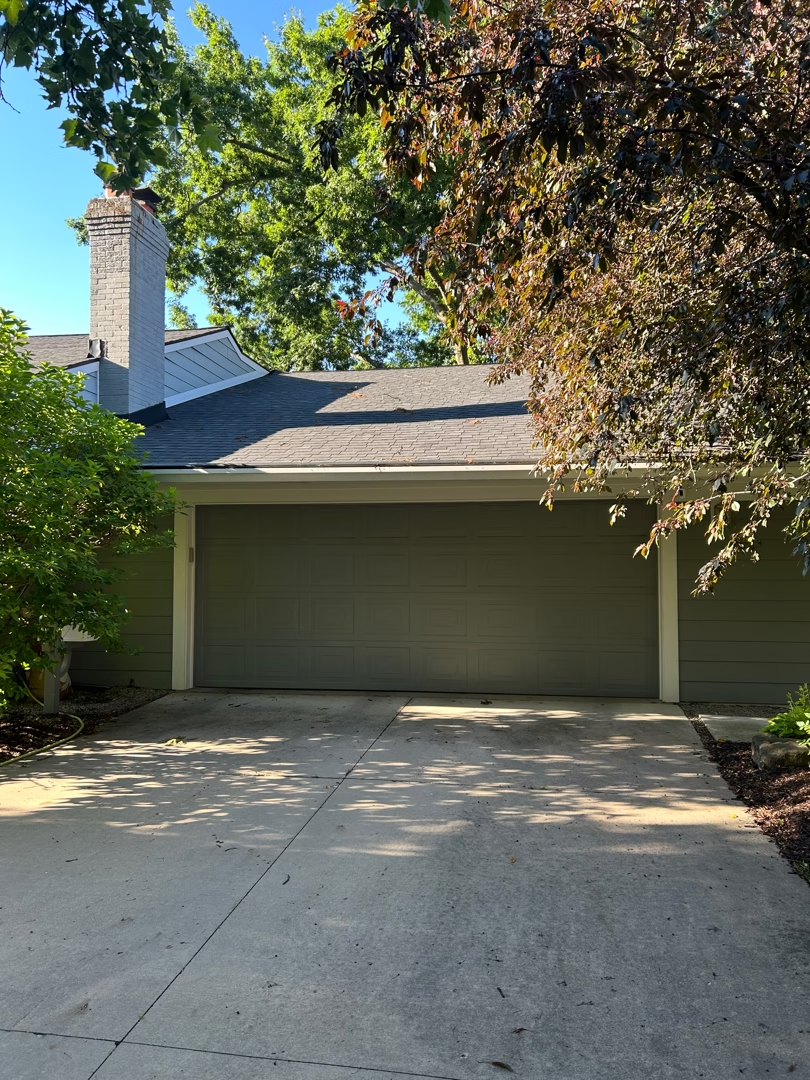
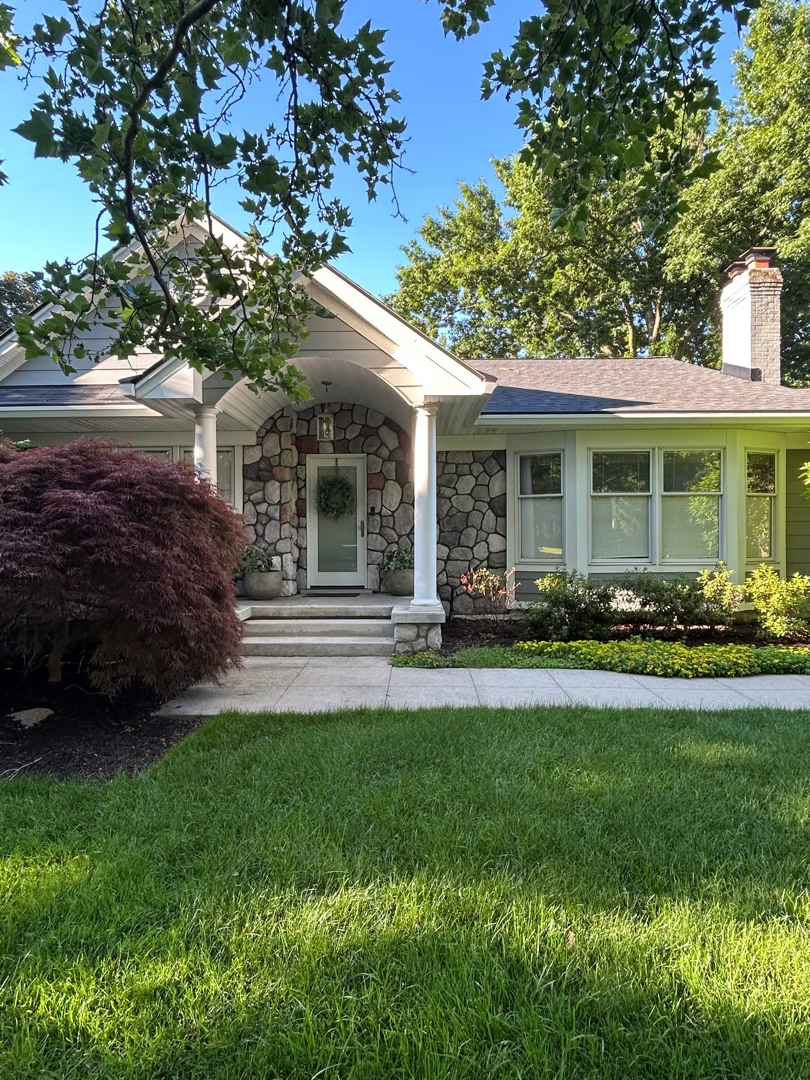
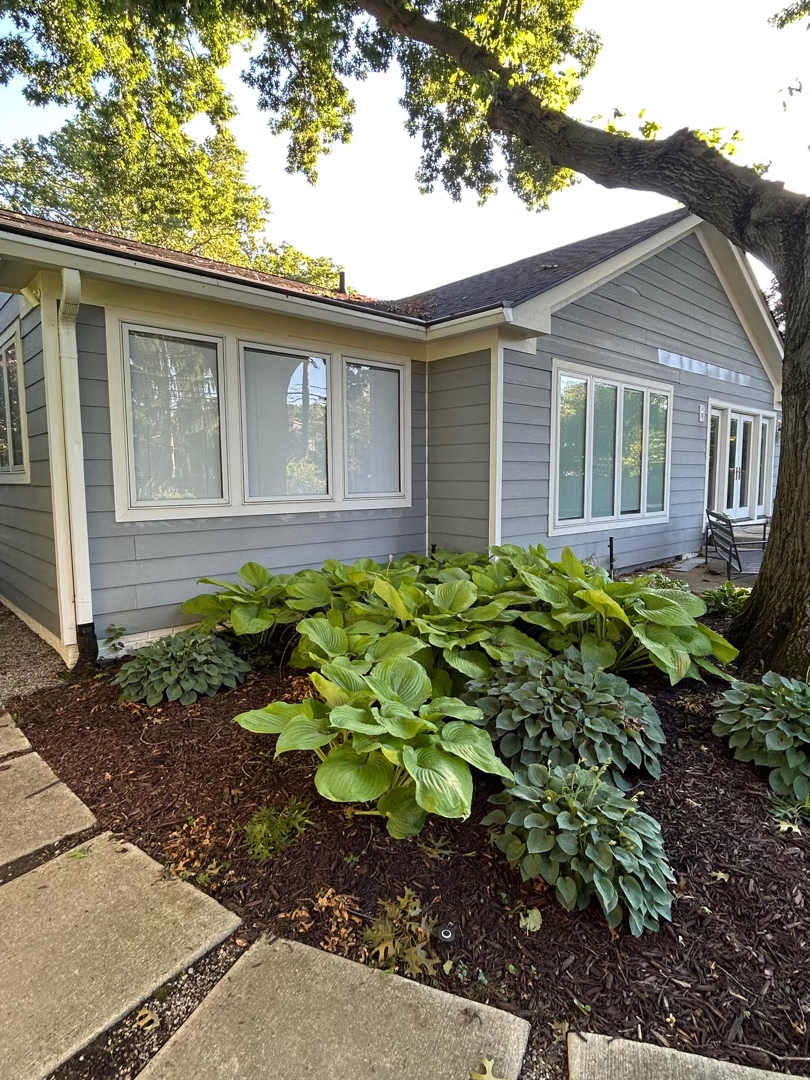
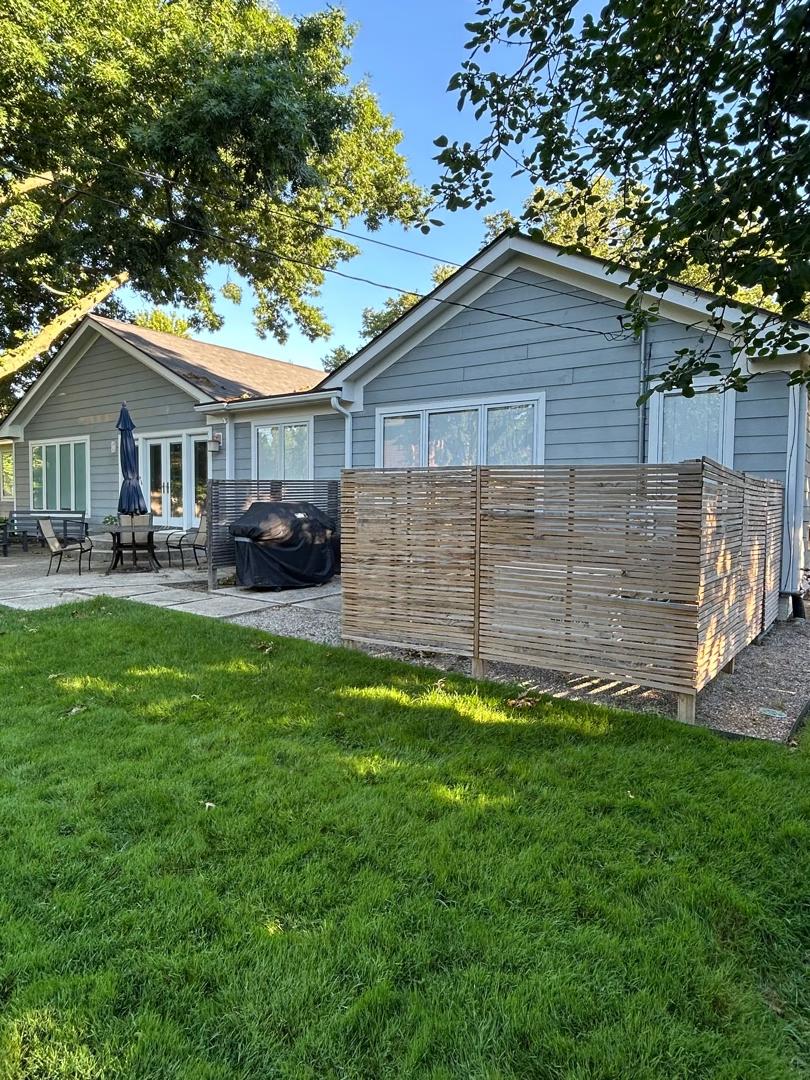
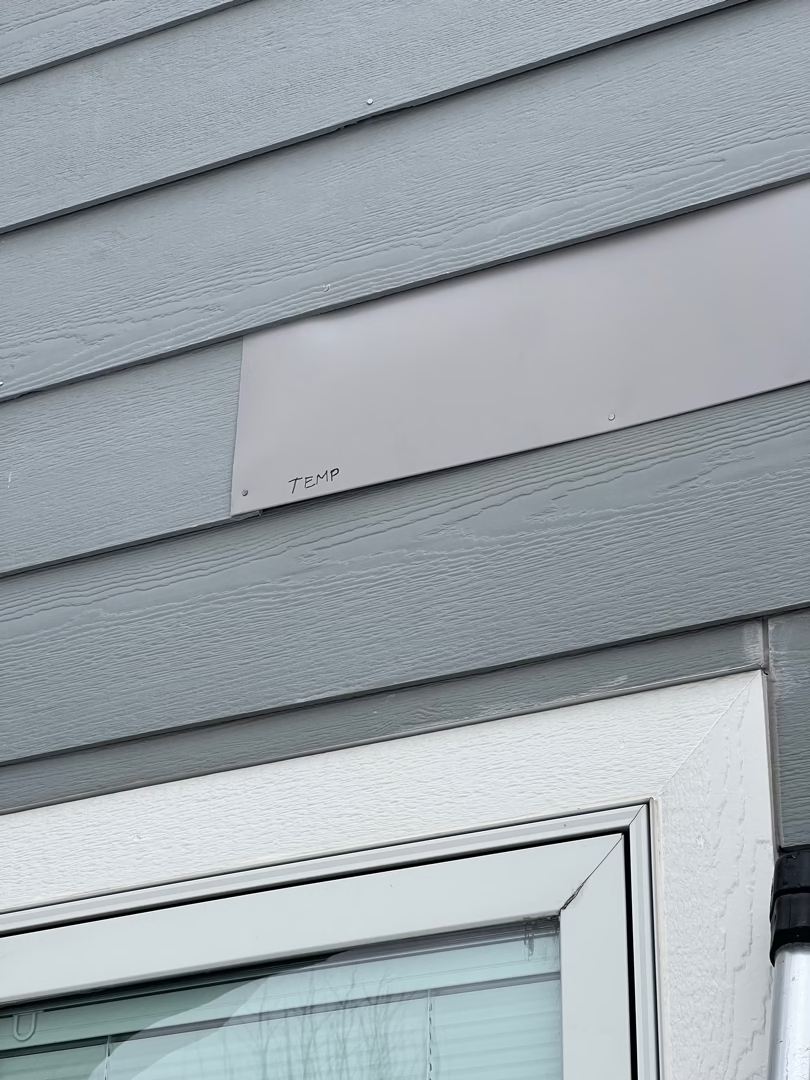
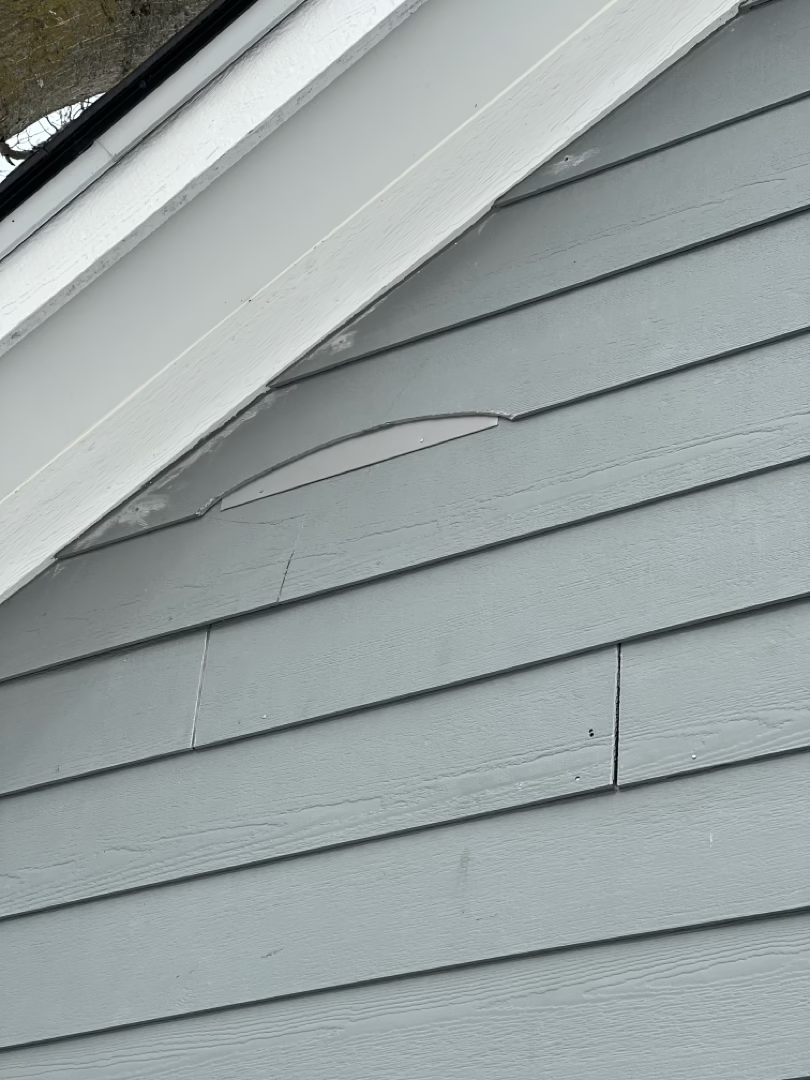
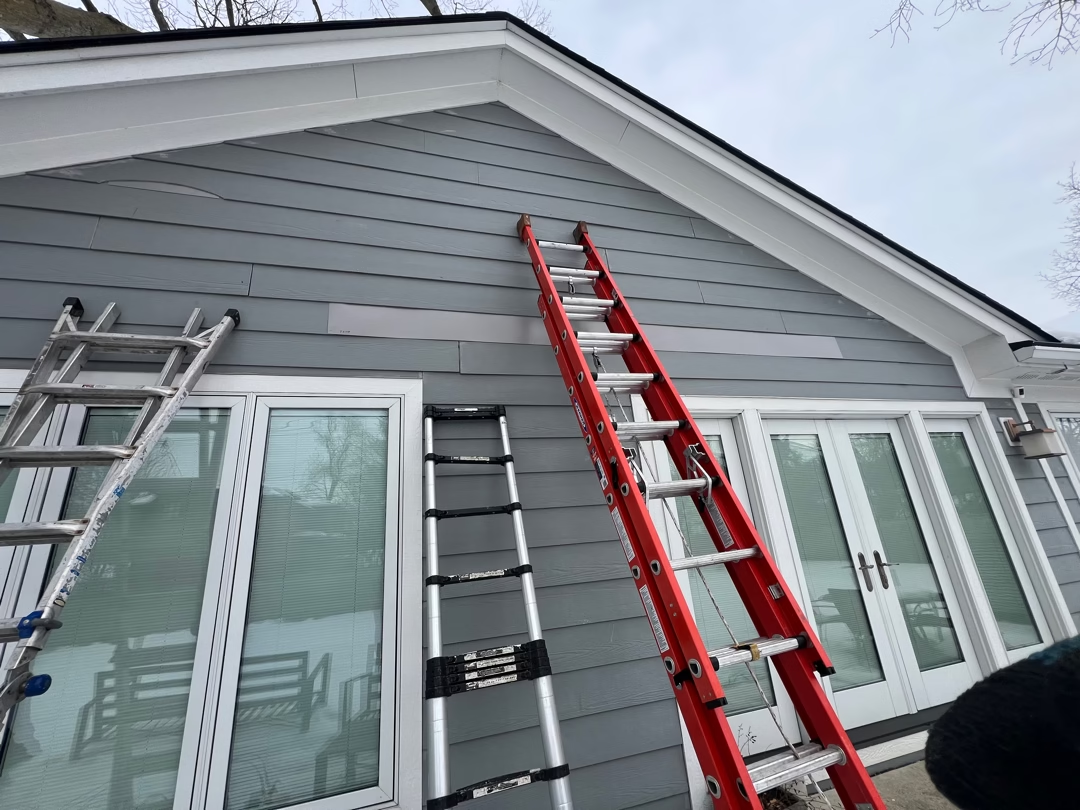
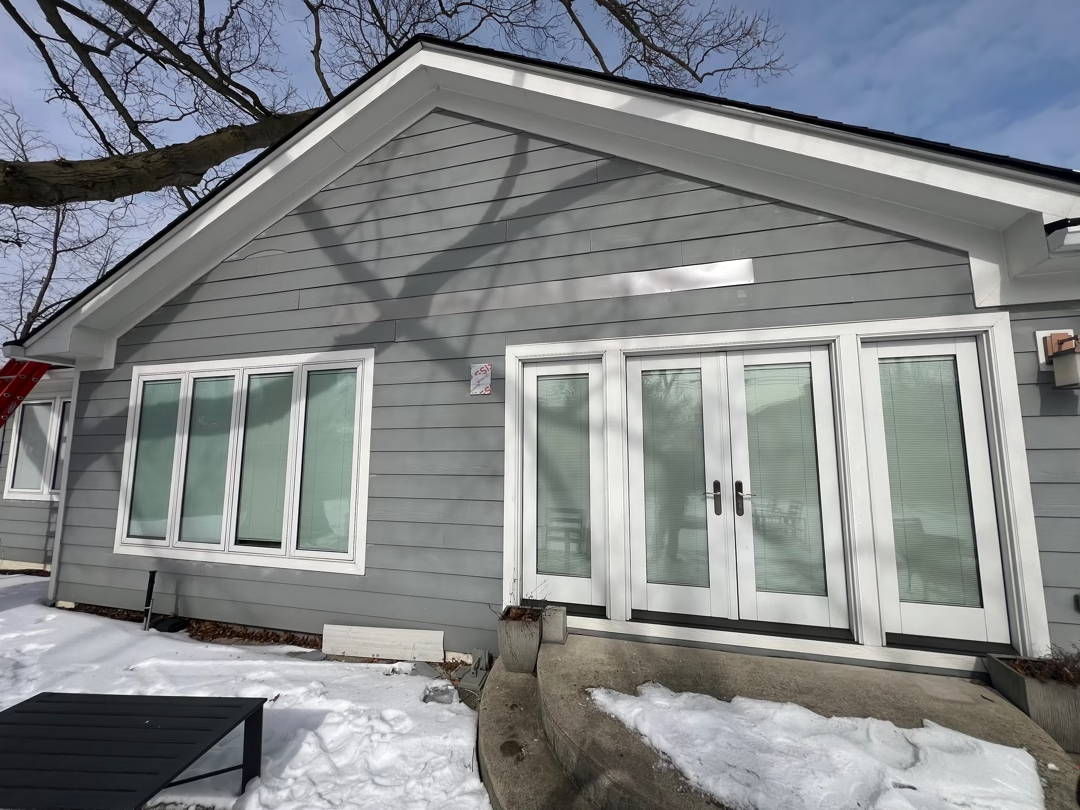
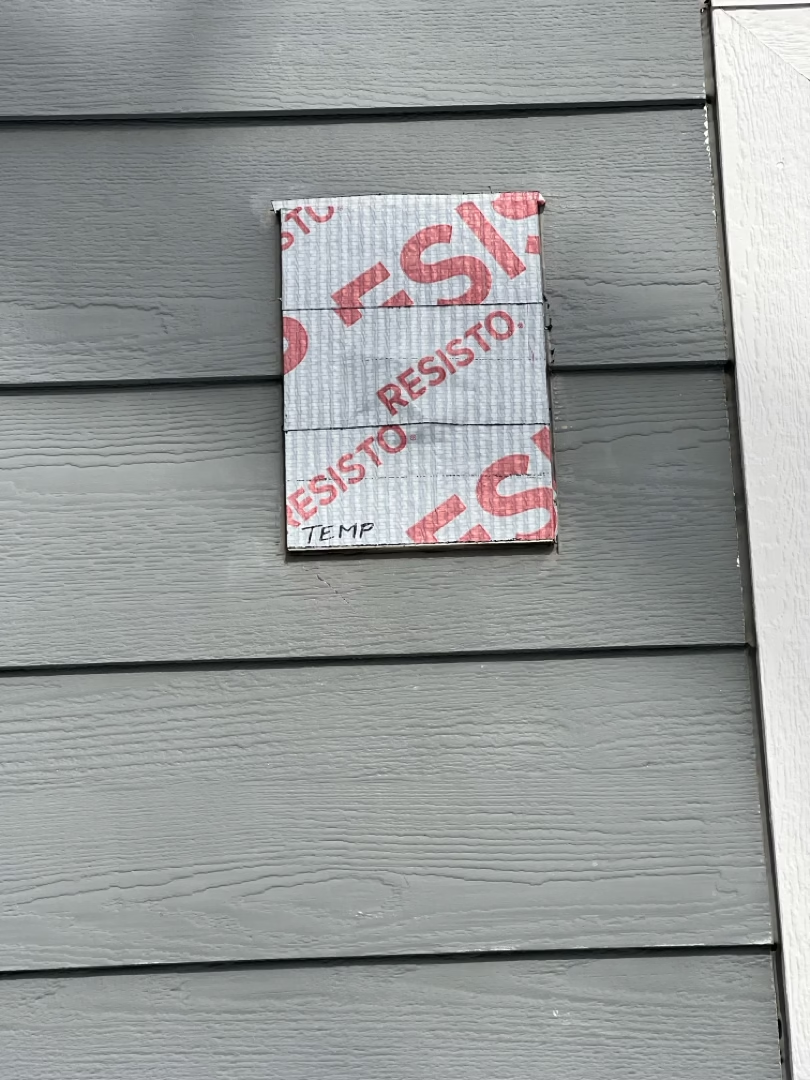
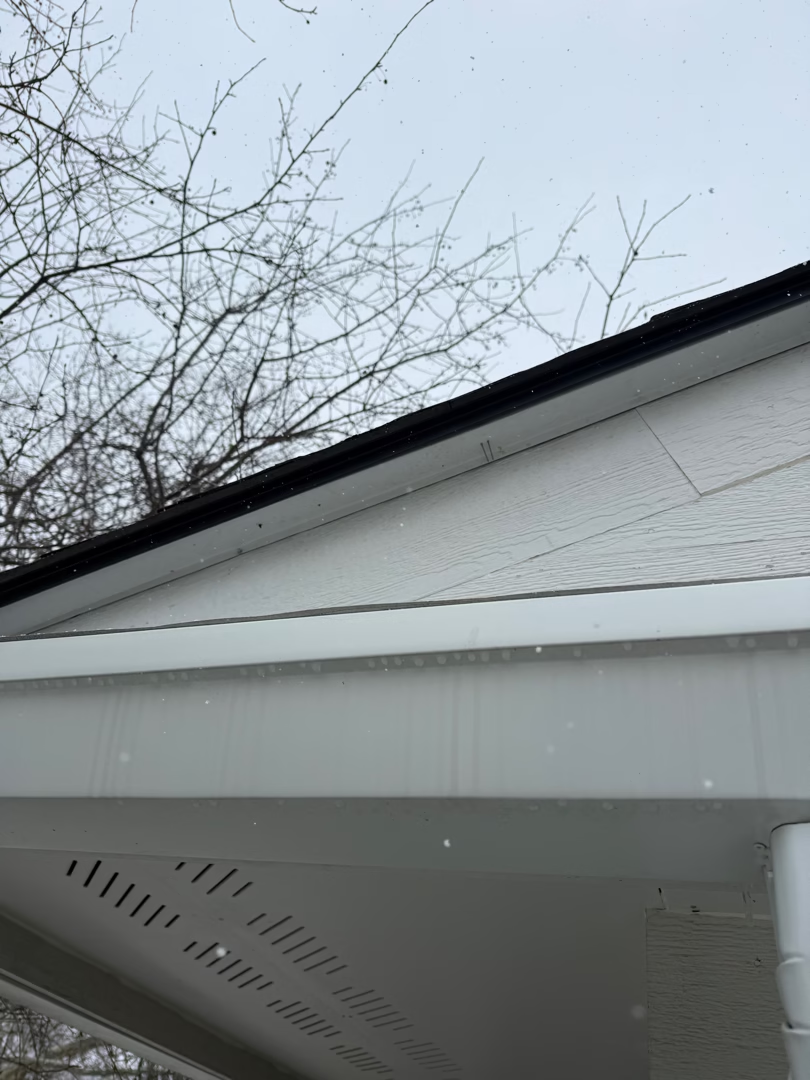
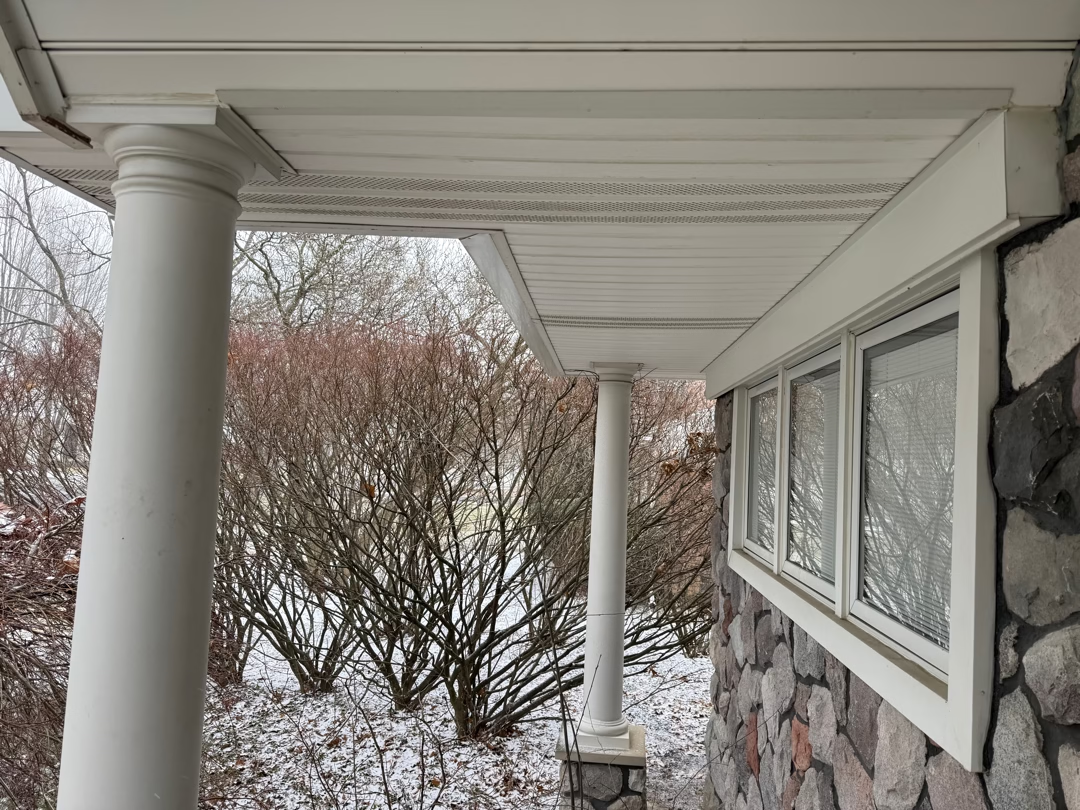
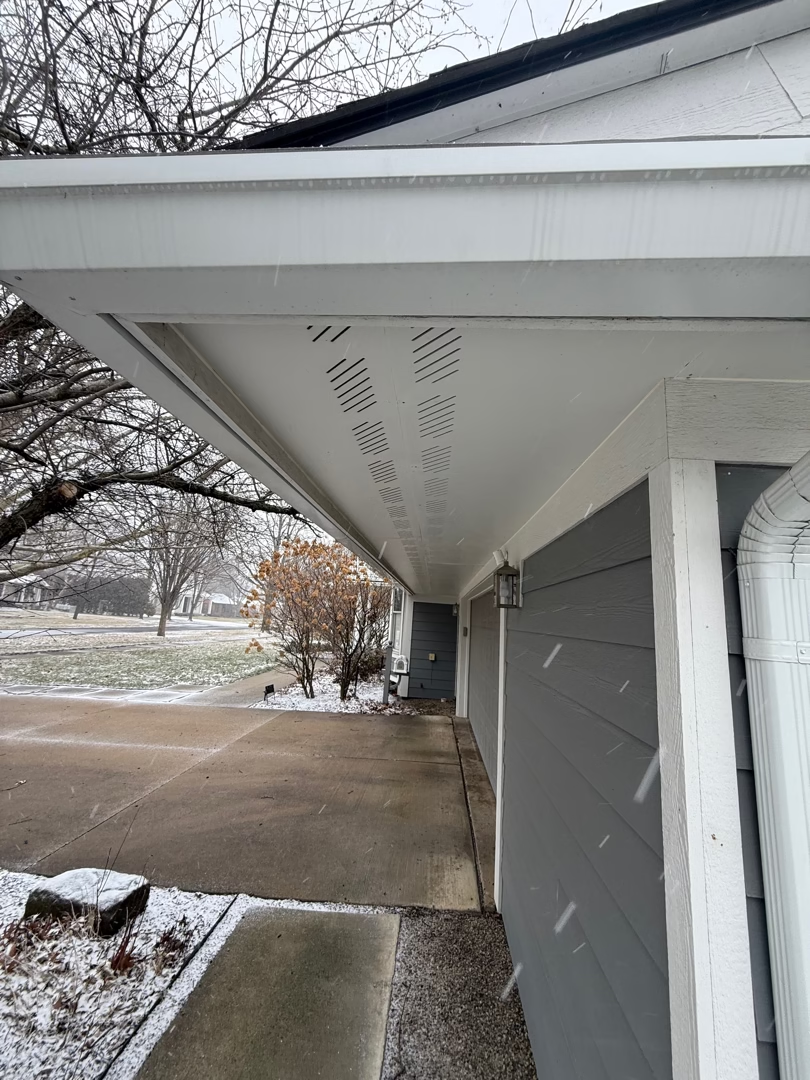
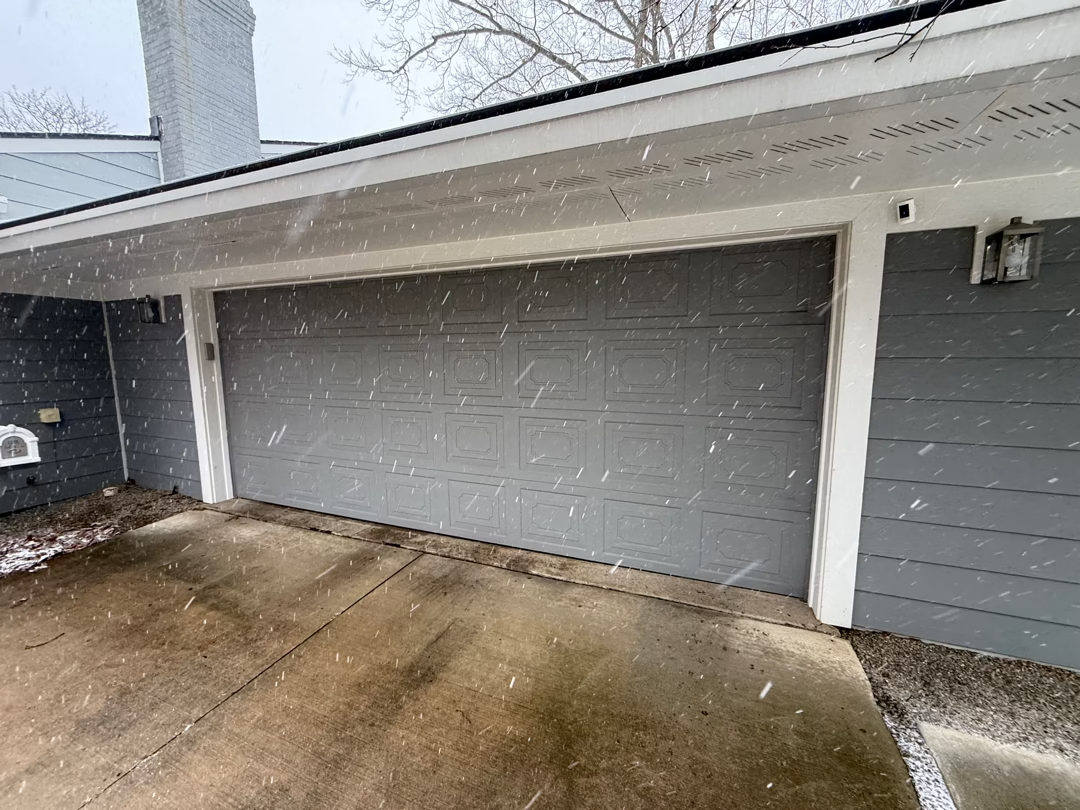
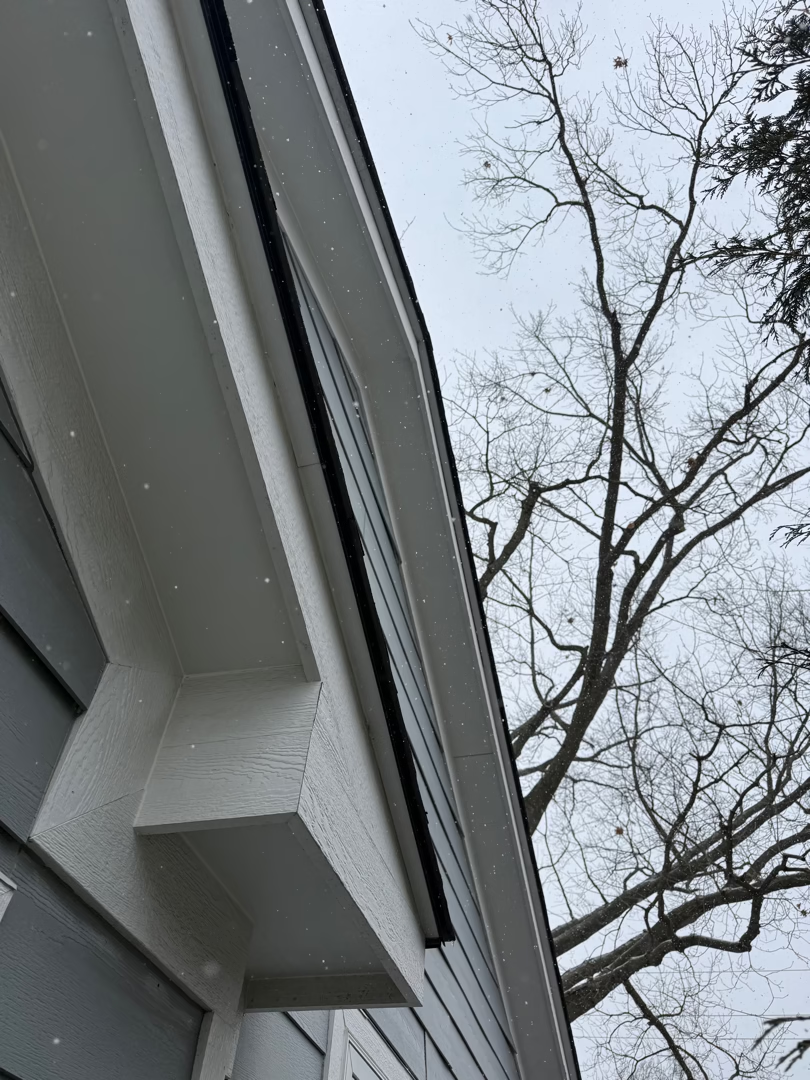
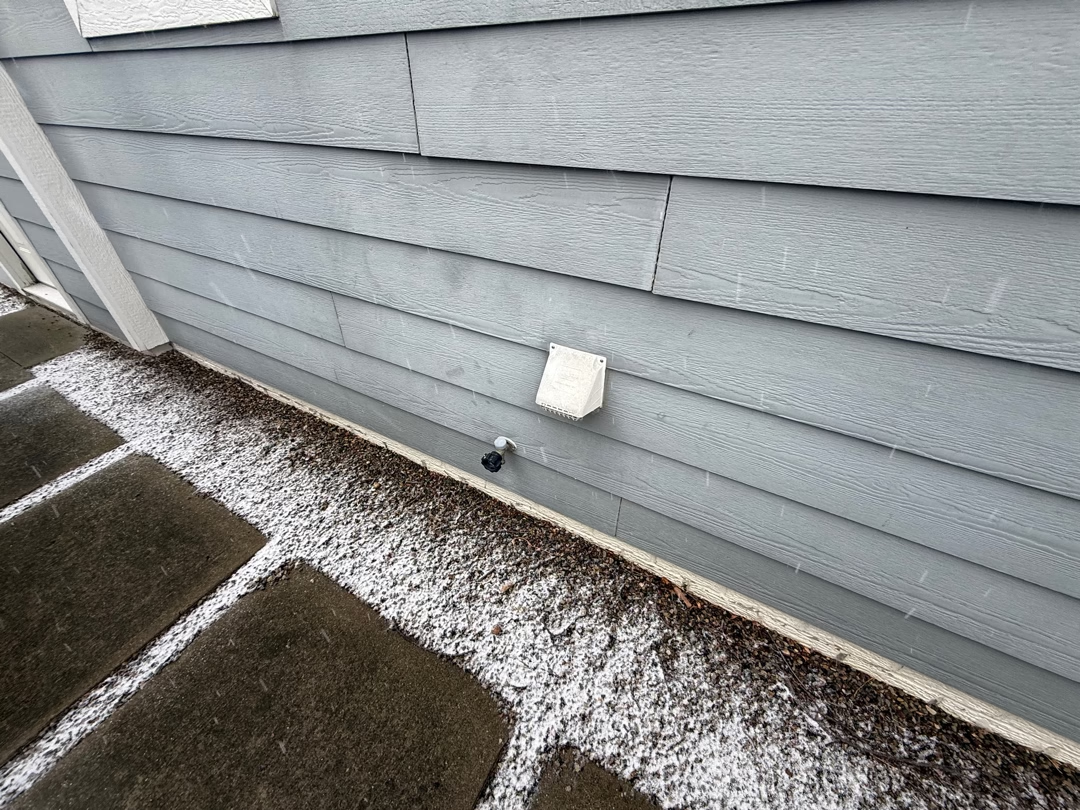
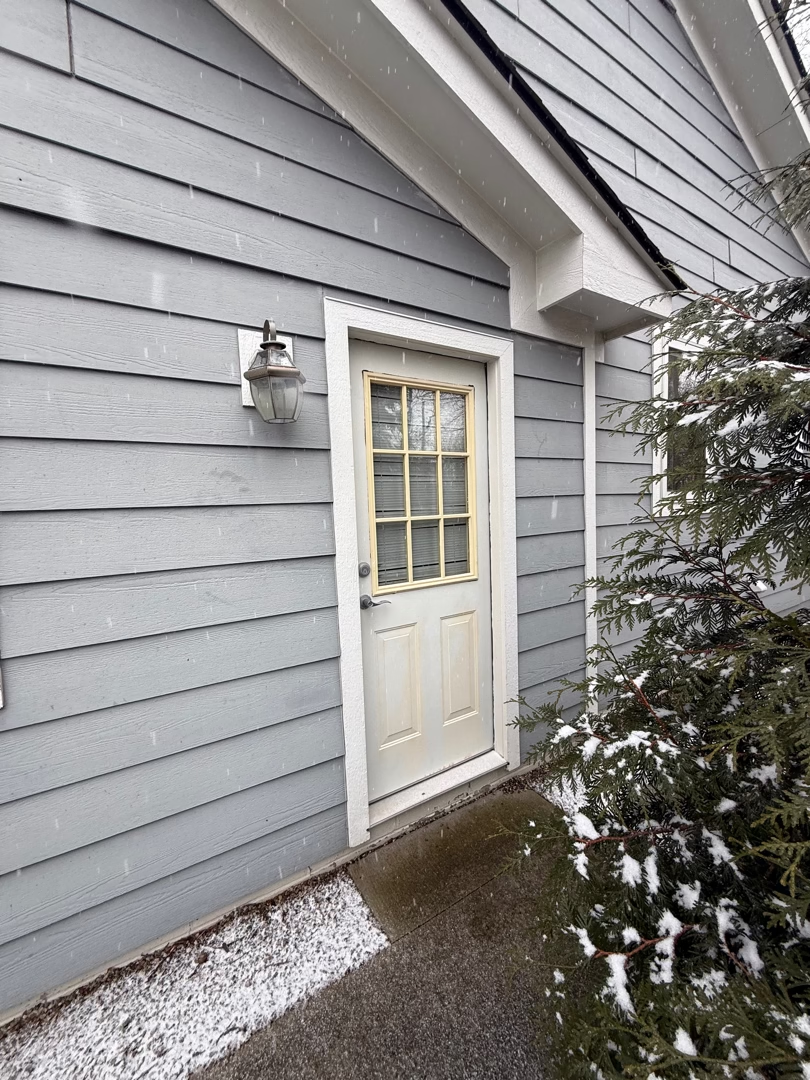
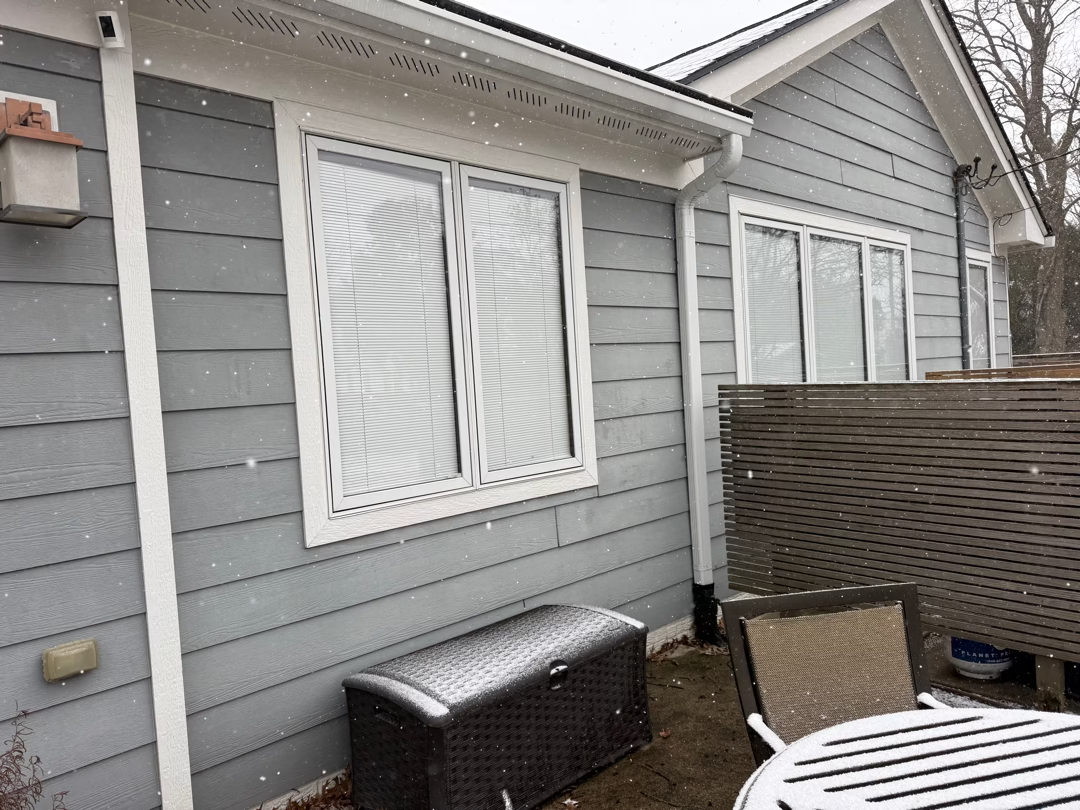
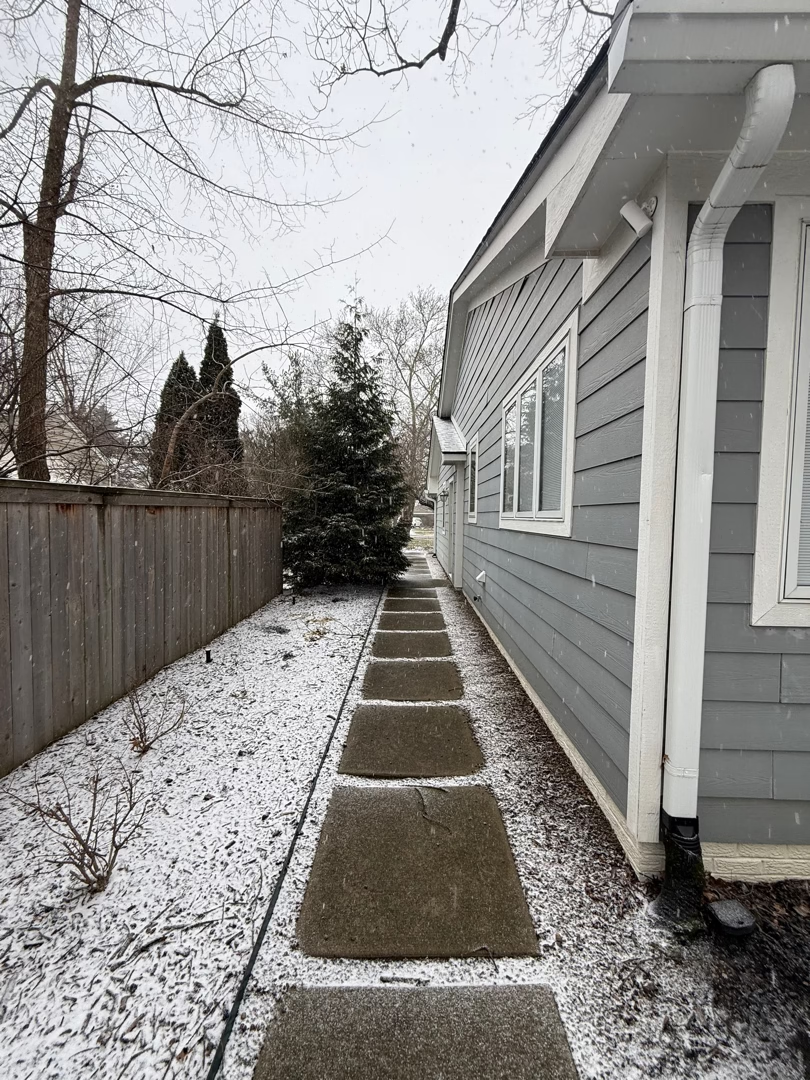
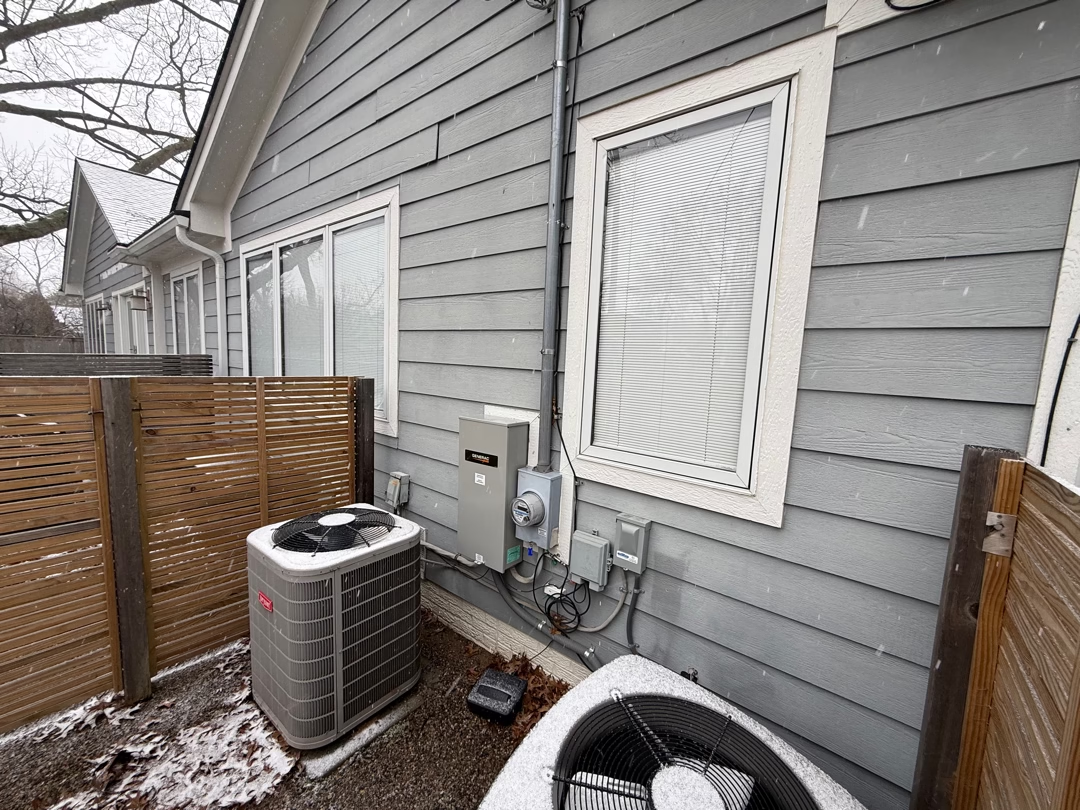
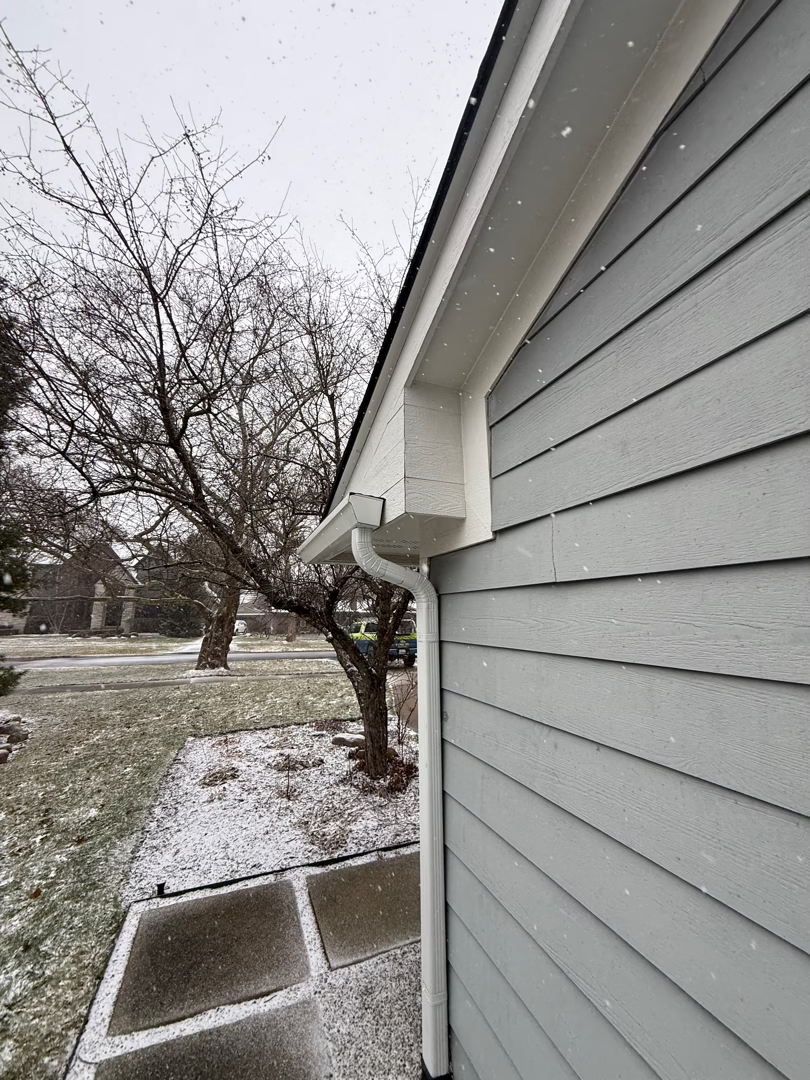
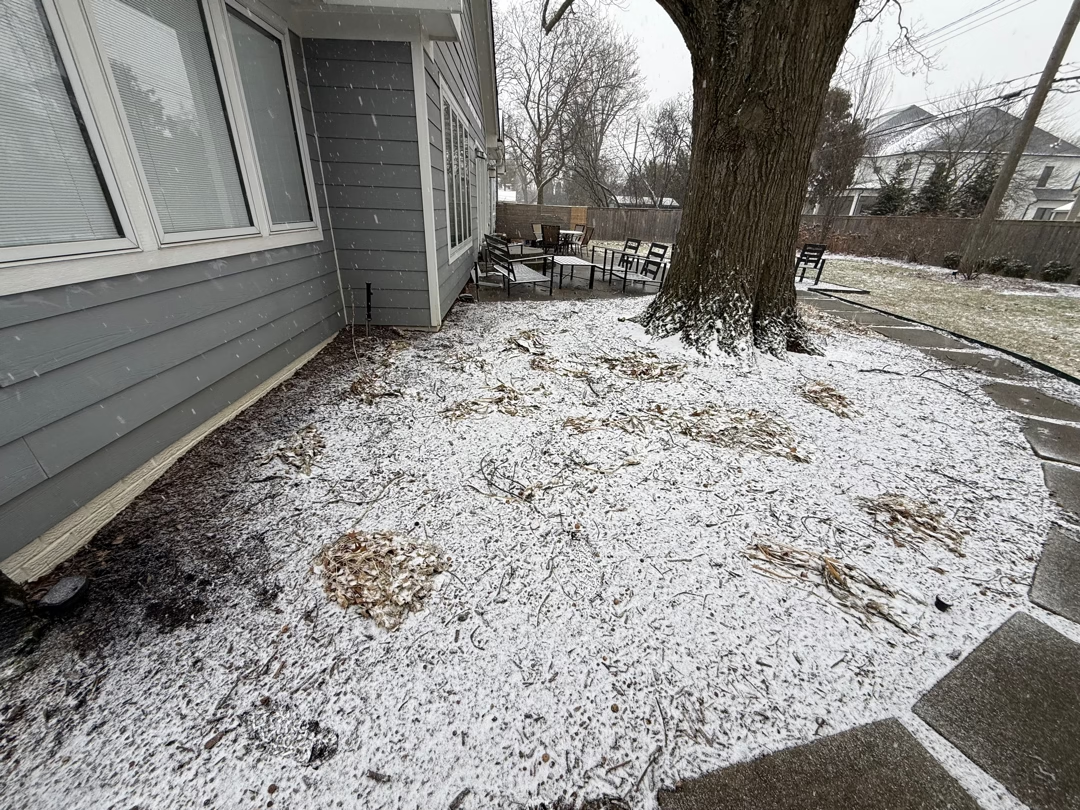
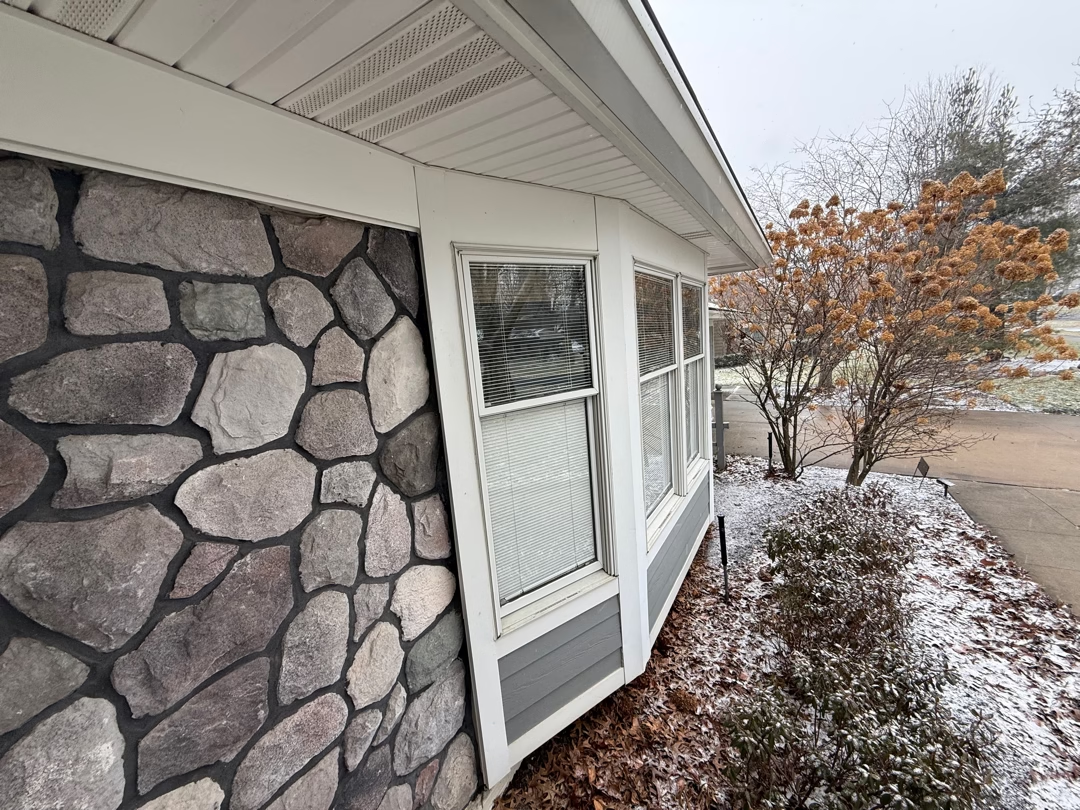
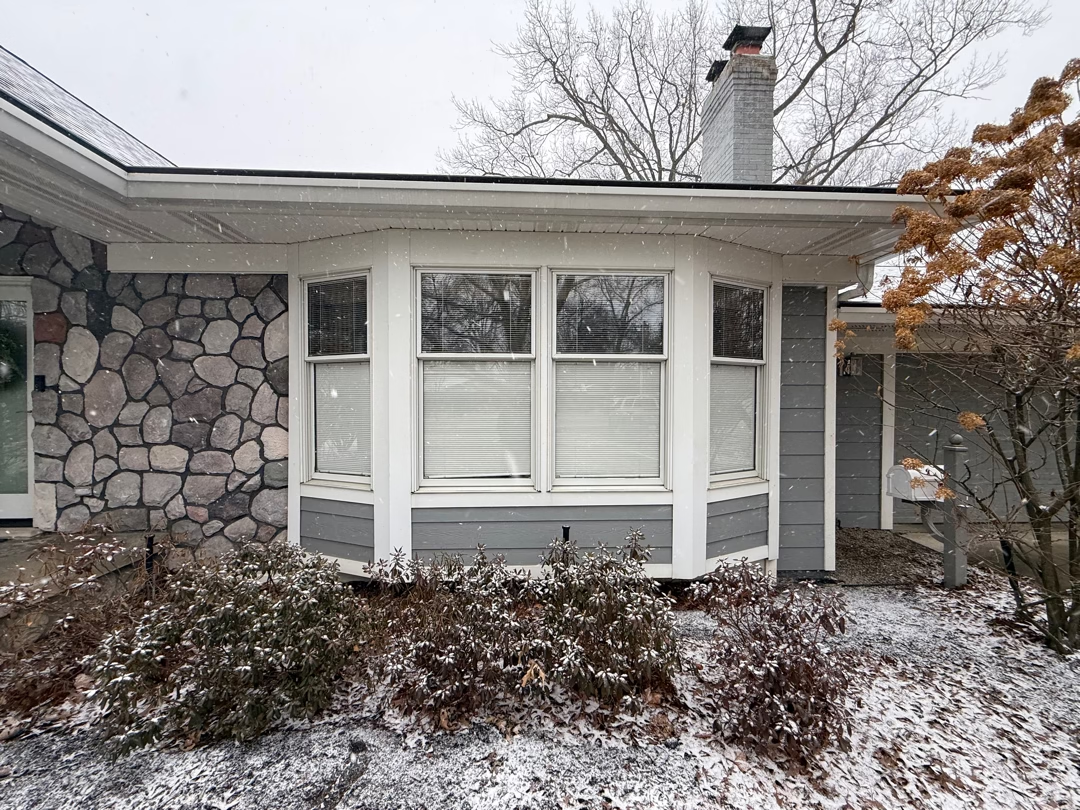
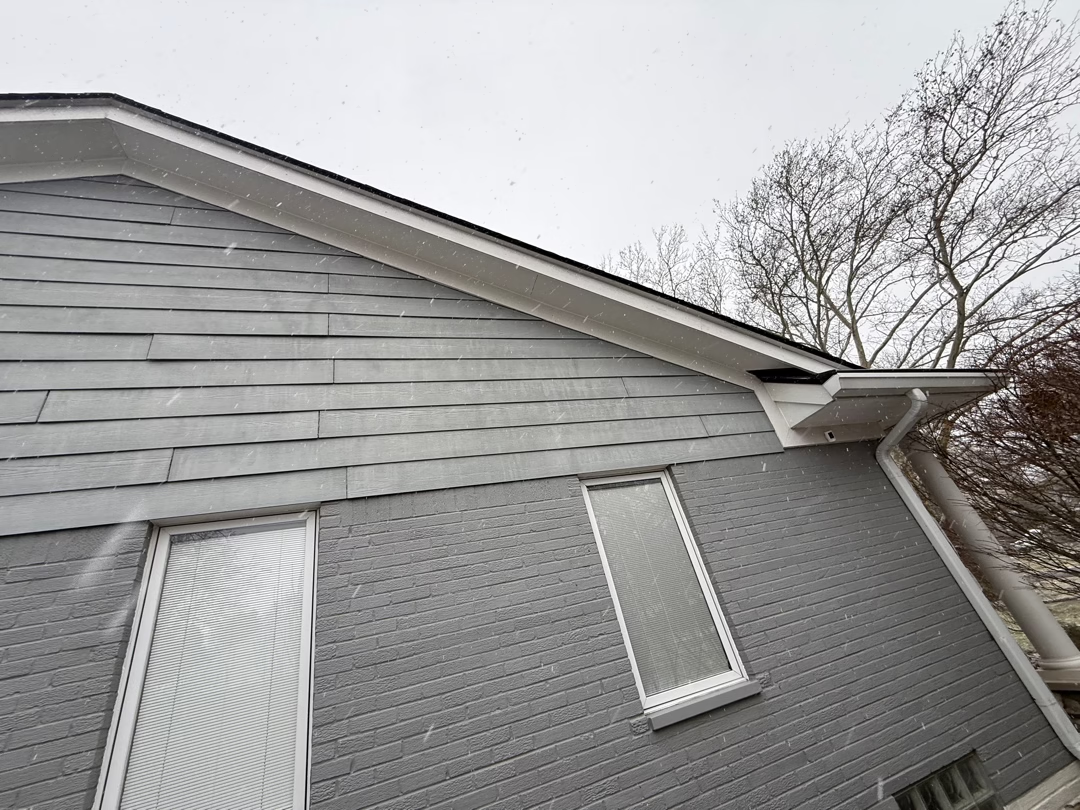
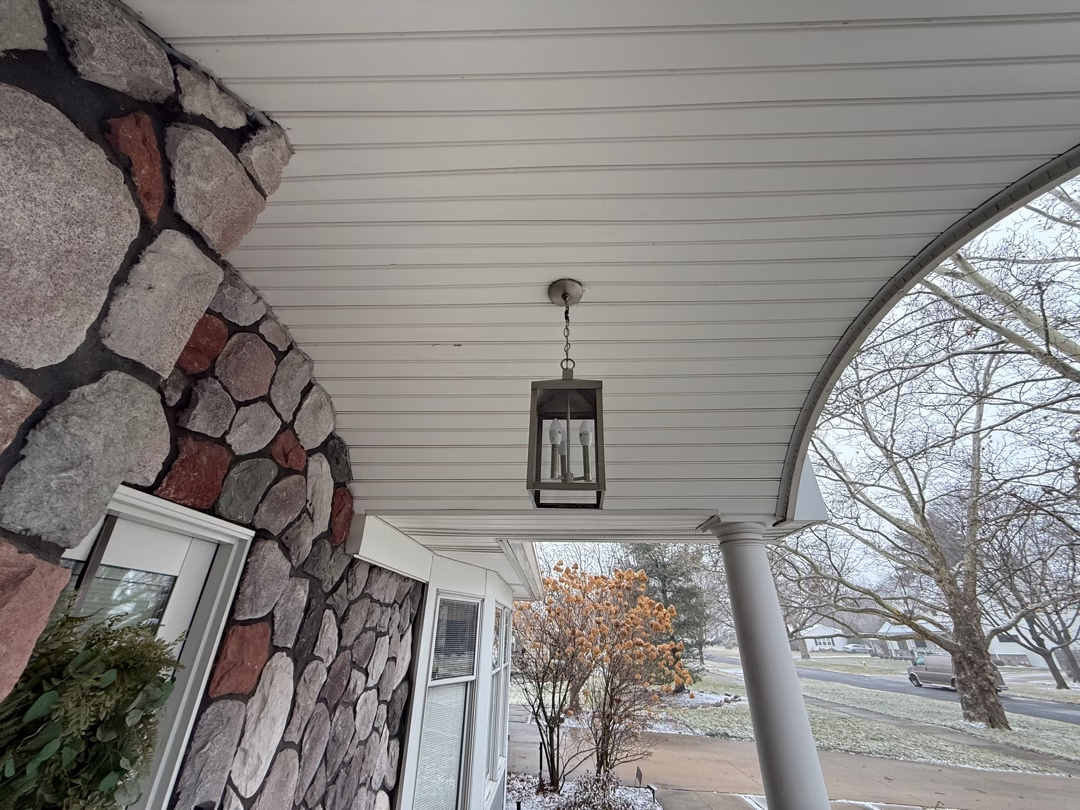
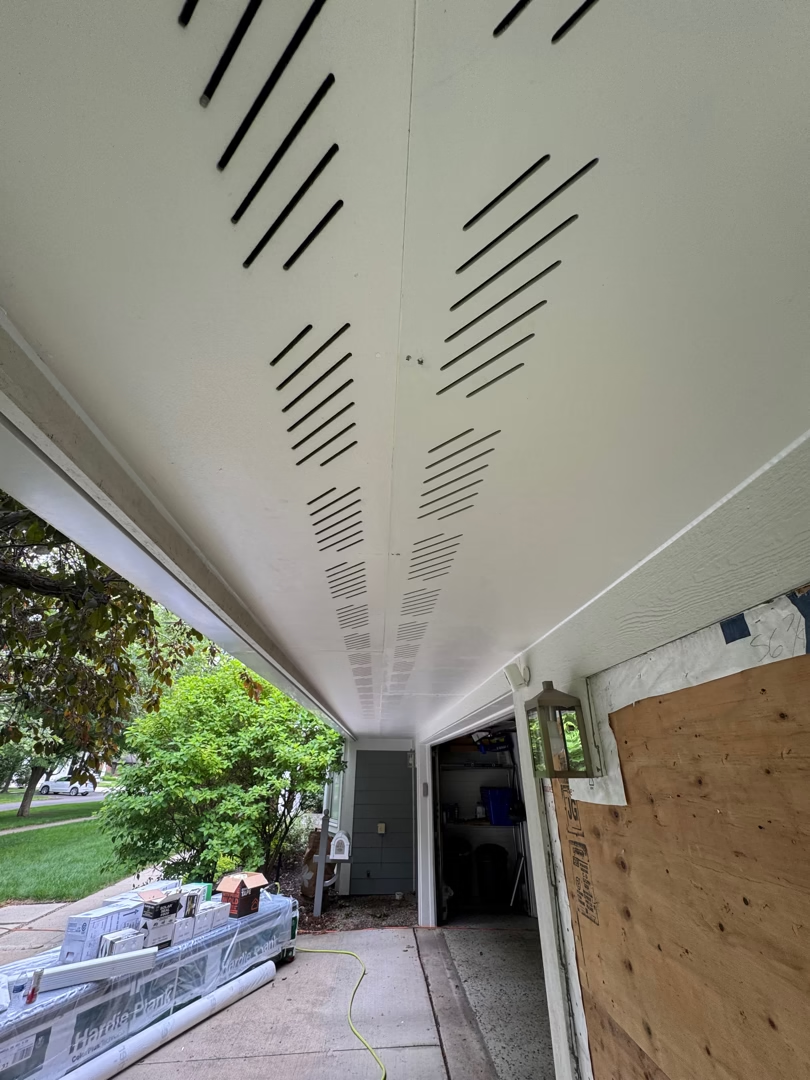
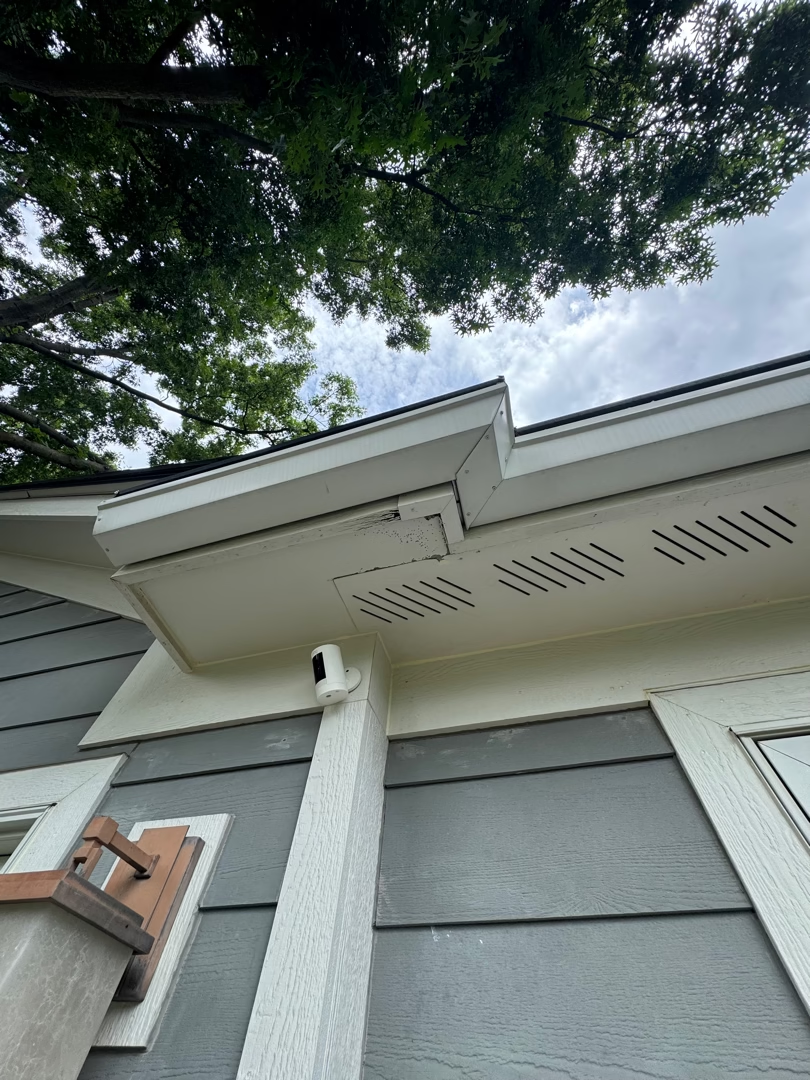
Before Photos: Loose, missing, and brittle siding panels throughout the exterior, cracked soffit above the garage, deteriorated roofline trim, and aging painted surfaces around the home.
What We Found
The fallen siding panel was not an isolated failure.
Loose and brittle panels were found around much of the home, requiring temporary fastening in several areas. Once removal began, the crew also uncovered deteriorated trim, rotted roofline transition boards, damaged fascia near the rear patio, and areas where the existing exterior needed better flashing and water management.
Several details required extra attention:
- The existing fiber cement siding was brittle and had to be removed carefully.
- Some original trim could remain, but soft or rotted sections needed full replacement.
- The discontinued soffit above the garage was cracked and had to be protected during construction.
- Existing gutters were staying in place, including a Gutter Helmet-style system that required careful removal and reinstallation in repair areas.
- Windows, doors, utilities, and roofline transitions needed proper flashing before the new siding could be installed.
- Painted brick, the chimney, garage door, and side entry door needed to be coordinated with the new siding color.
This was not just a siding swap. The surrounding trim, flashing, soffit, fascia, paint, and penetrations all had to work together when the project was finished.
Scope of Work
Temporary Siding Stabilization
Before the full project began, the crew went around the home and secured loose panels wherever possible.
Because the existing material had become extremely brittle, siding-specific fastening equipment was used carefully to reduce the chance of additional panels falling before replacement.
Exterior Cleaning and Preparation
The trim, soffit, fascia, garage door, and painted brick were cleaned using a heated, low-pressure washing process.
The old siding itself was scheduled for removal, so the cleaning work focused on surfaces that would remain and later receive preparation, sealing, or paint.
Siding Removal and Weatherproofing
The failing siding was removed in sections so each work area could be prepared and made watertight as the project moved around the home.
Preparation included:
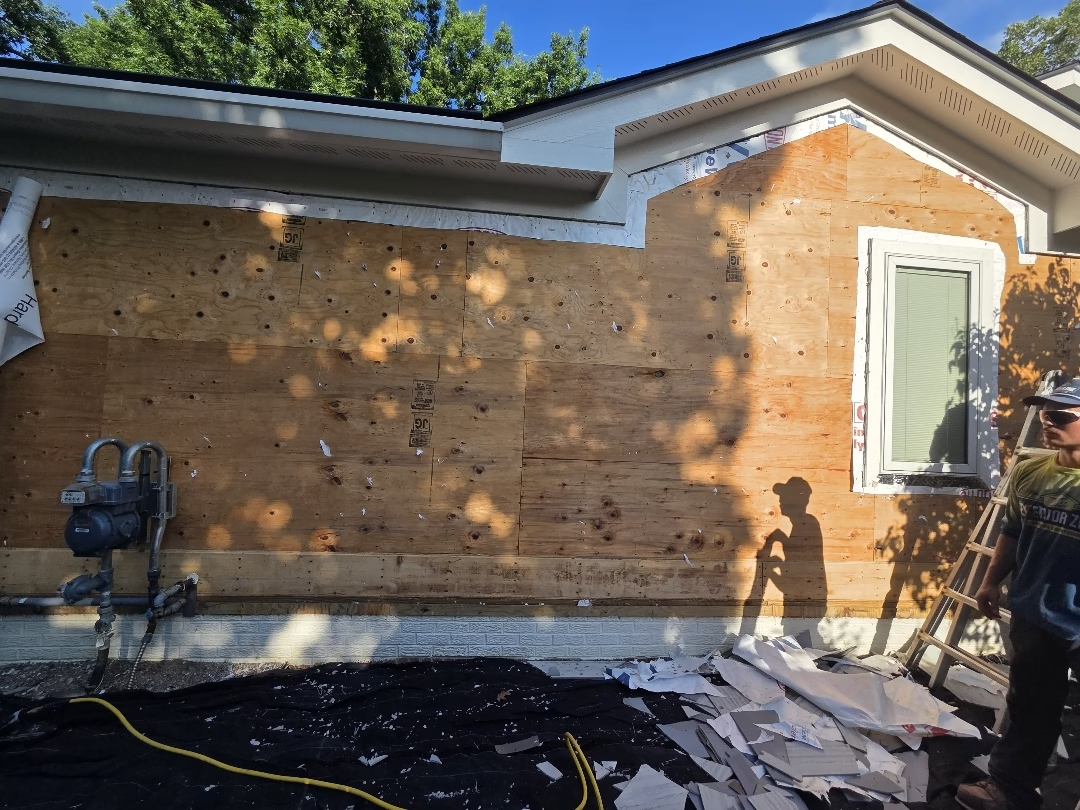
- Removing the existing fiber cement siding
- Refastening and repairing exposed wall surfaces
- Replacing damaged fiberboard with OSB where necessary
- Spray-foaming construction gaps
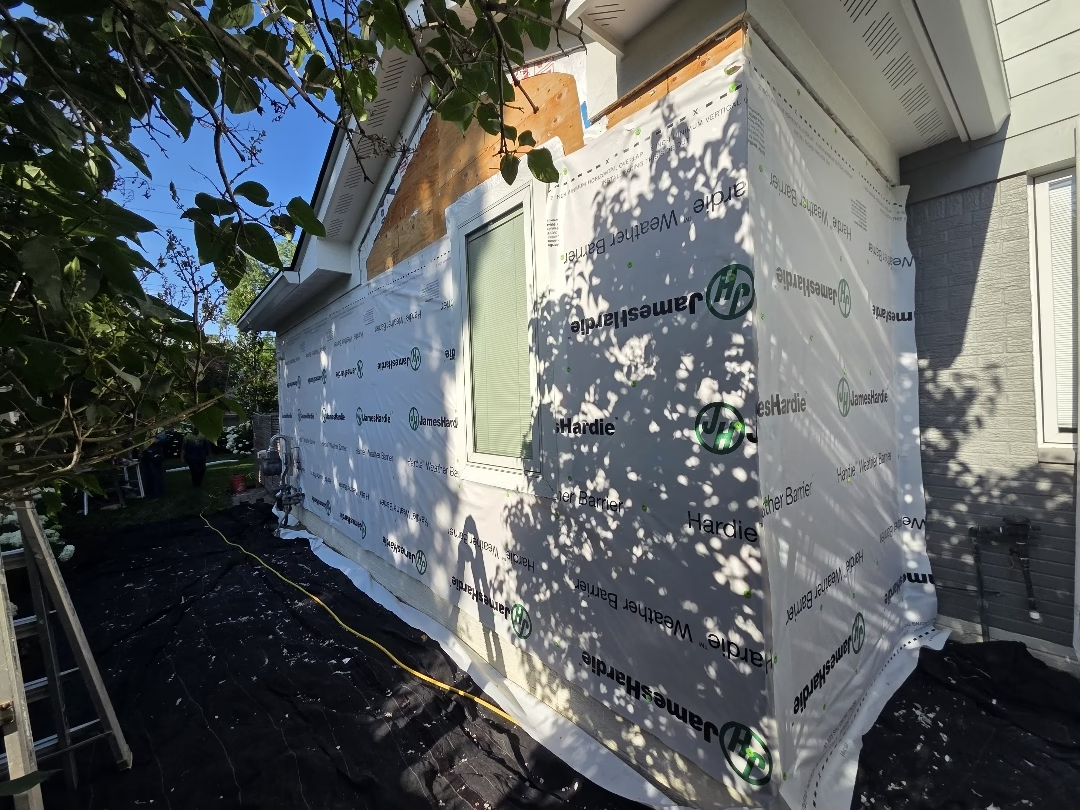
- Installing James Hardie HardieWrap
- Taping seams, corners, and penetrations
- Installing foundation-to-sheathing bug-guard flashing
- Adding horizontal Z-flashing above trim, blocks, windows, and transitions
- Applying butyl flashing at roof and wall connections
- Installing kick-out and transition flashing where needed
- Creating split blocks around utilities and wall penetrations
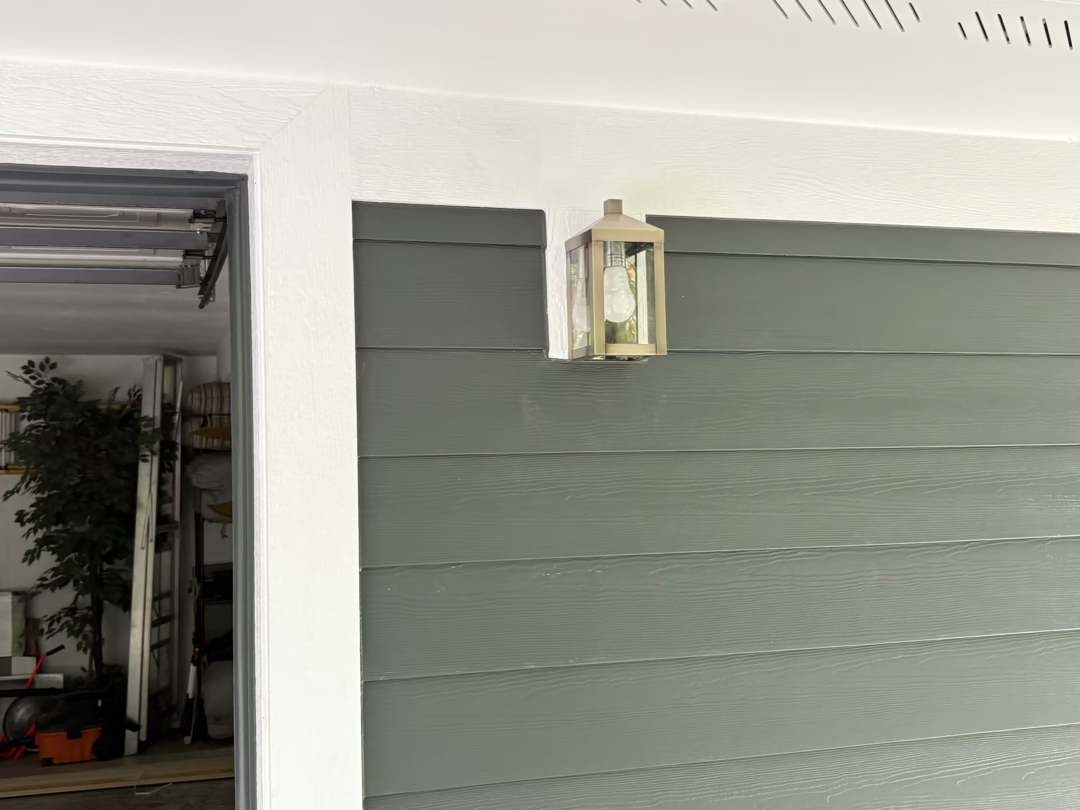
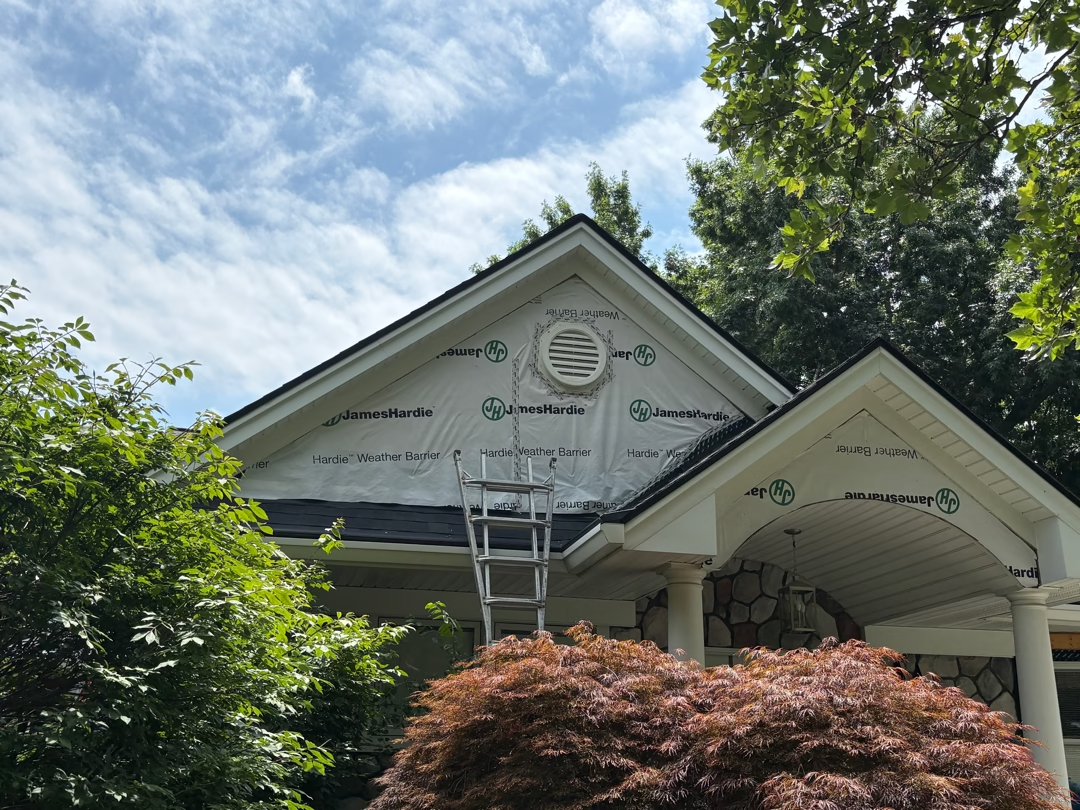
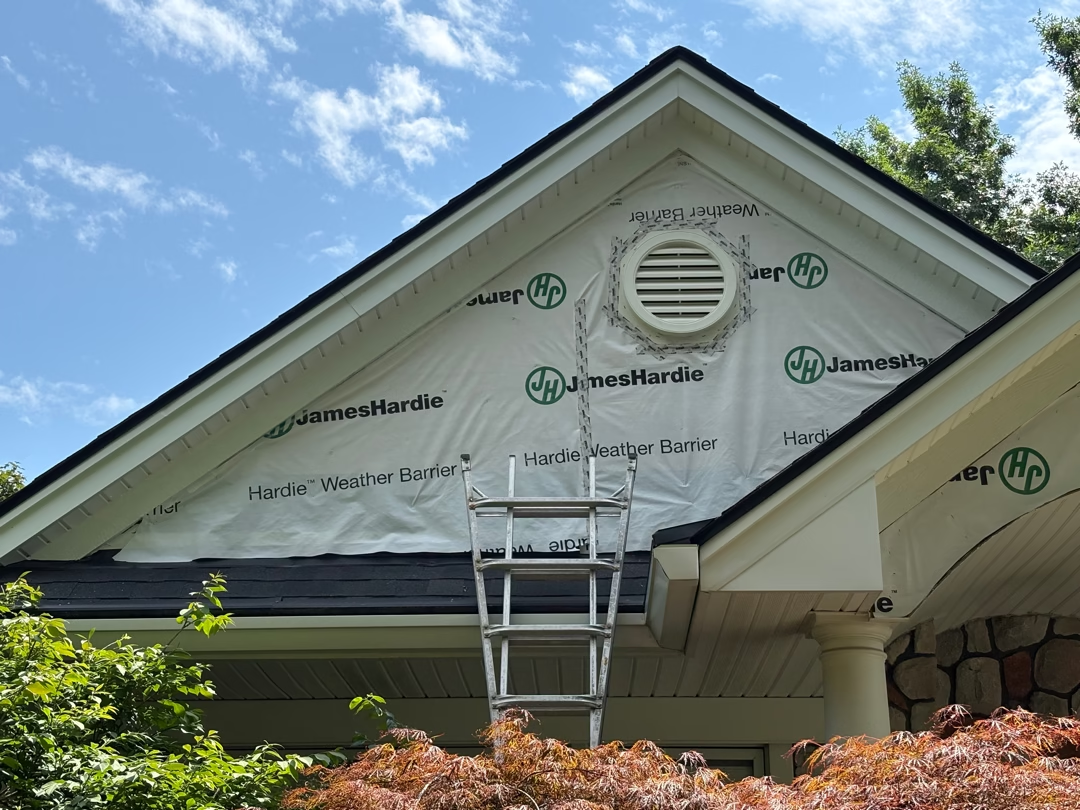
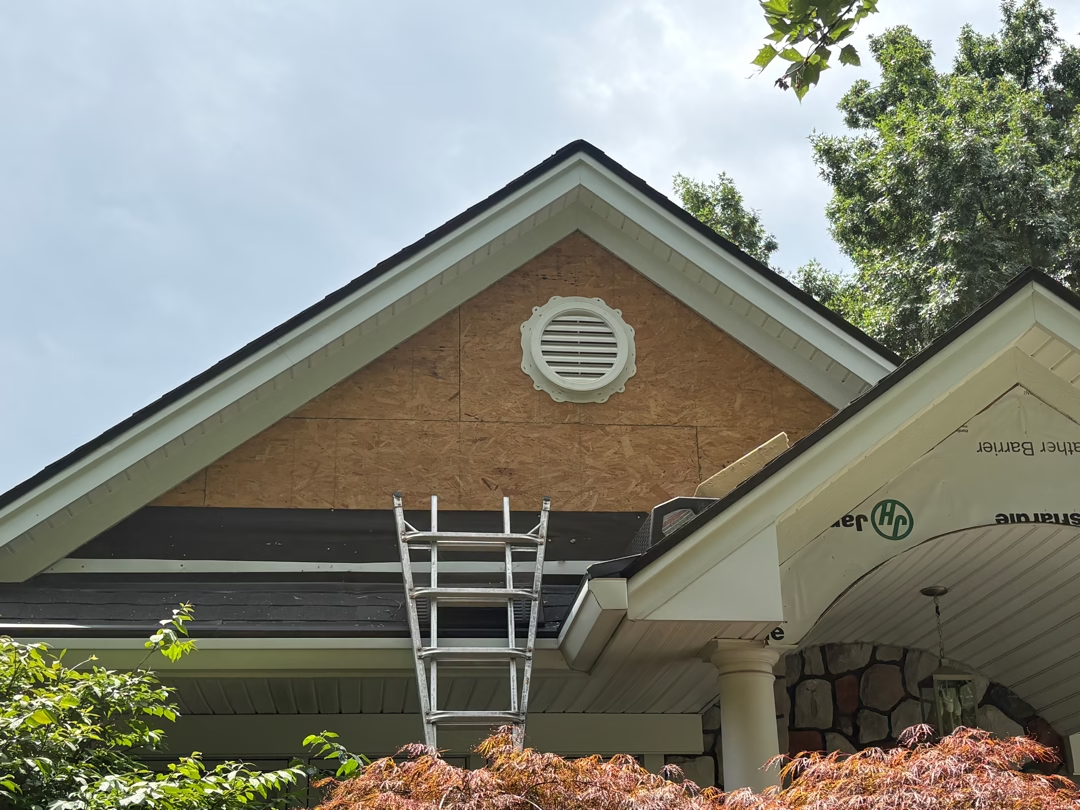
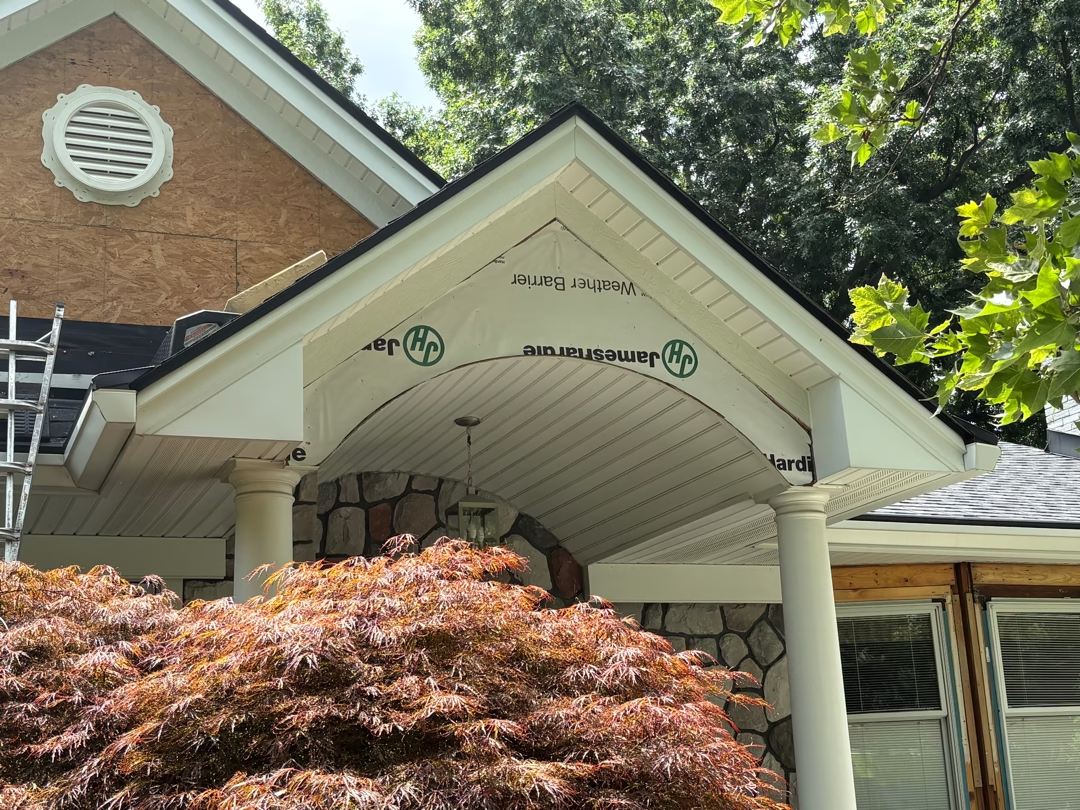
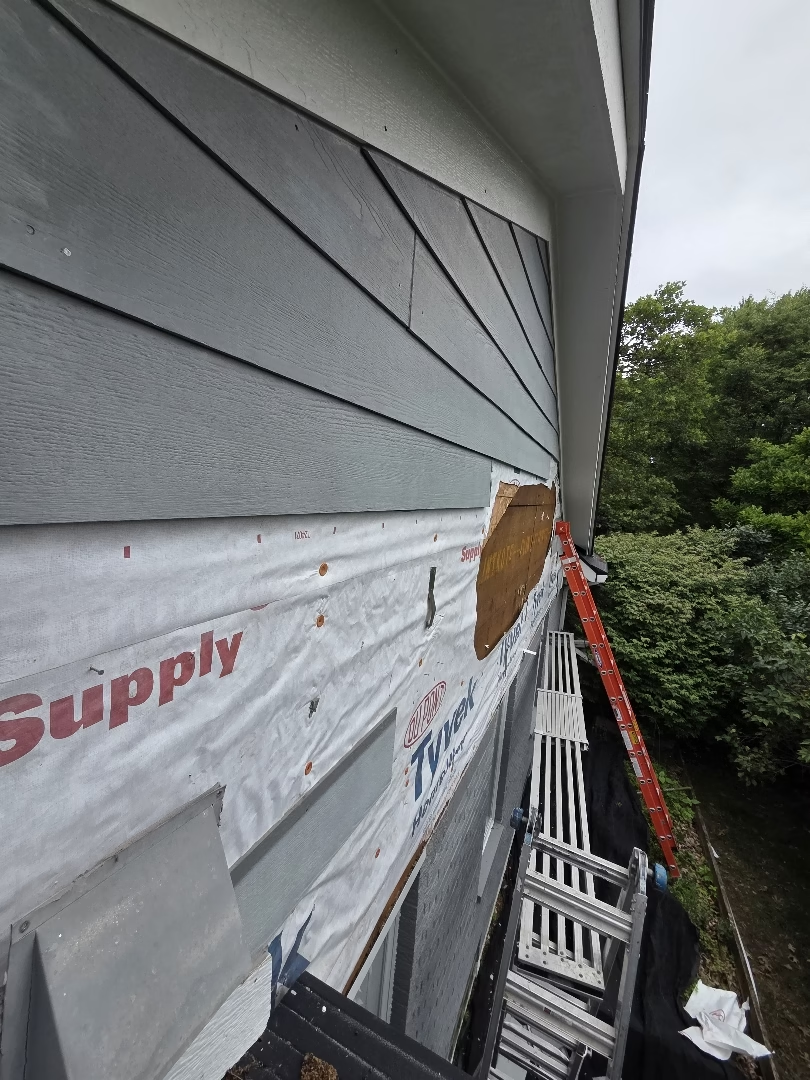
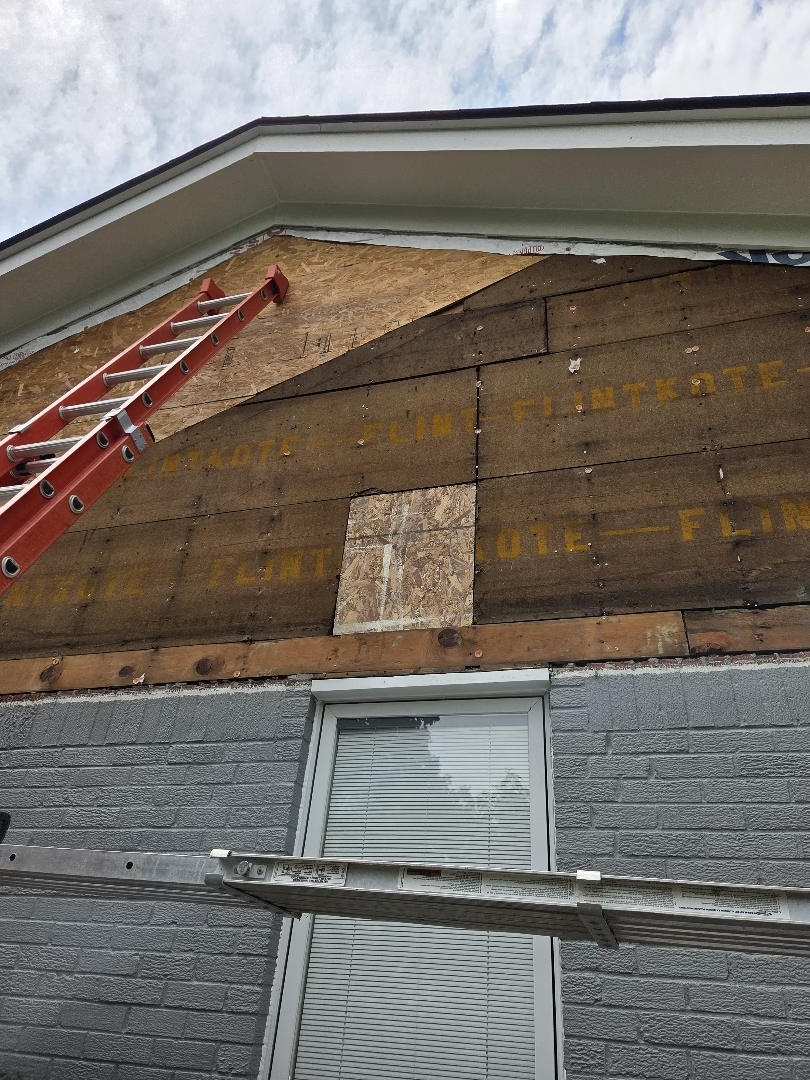
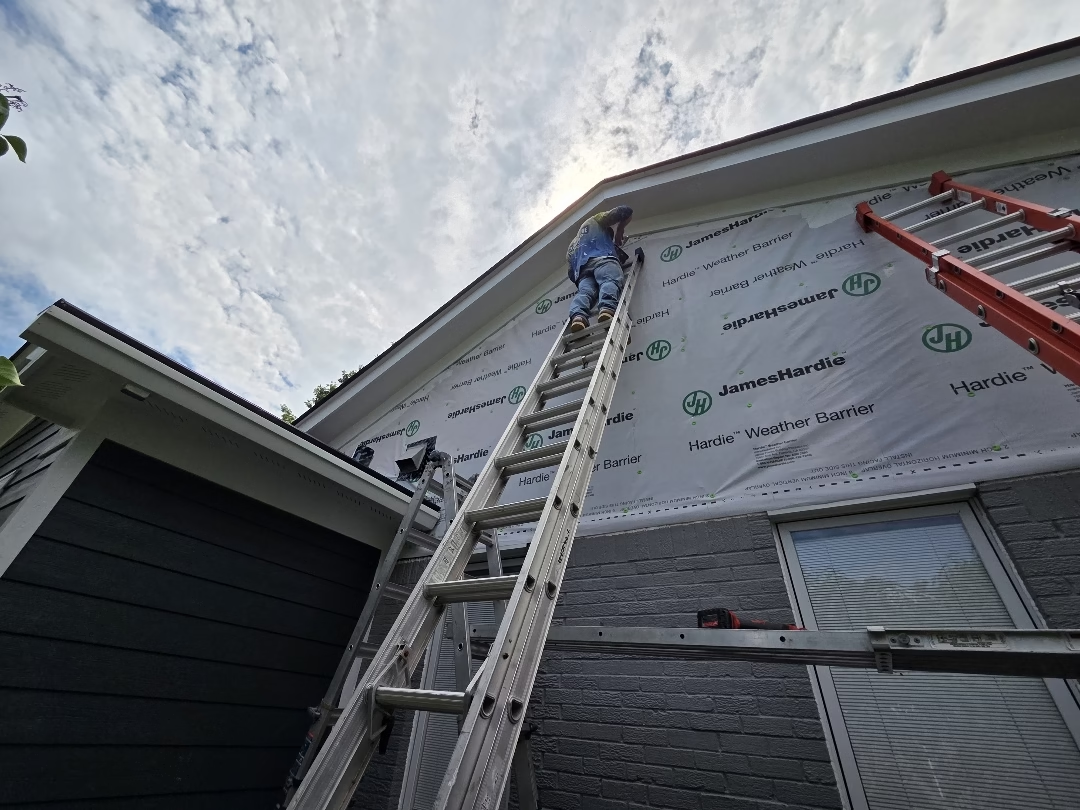
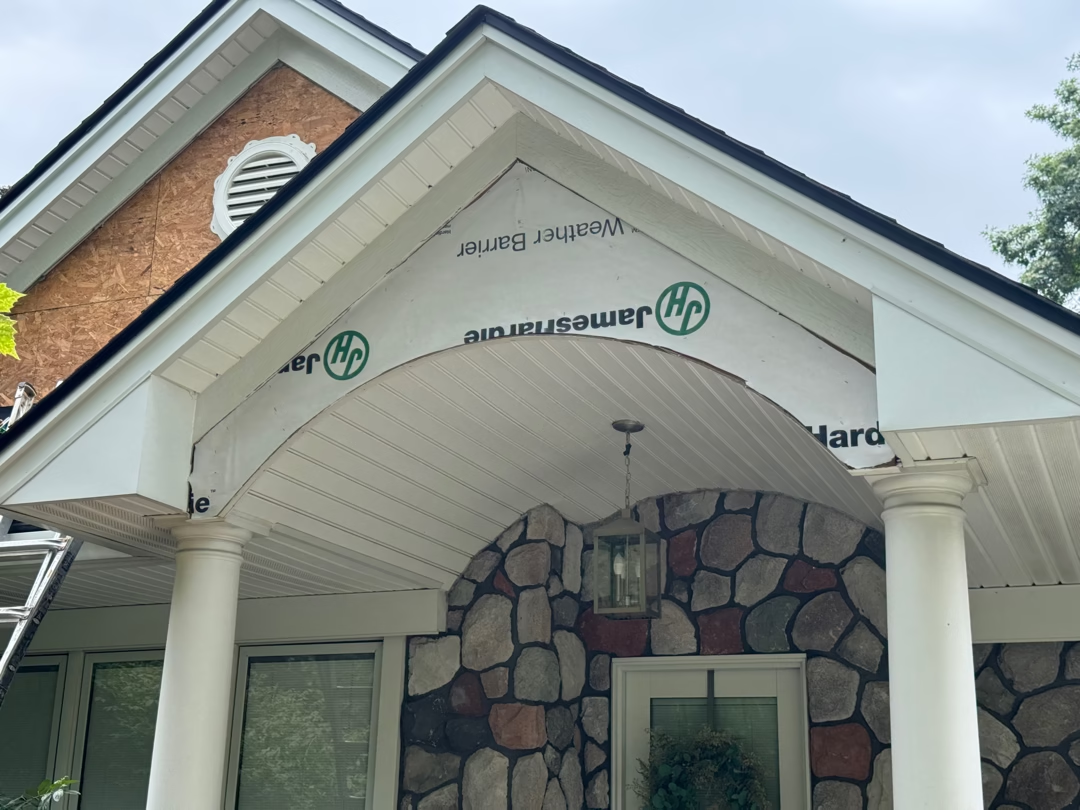
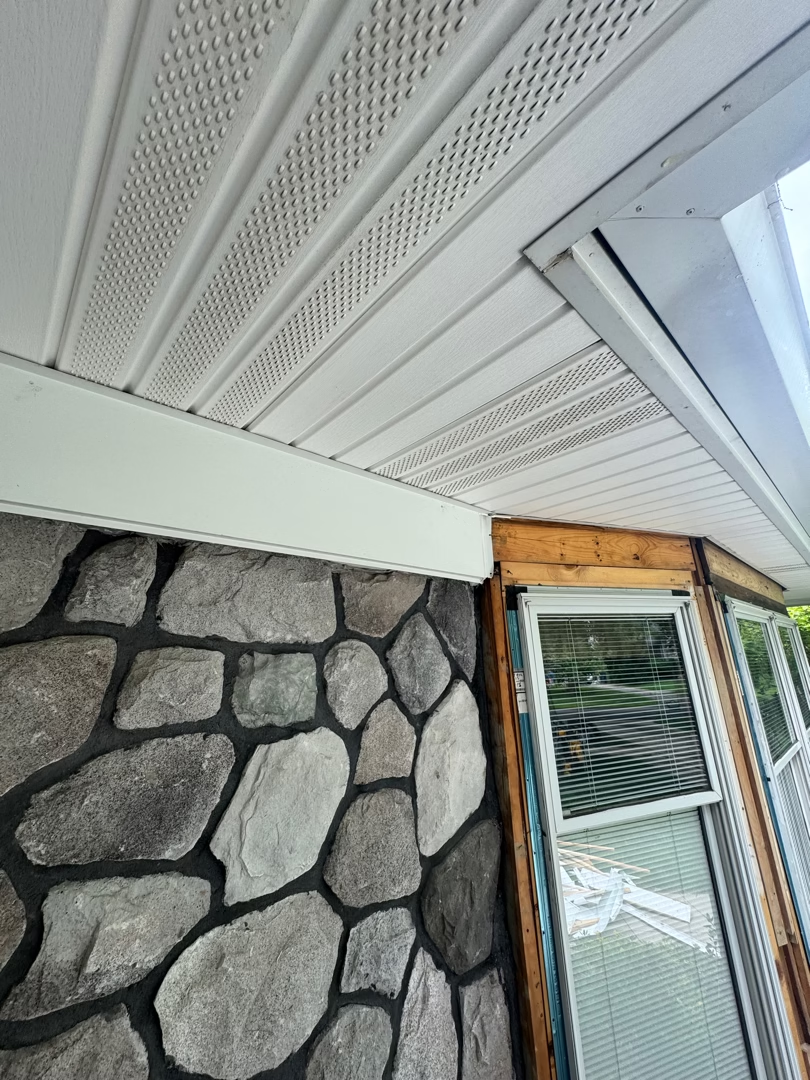
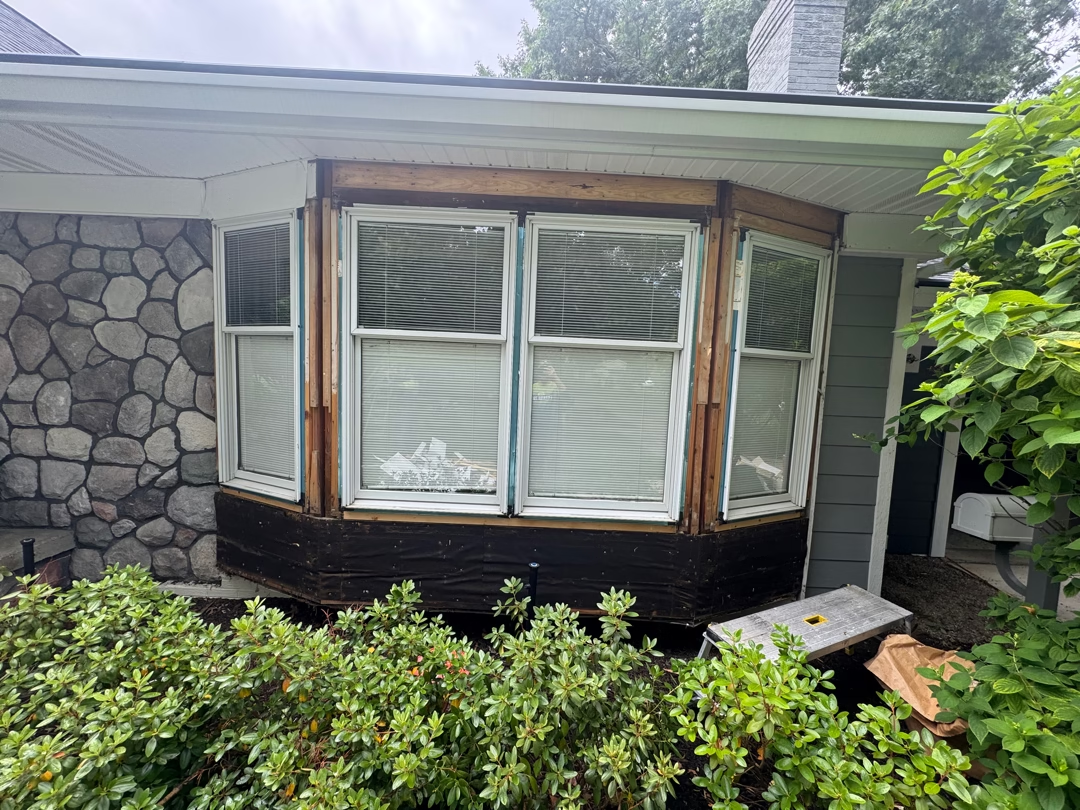
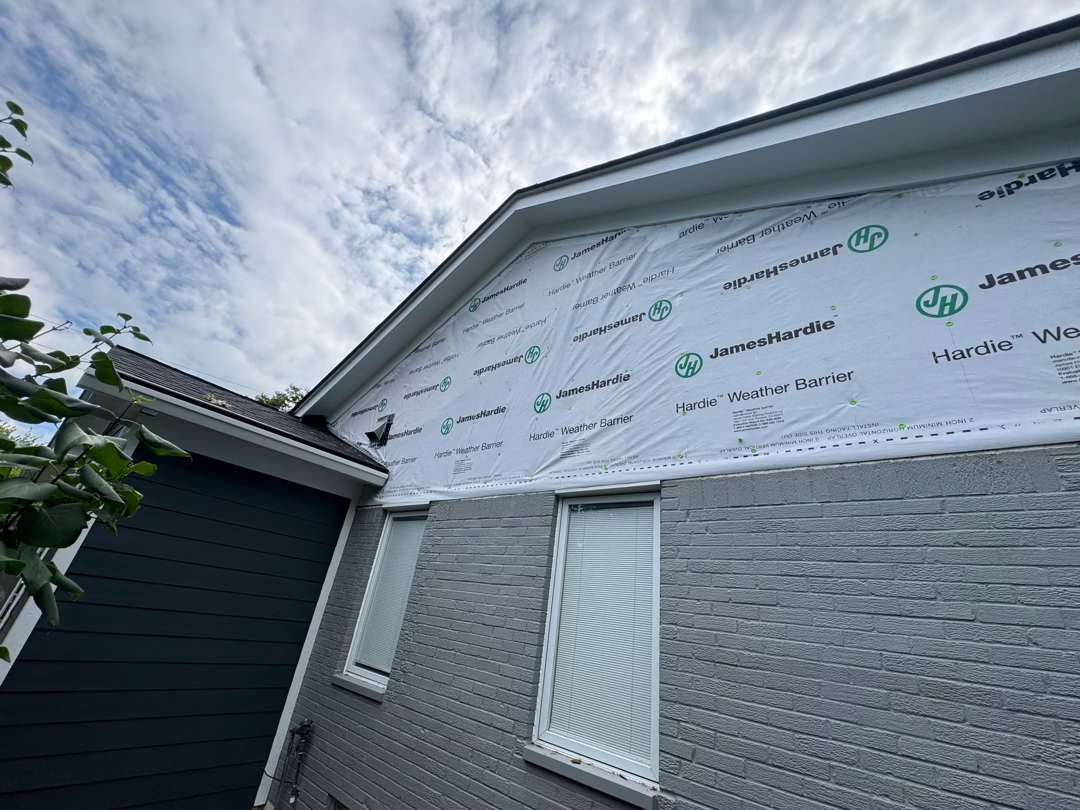
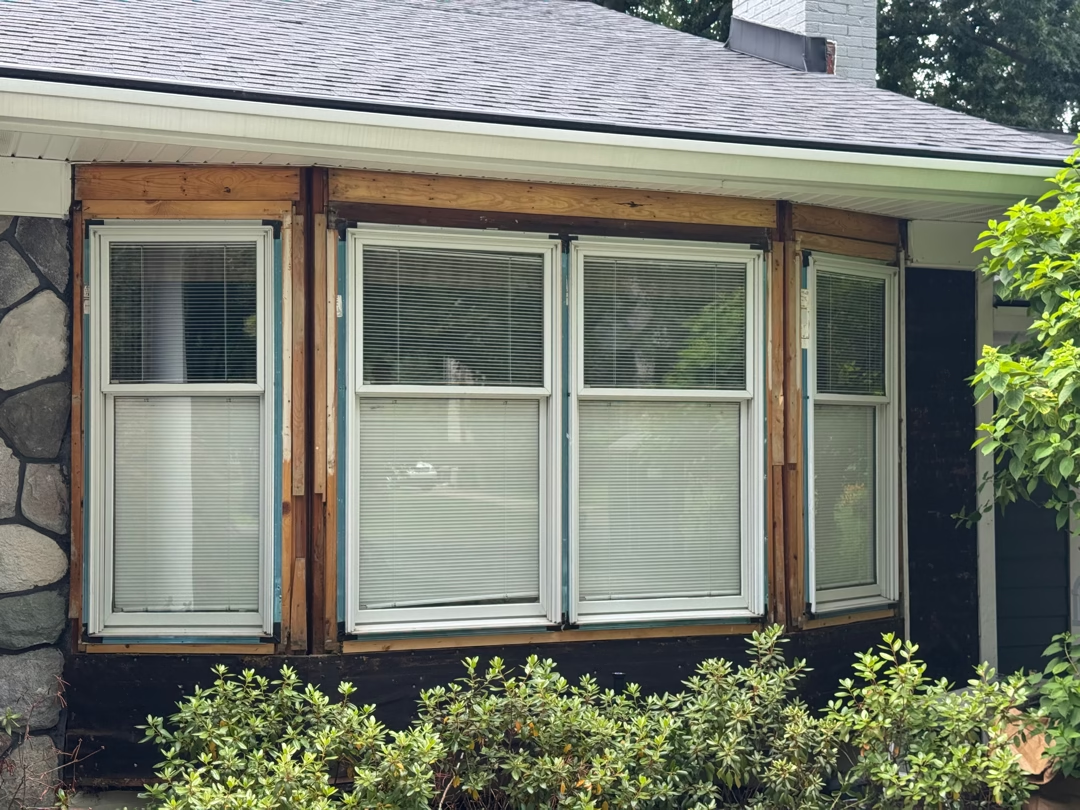
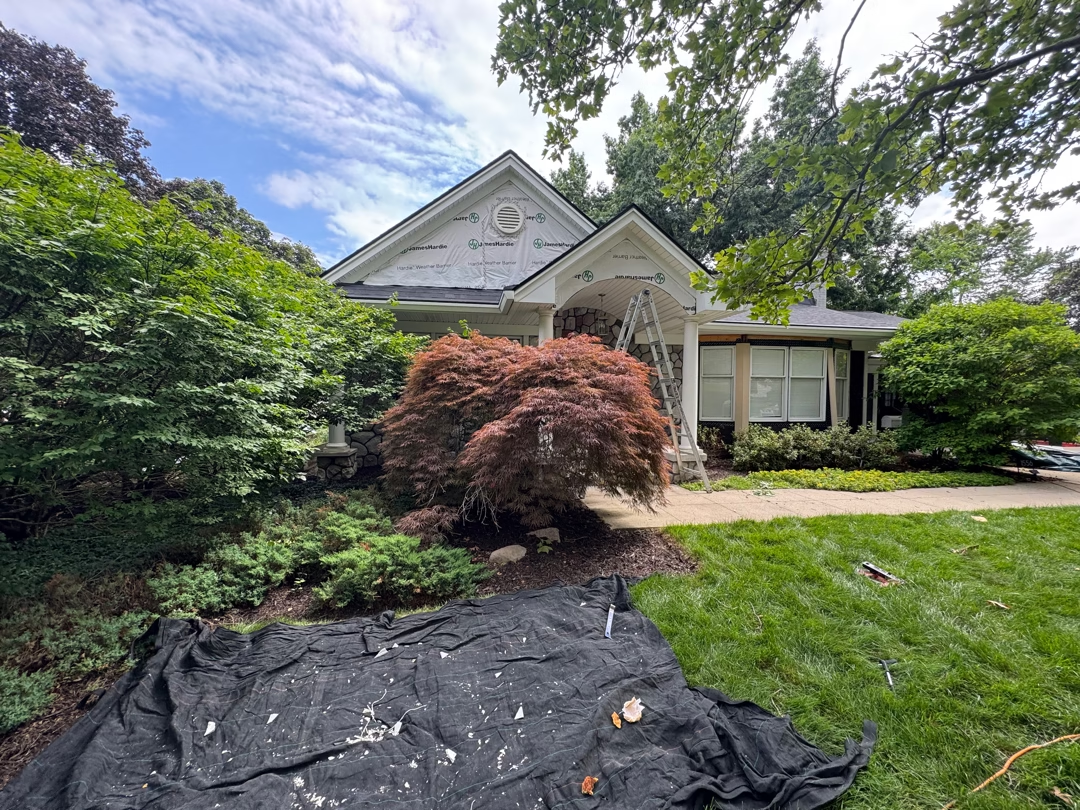
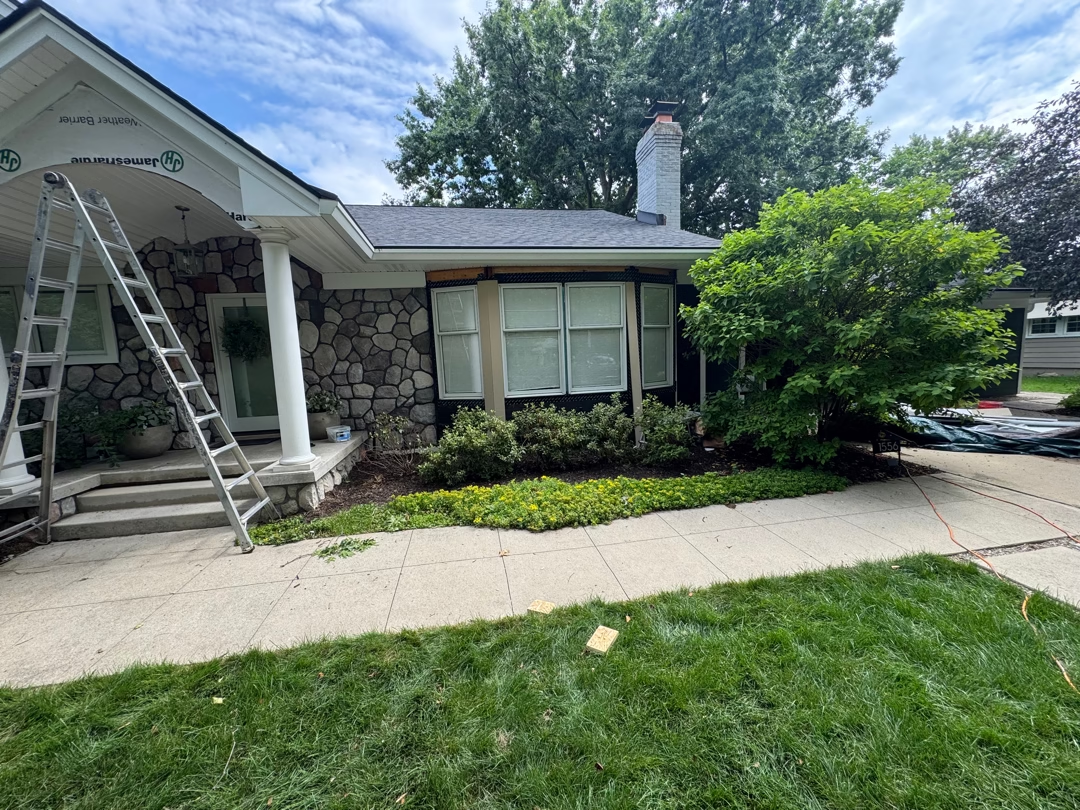
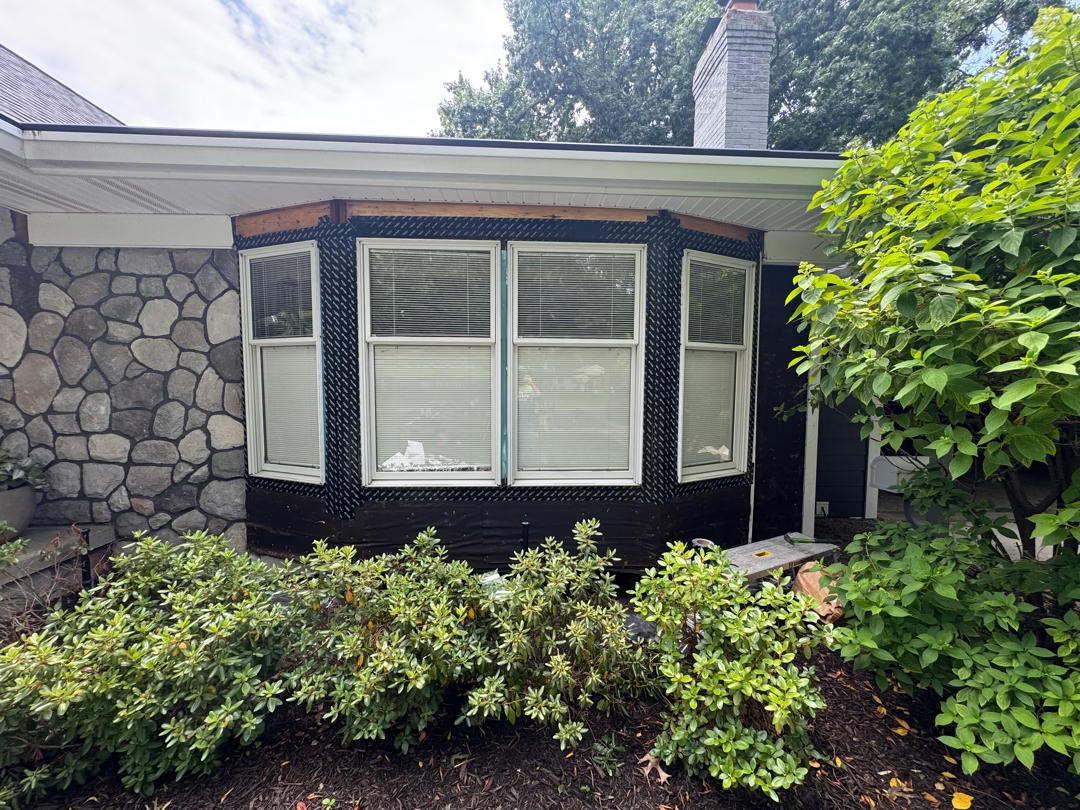
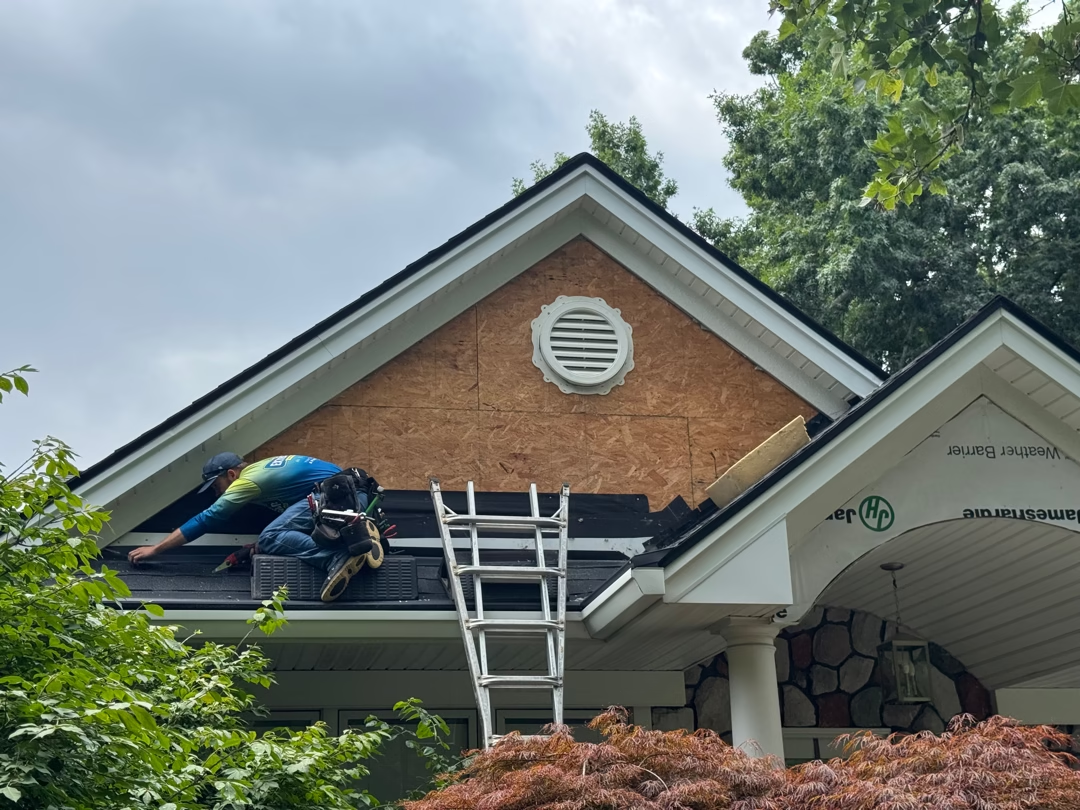
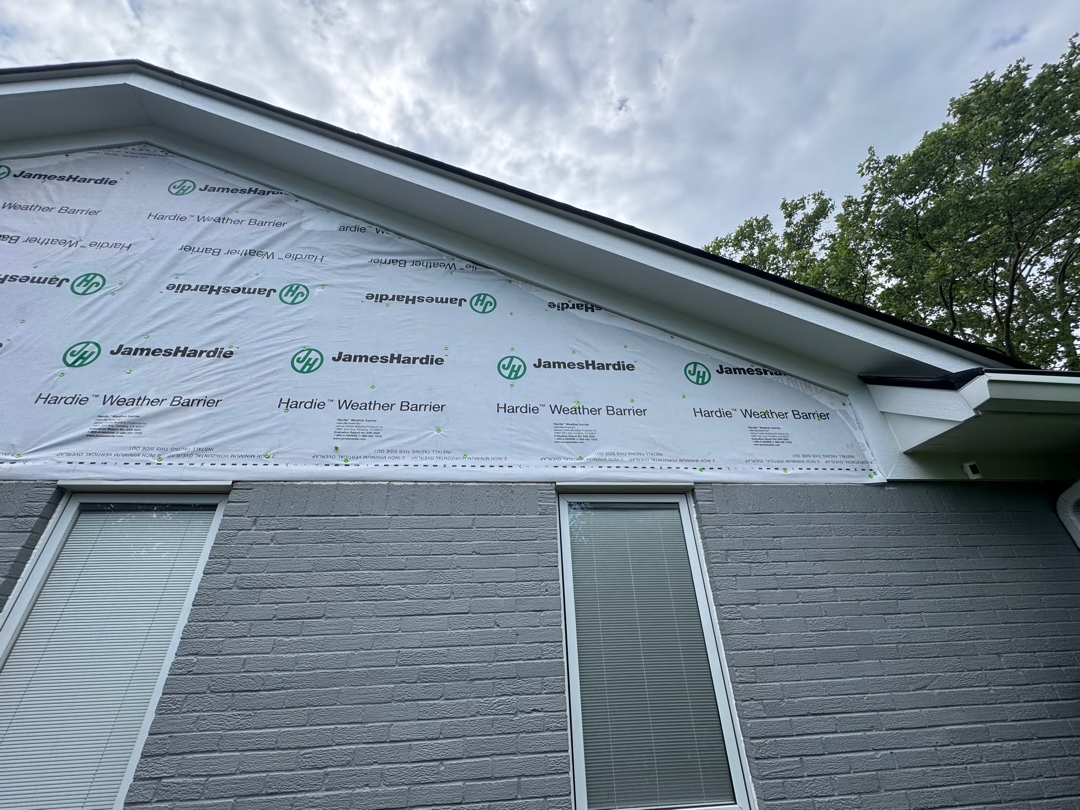
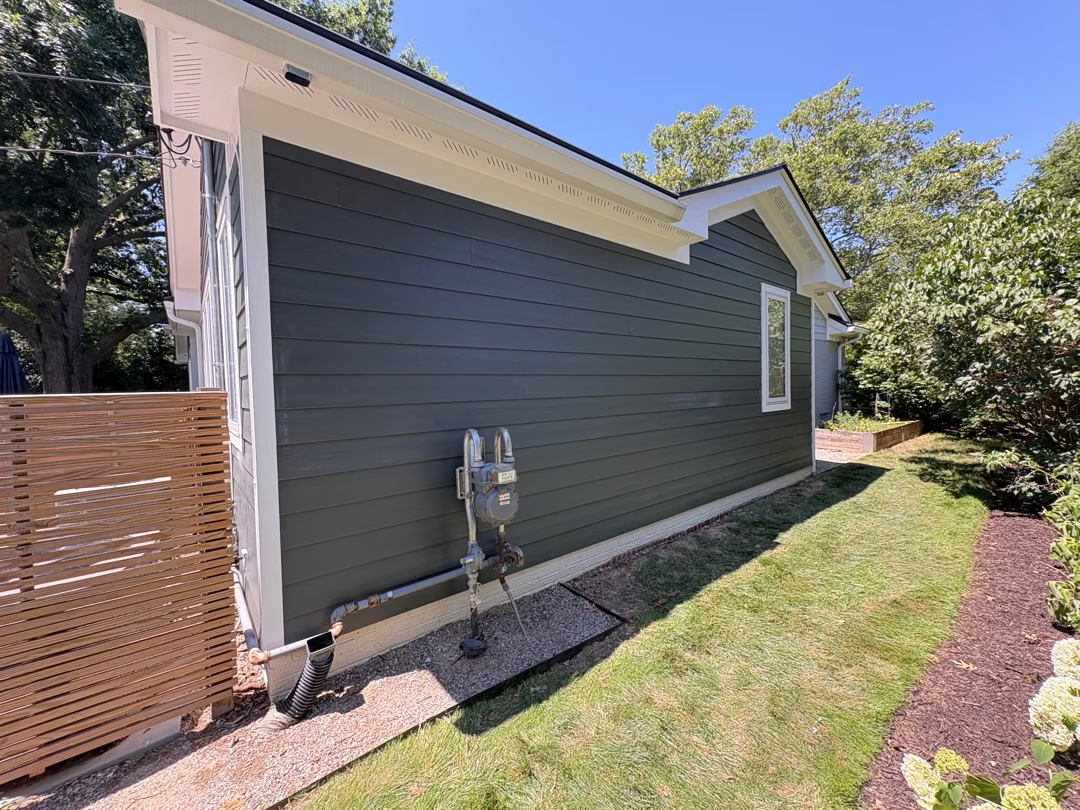
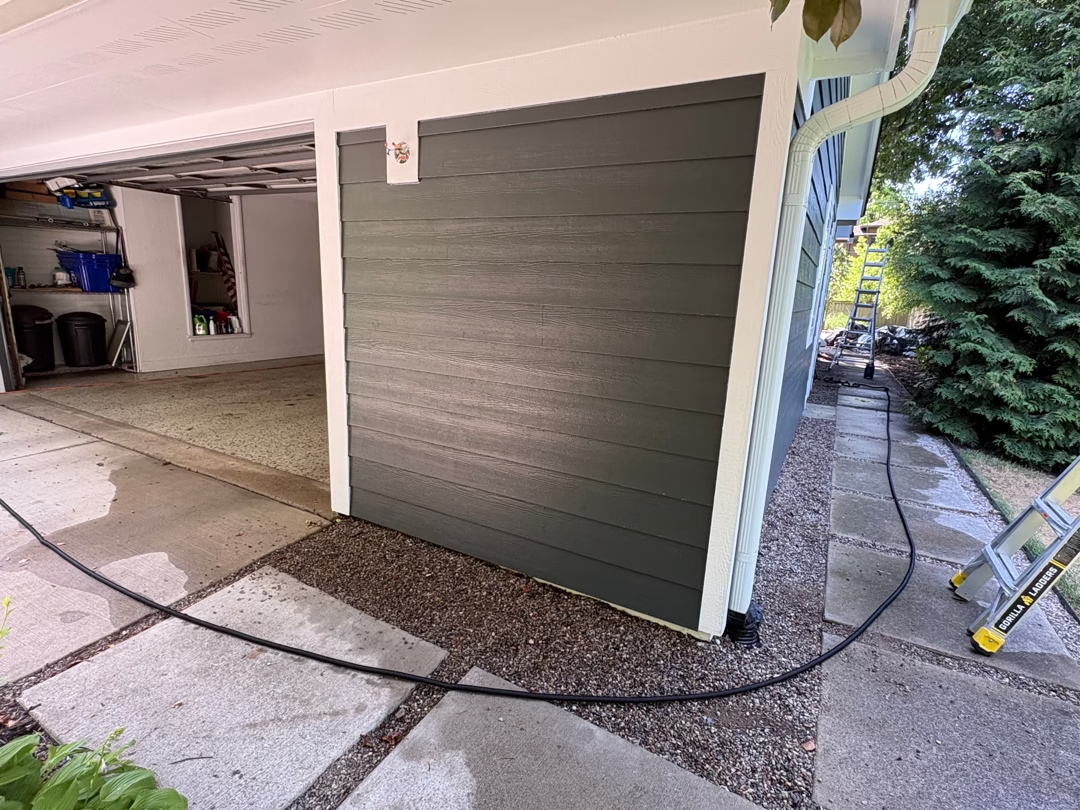
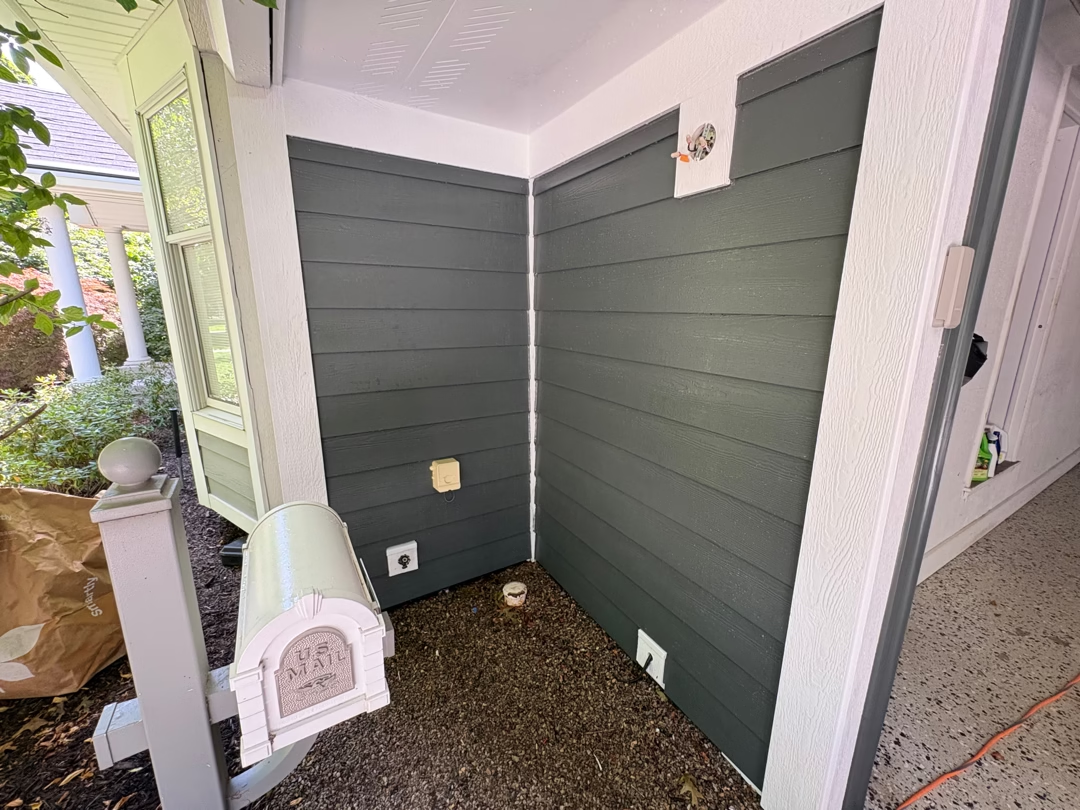
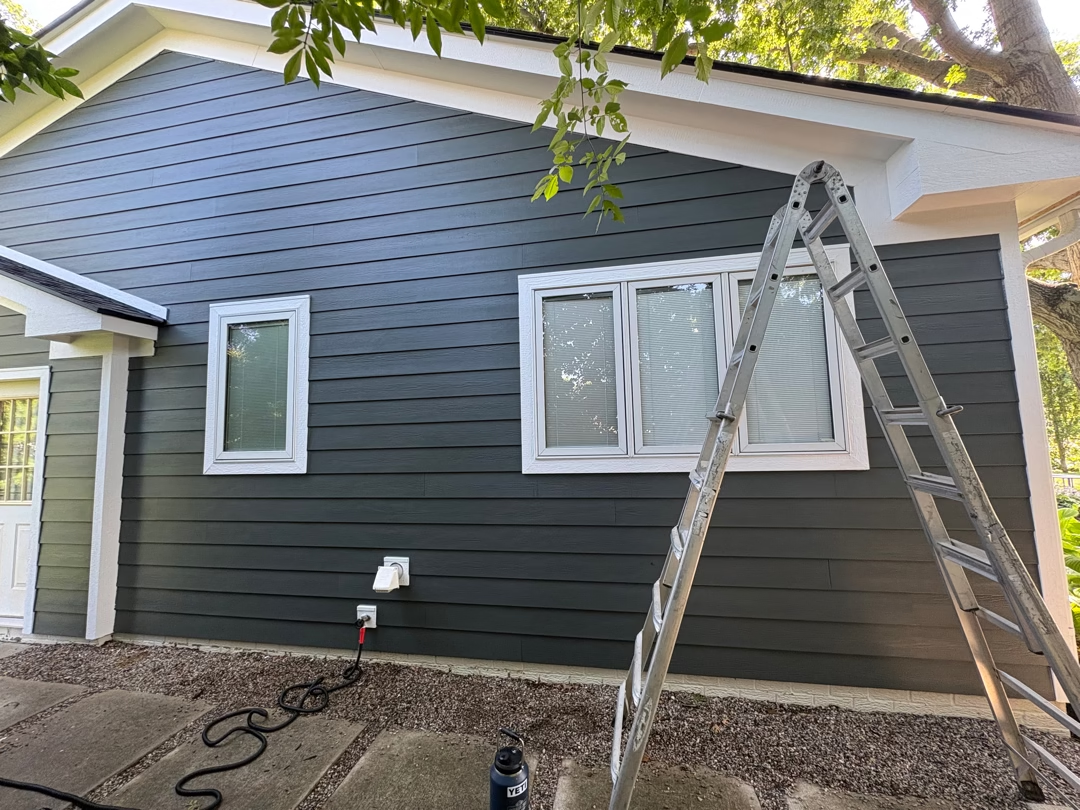
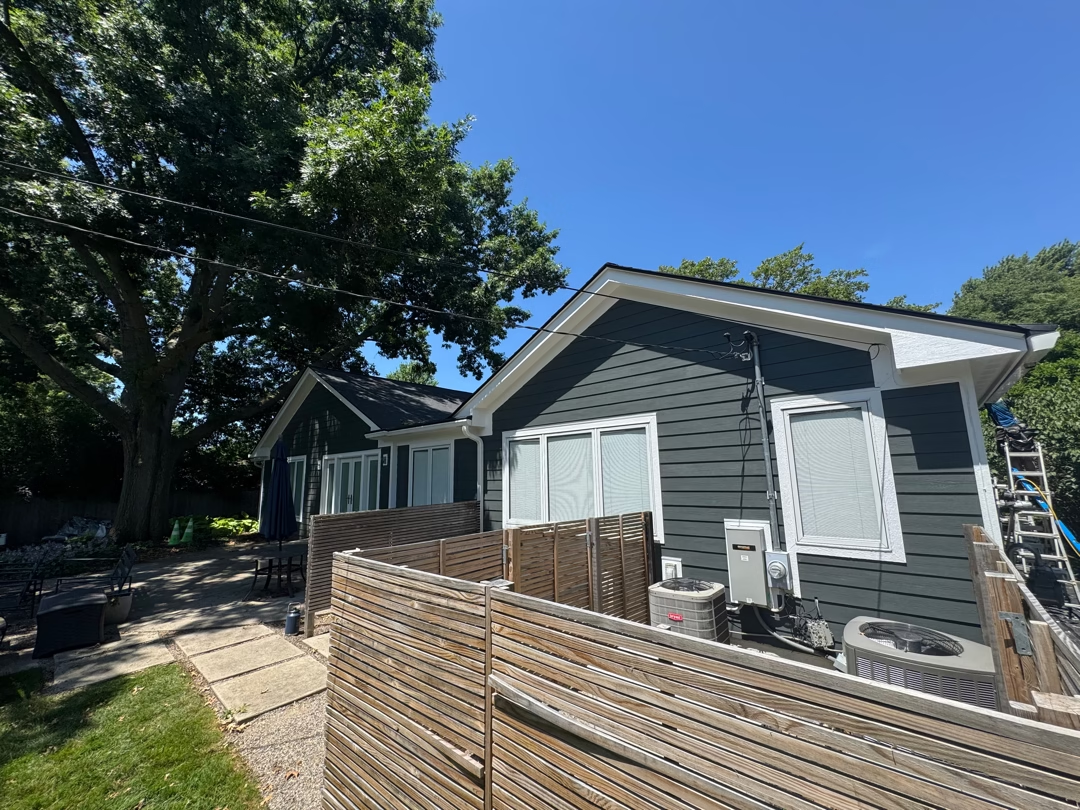
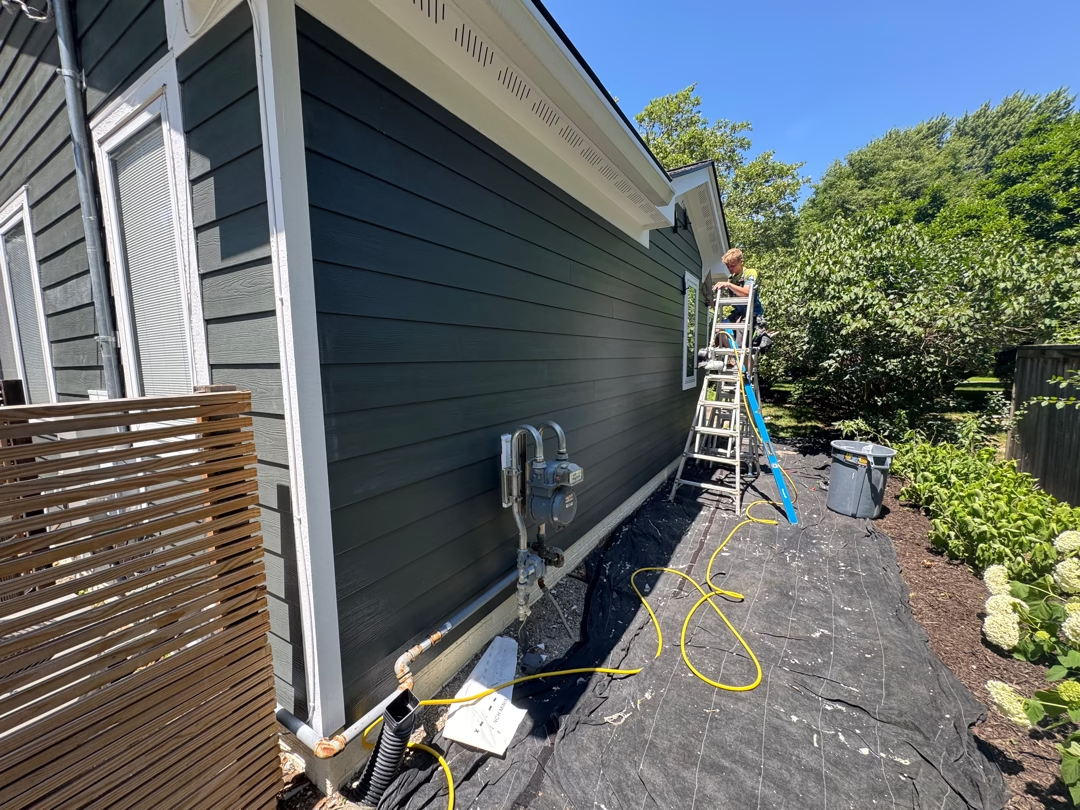
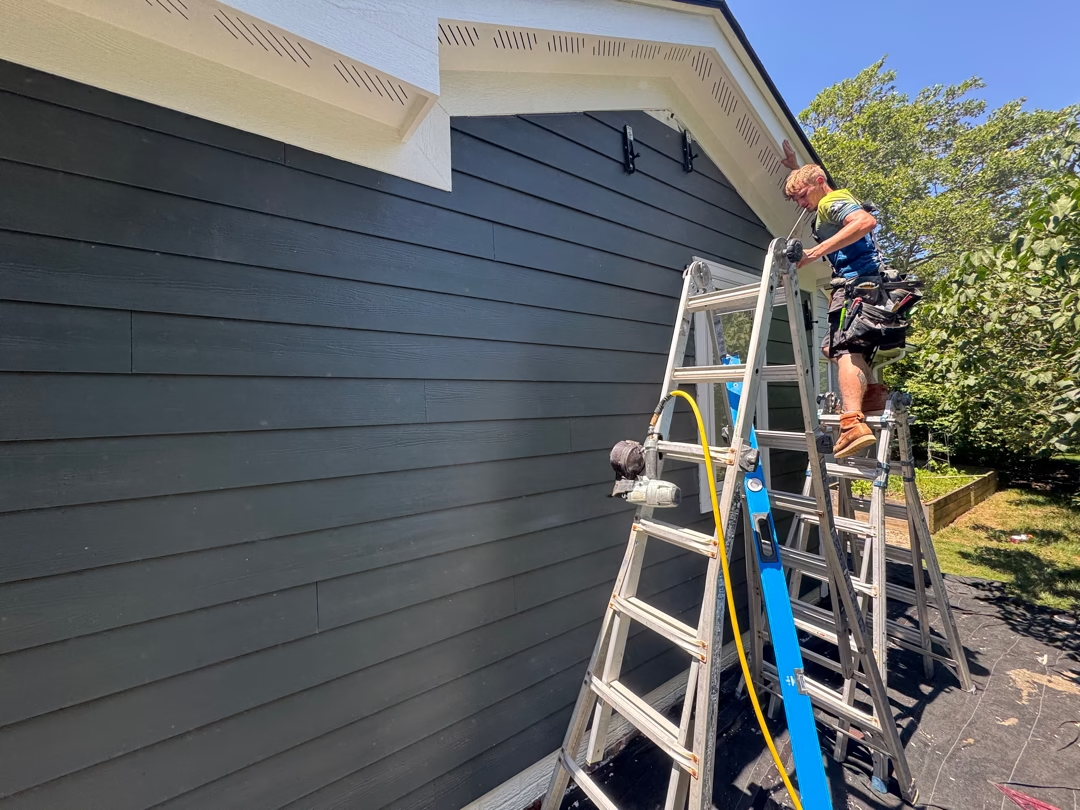
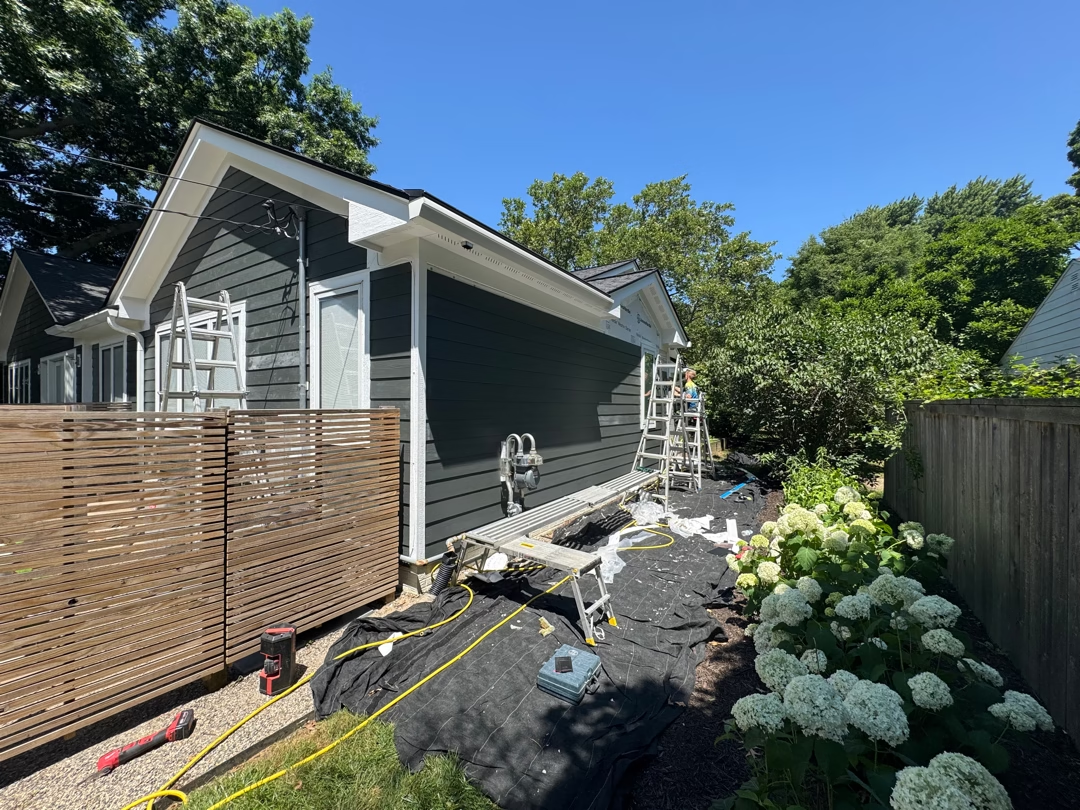
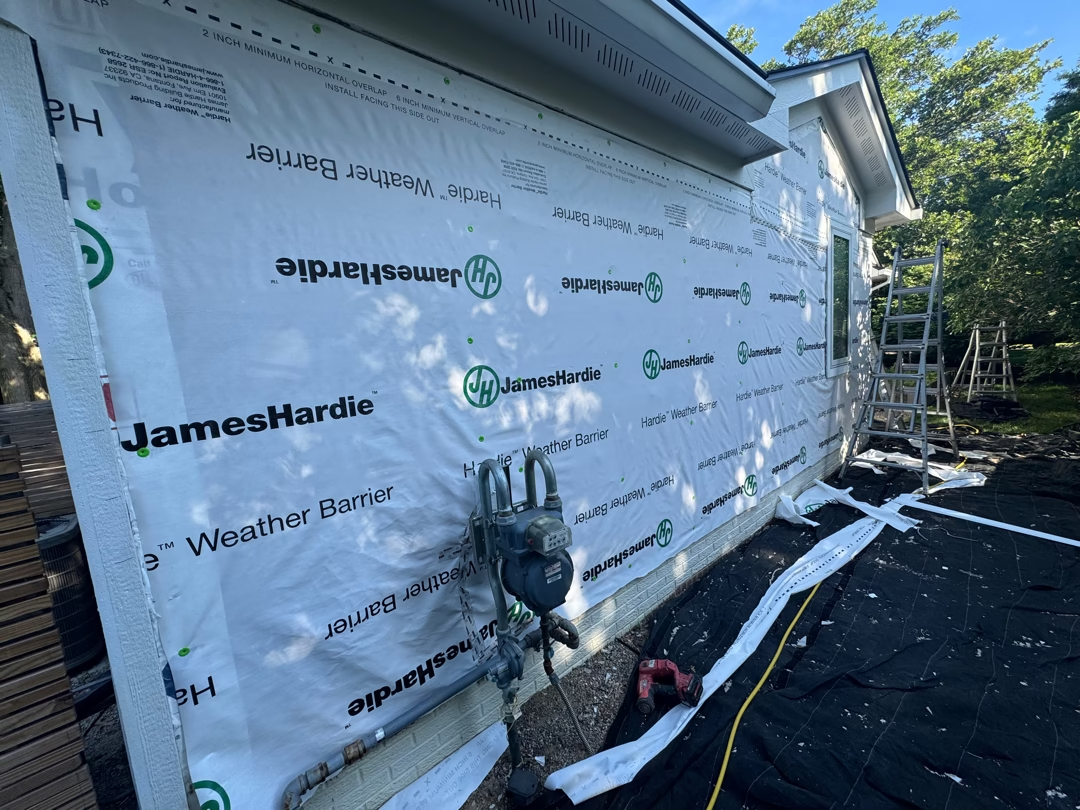
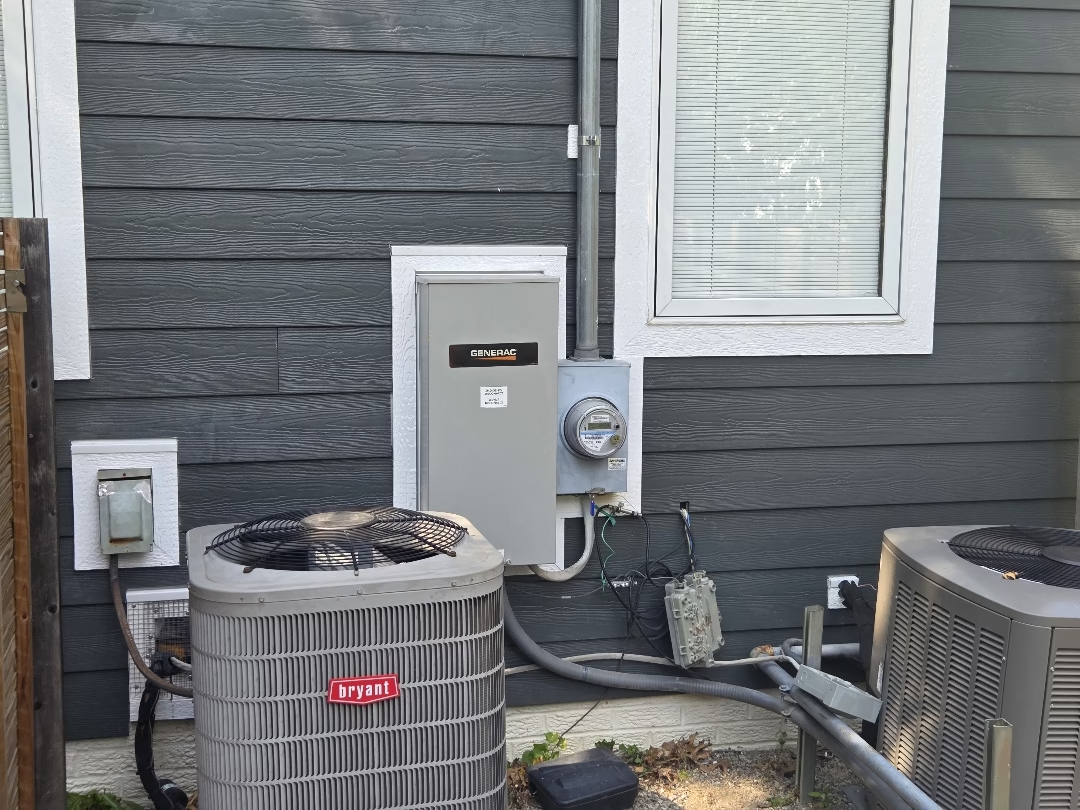
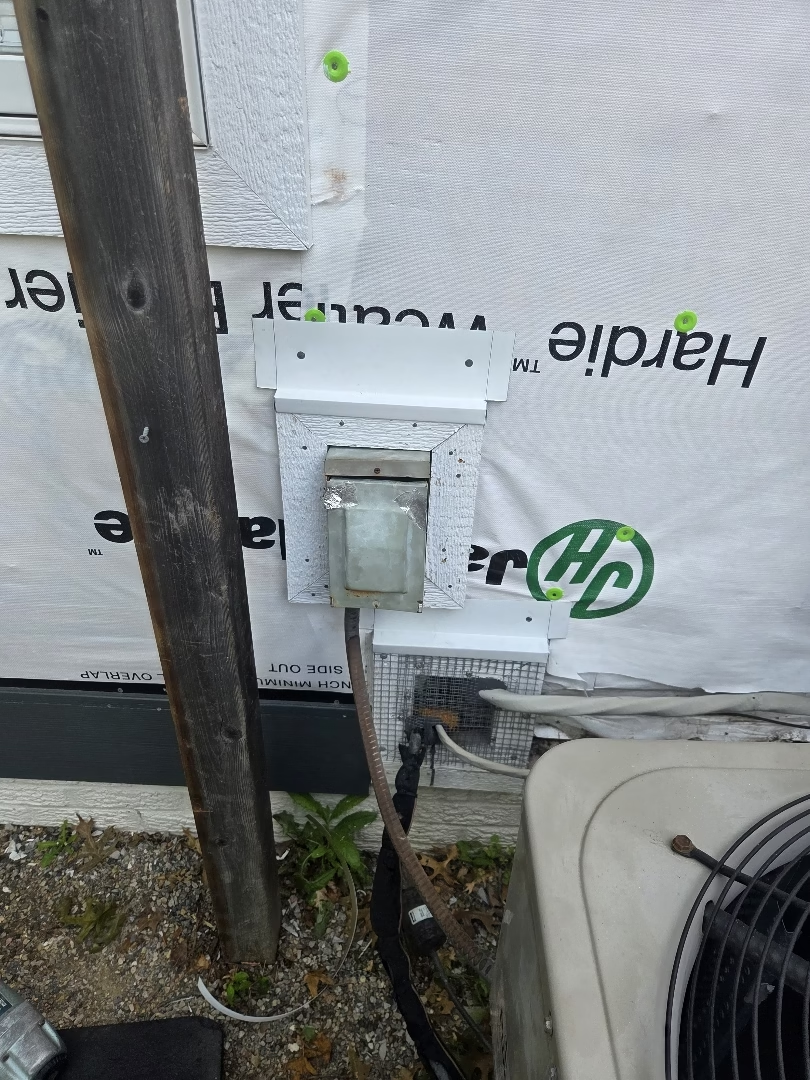
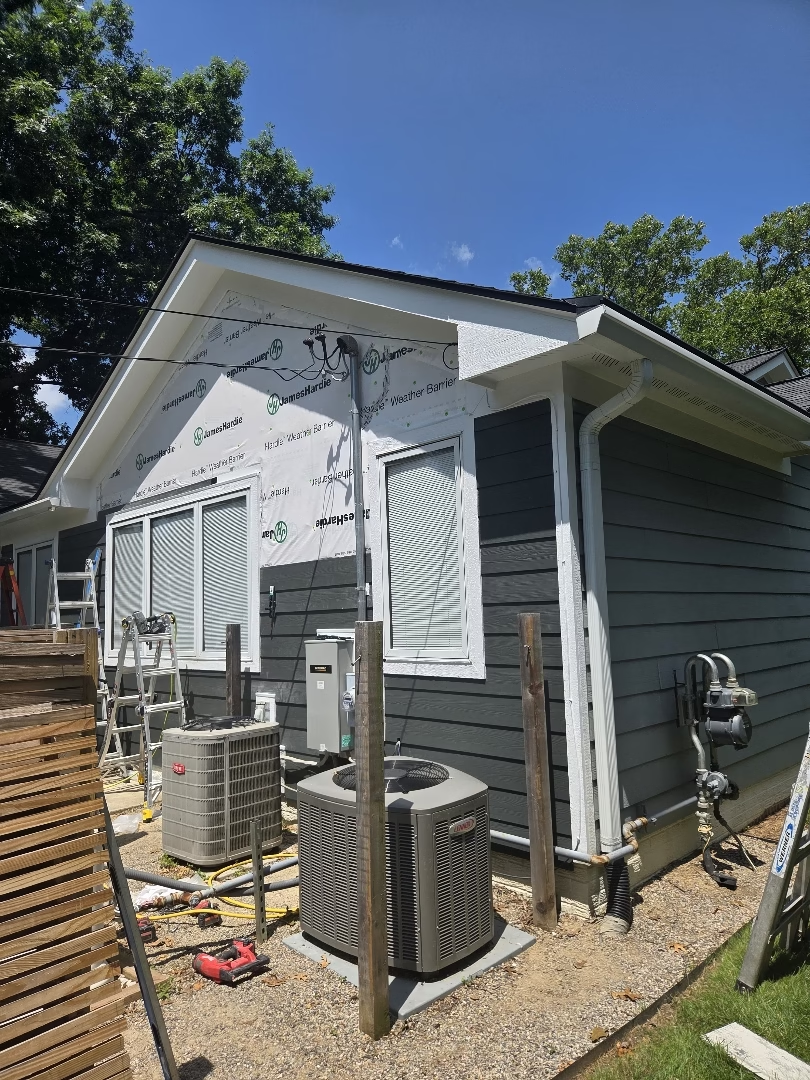
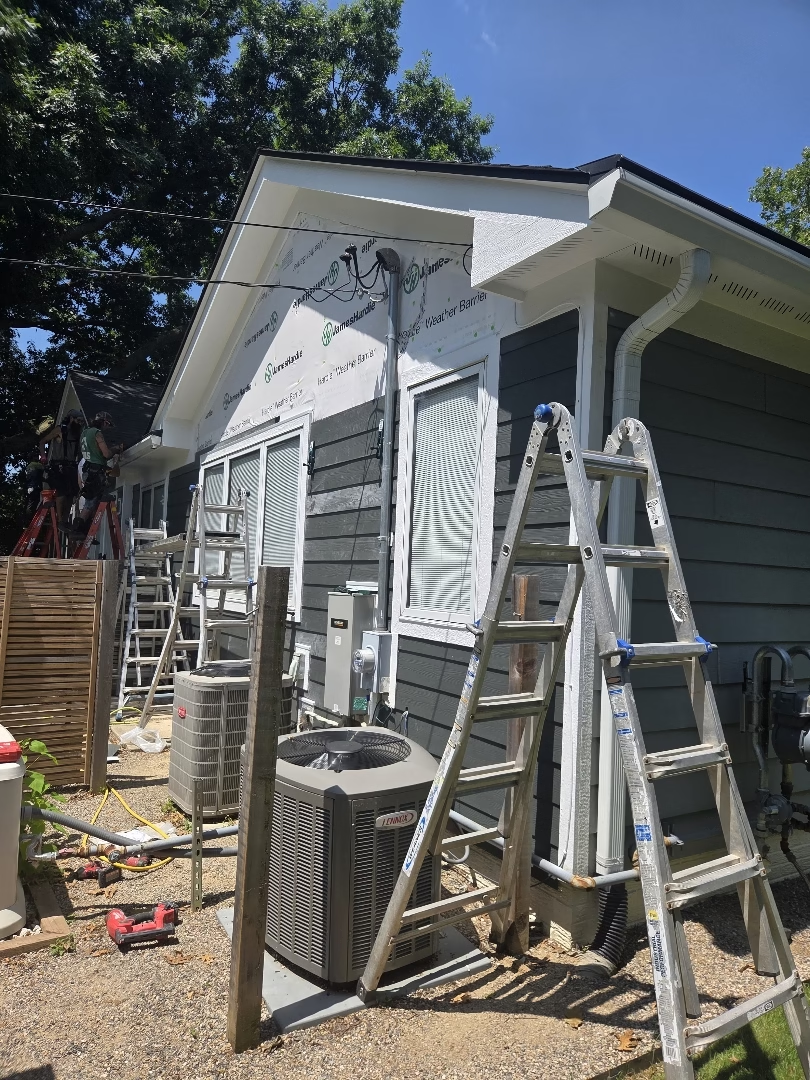
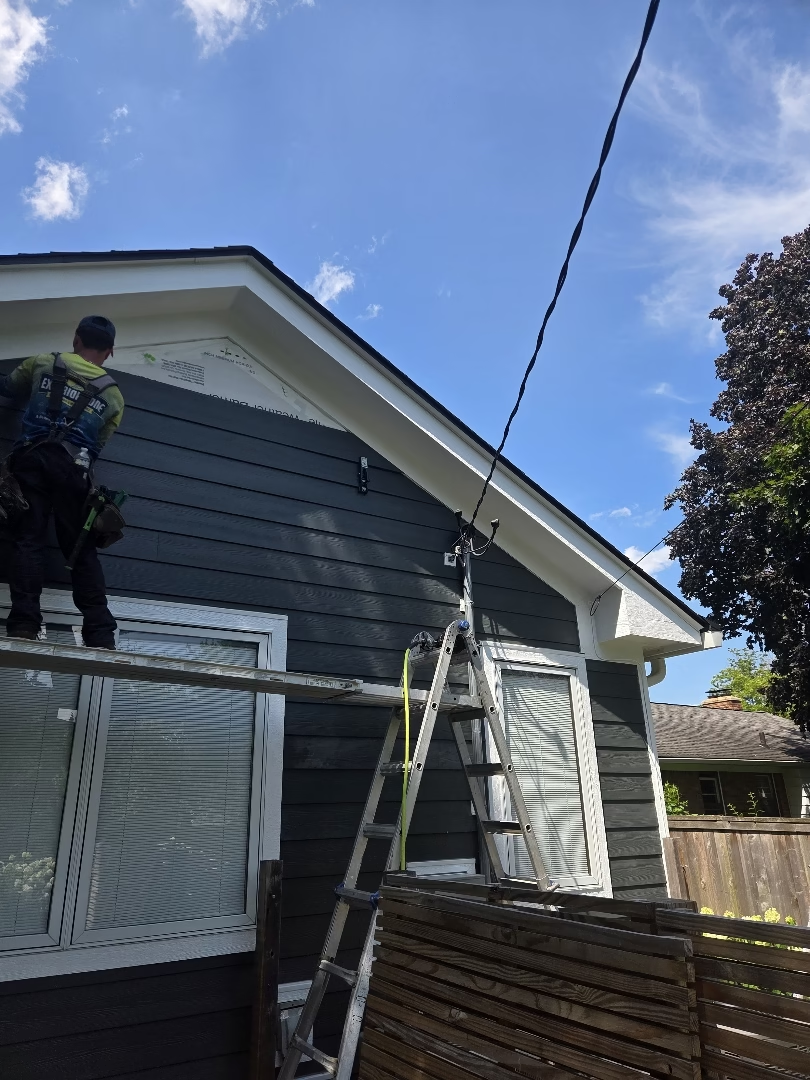
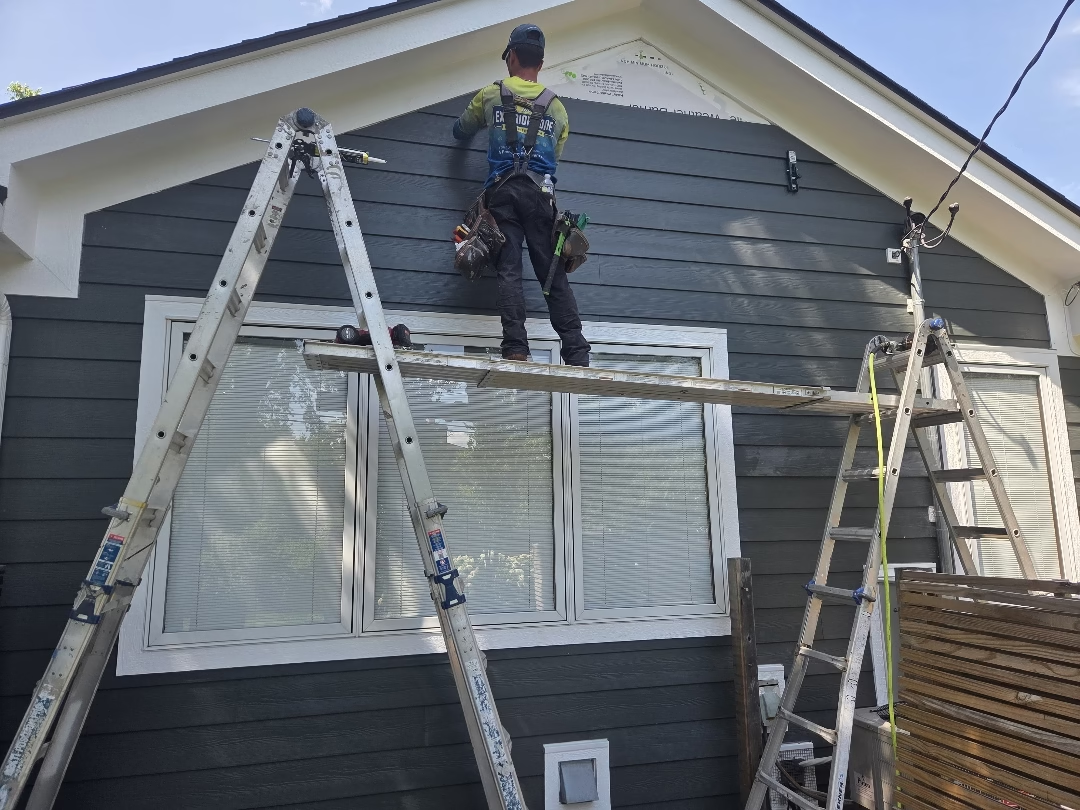
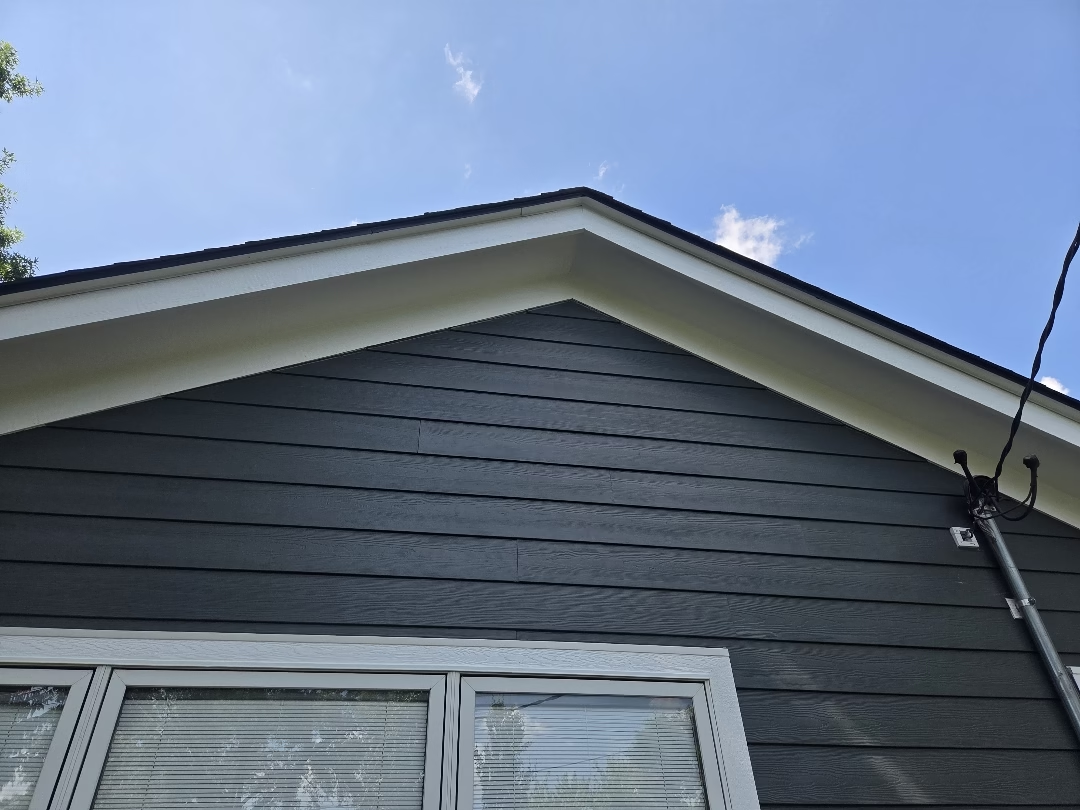
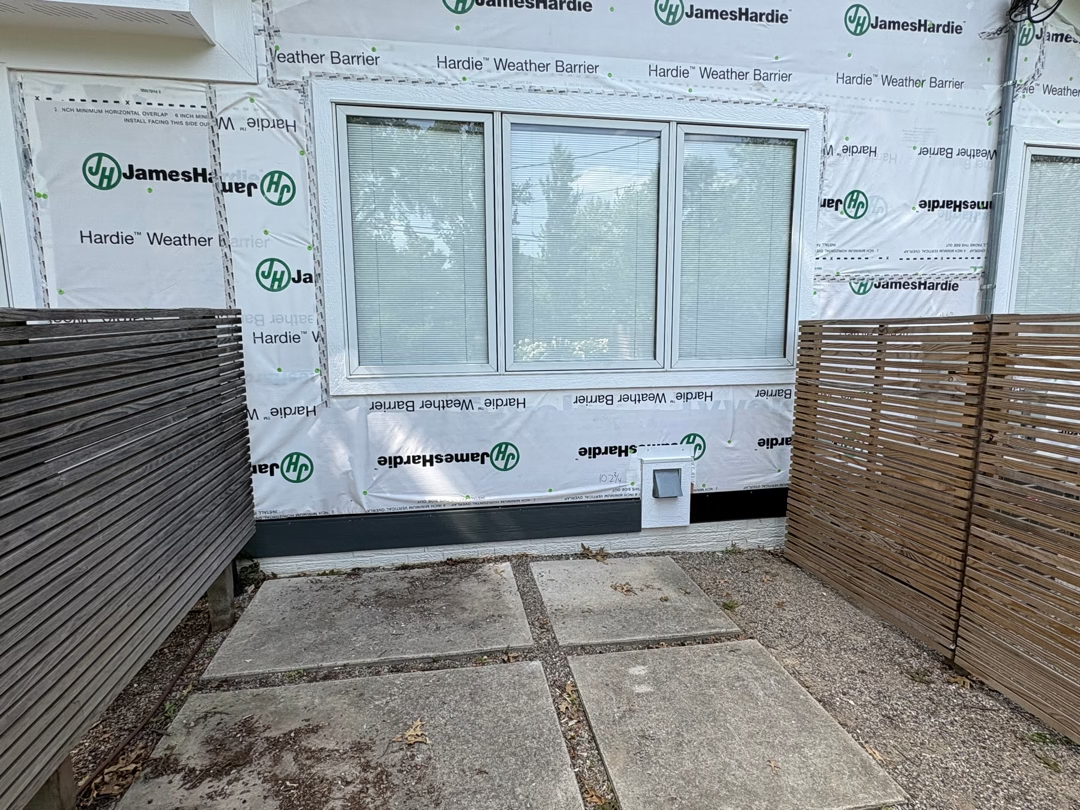
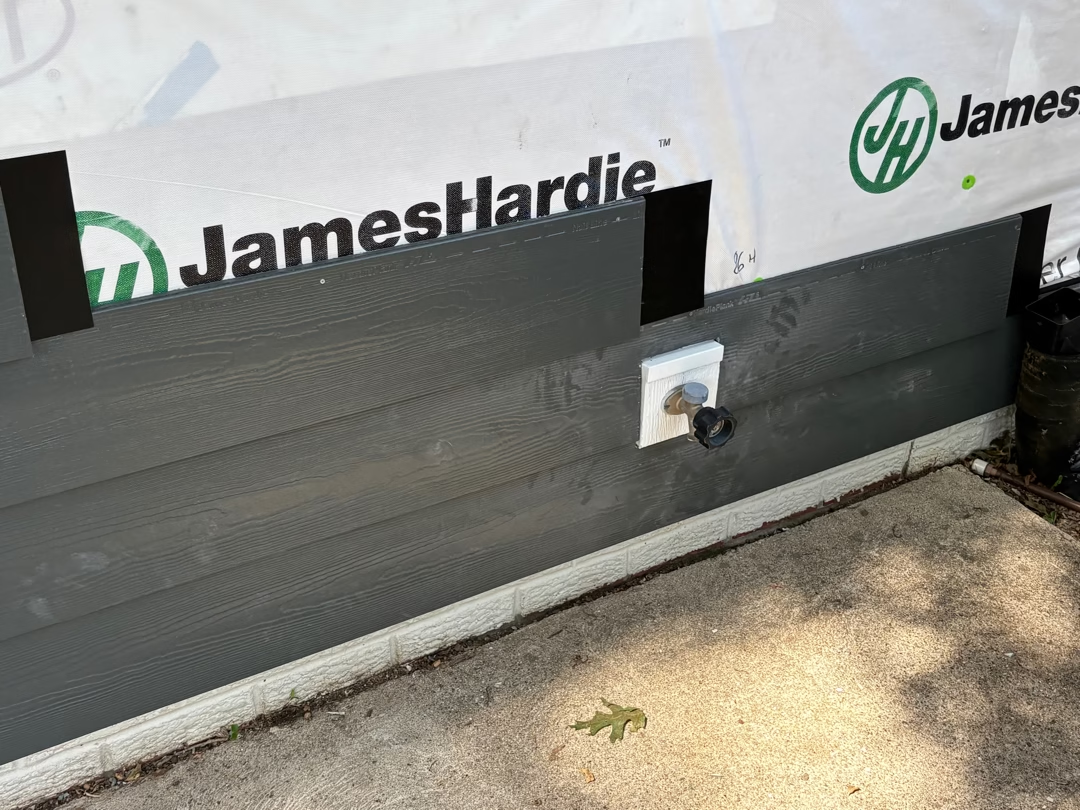
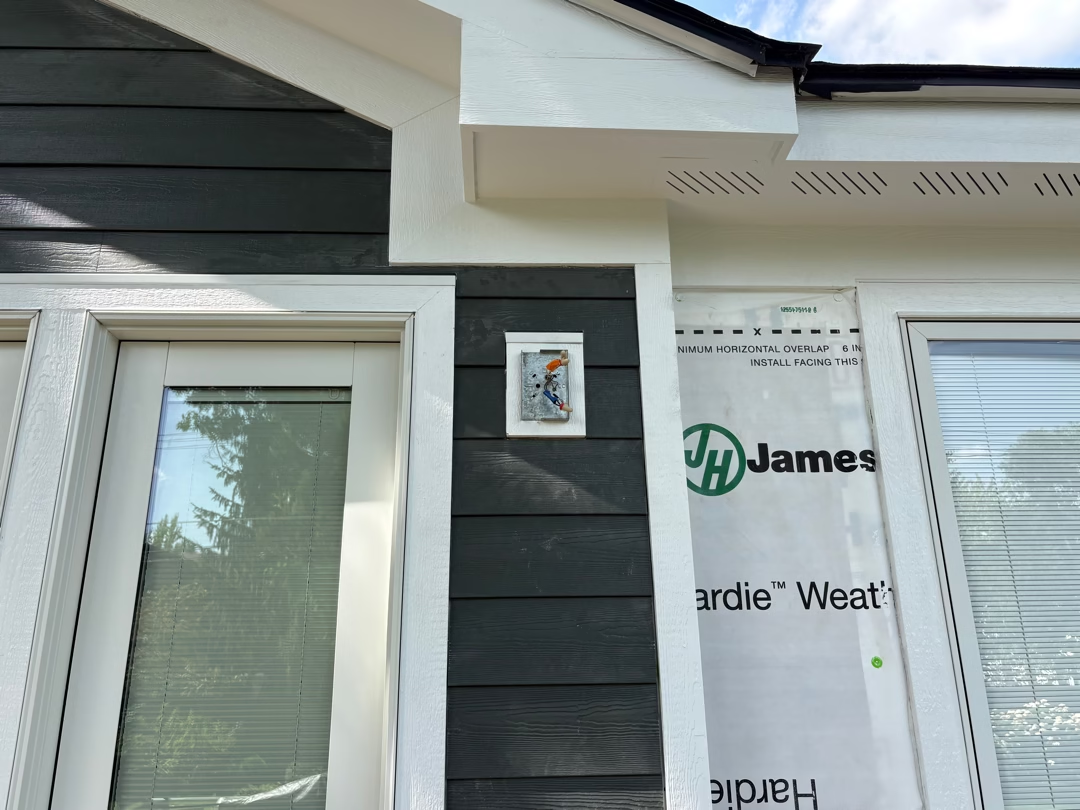
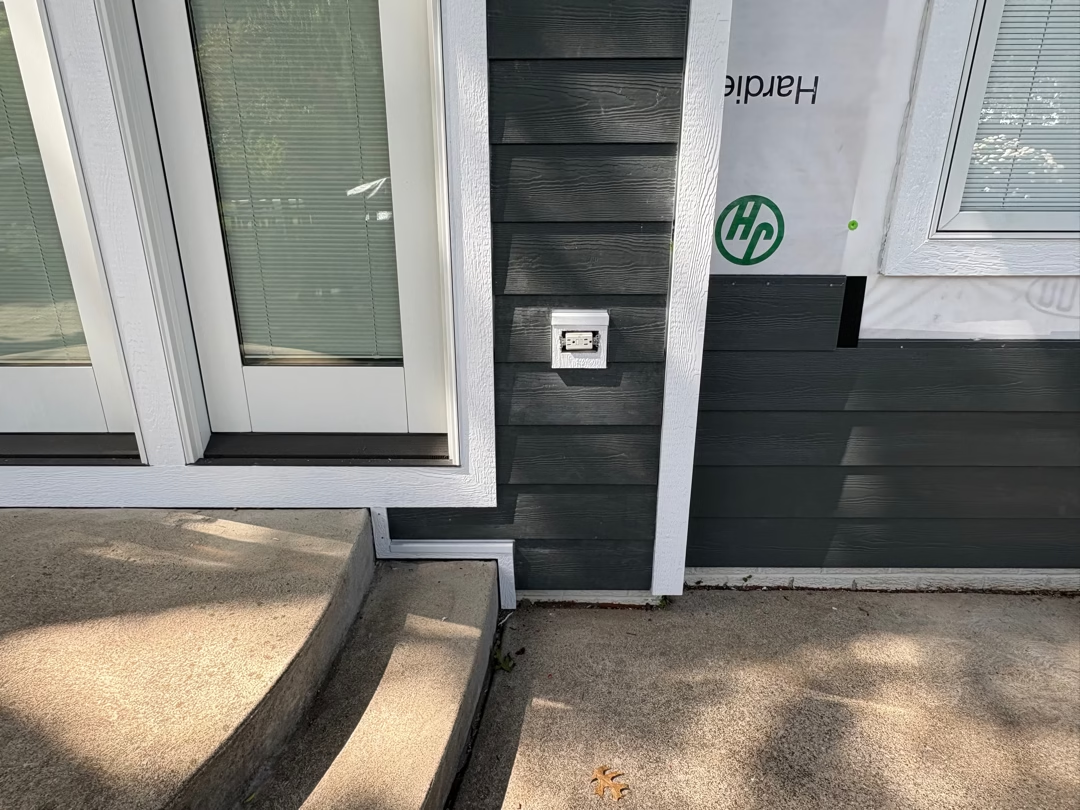
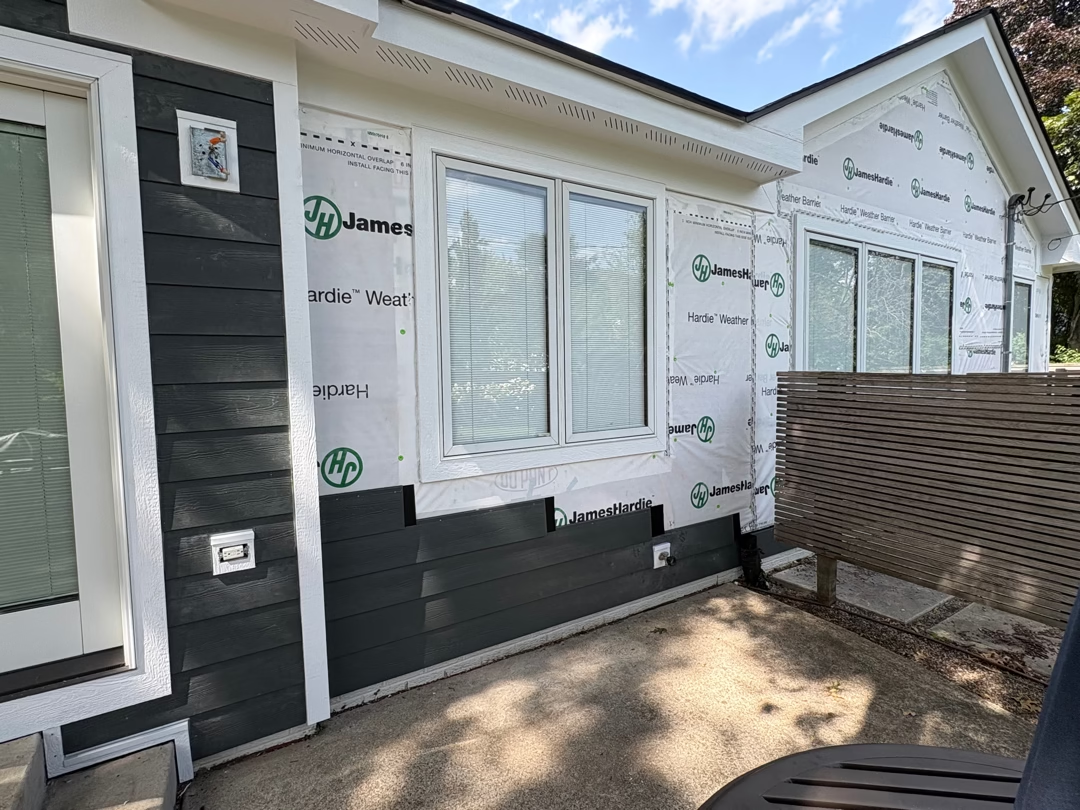
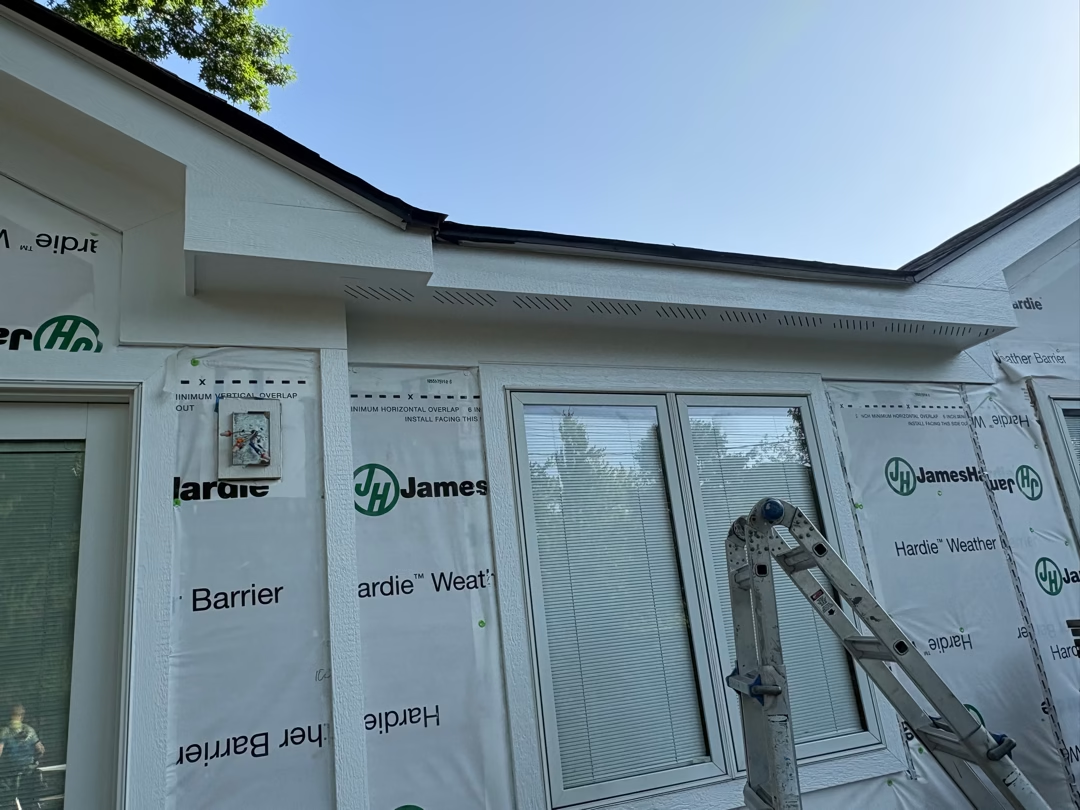
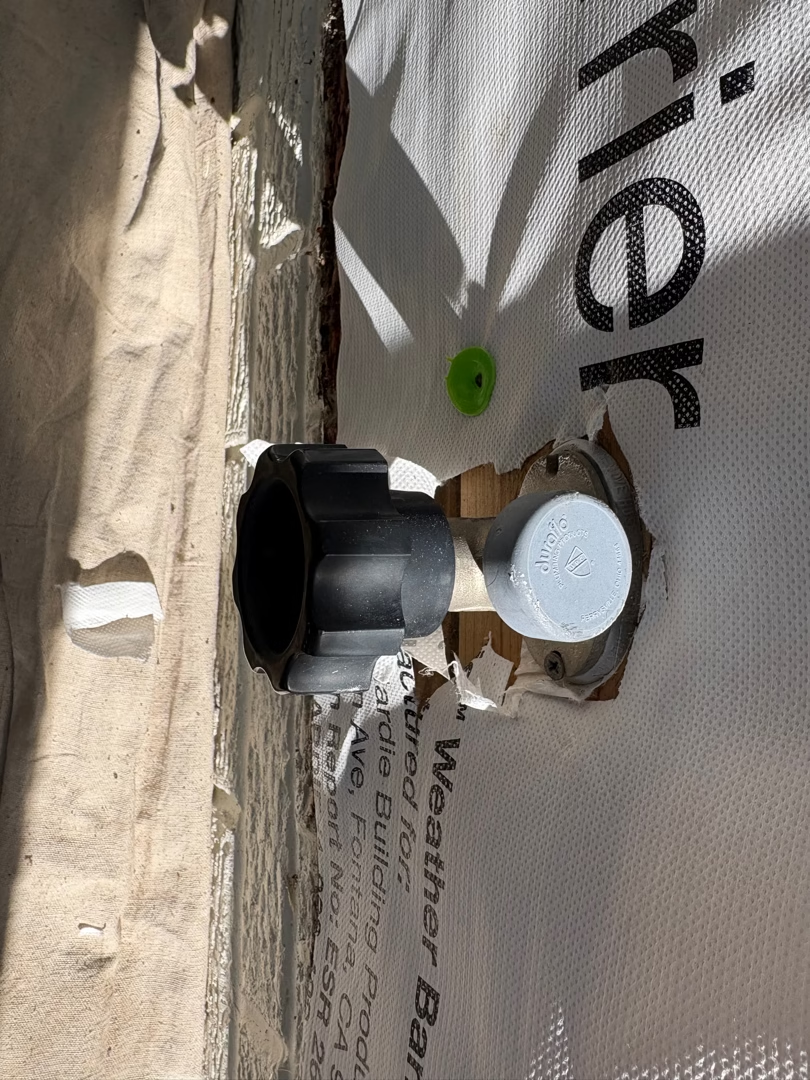
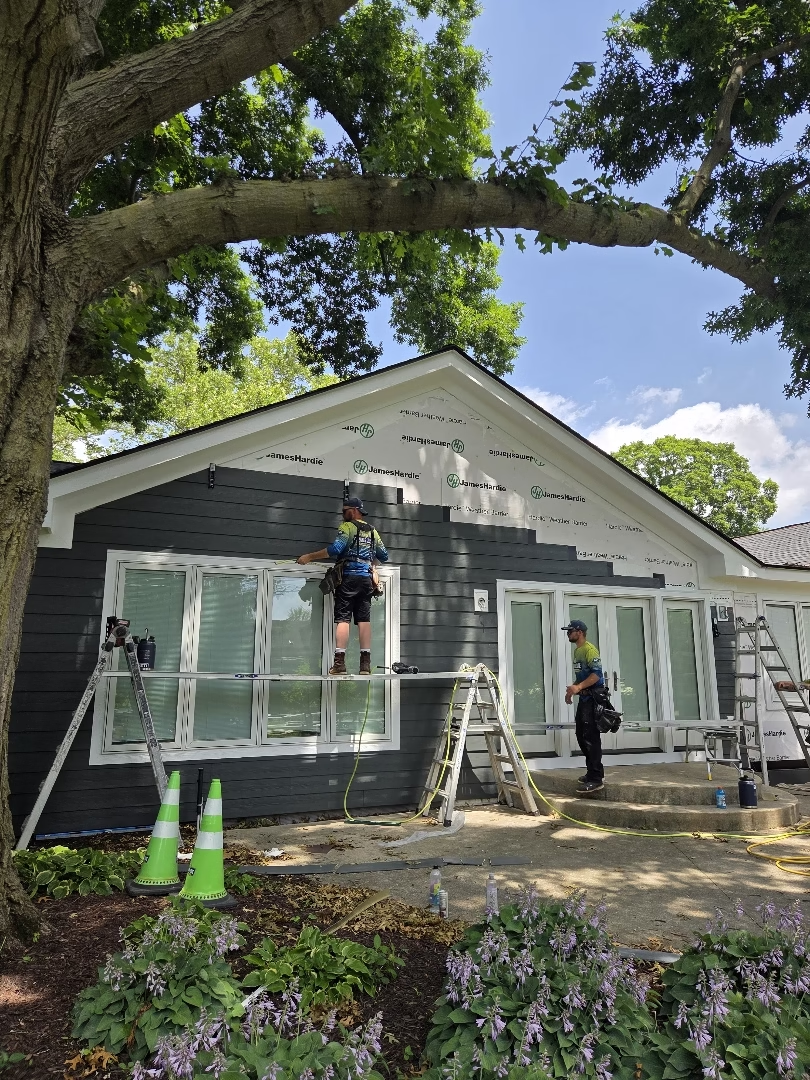
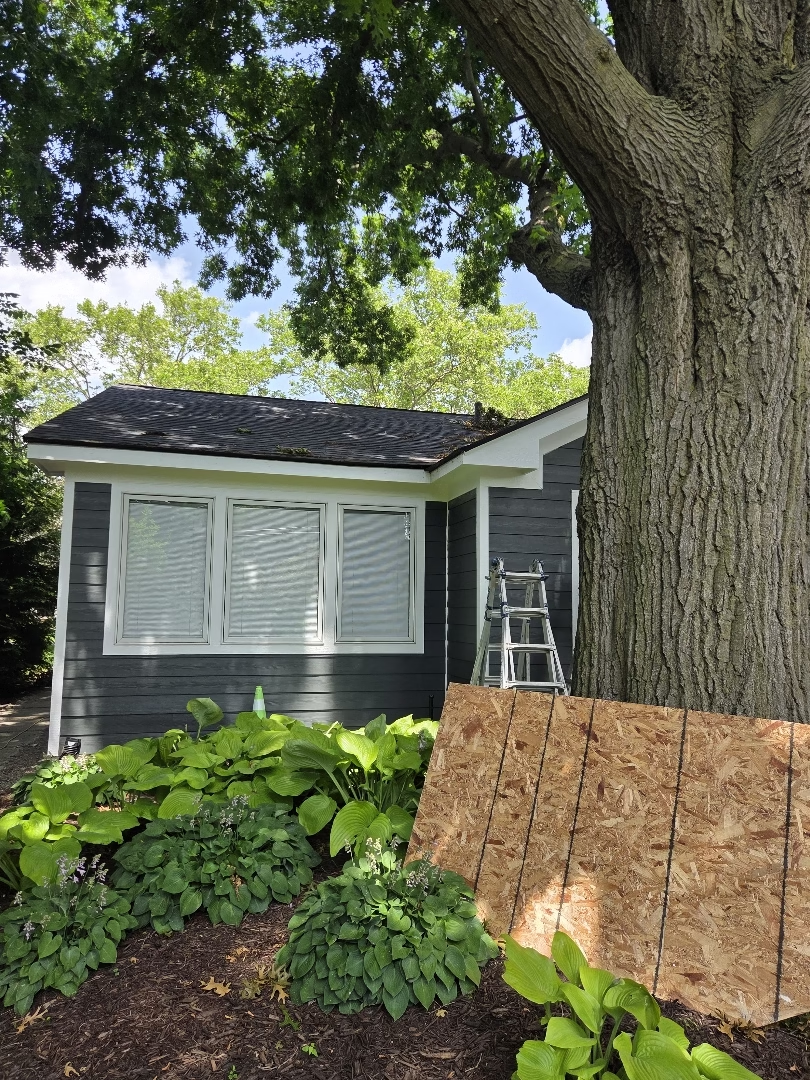
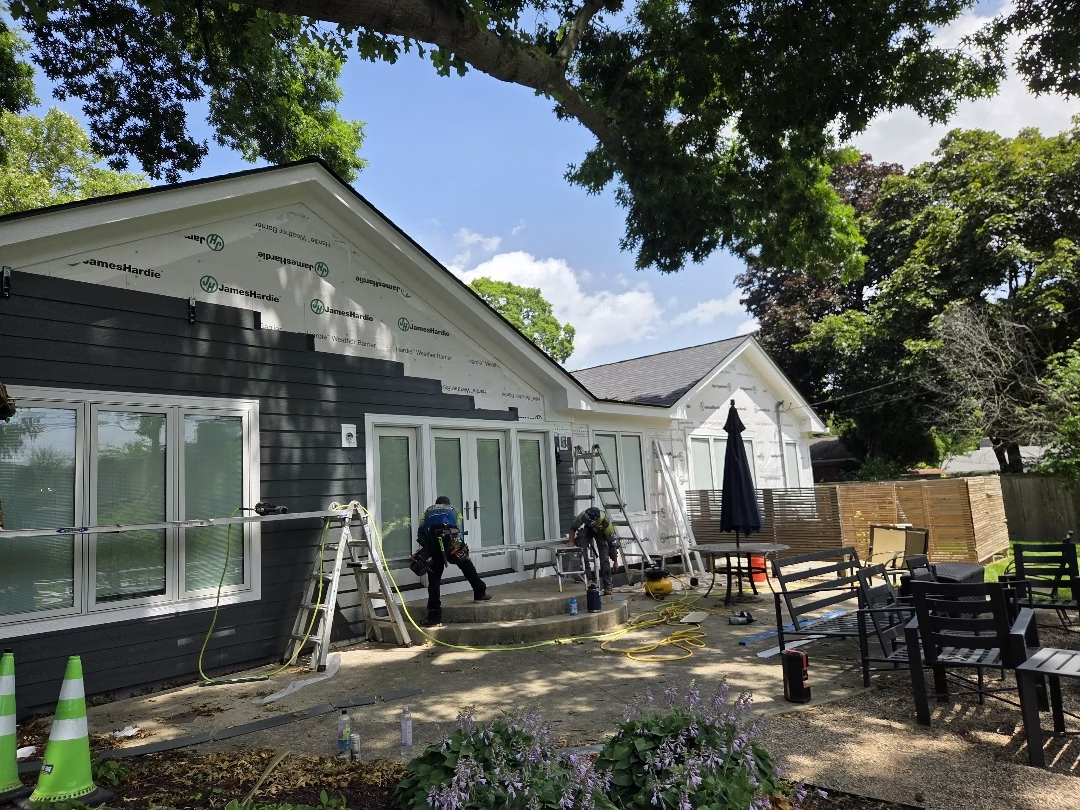
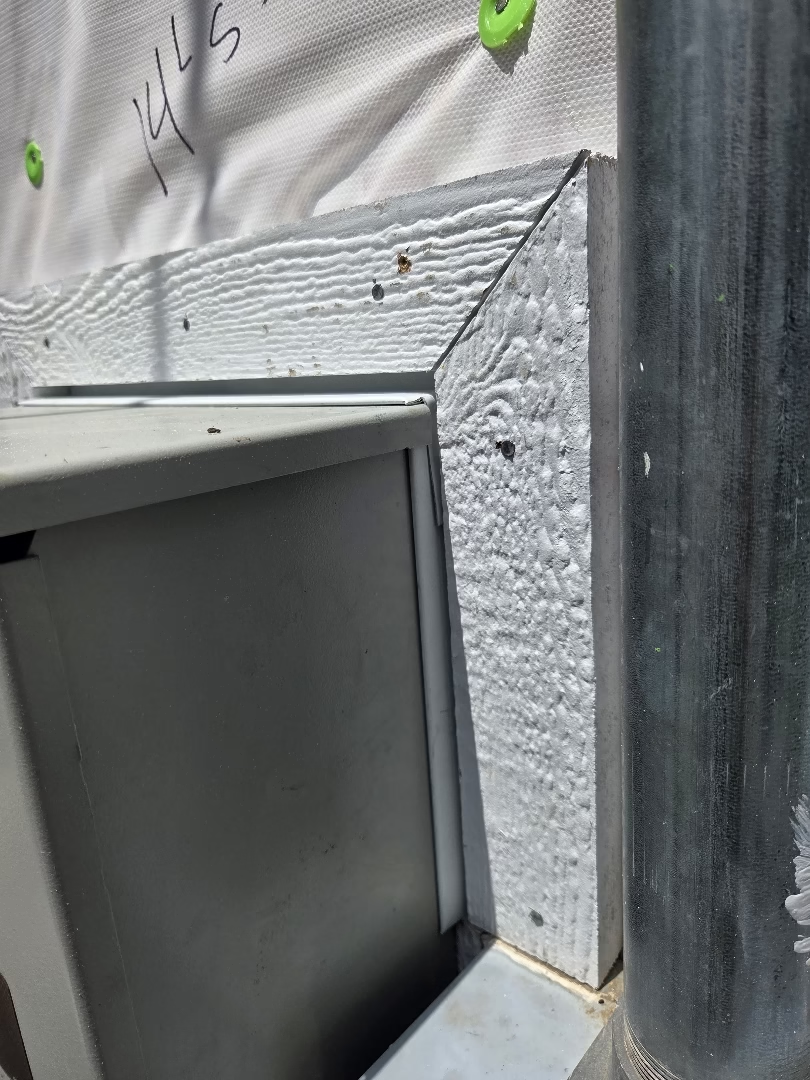
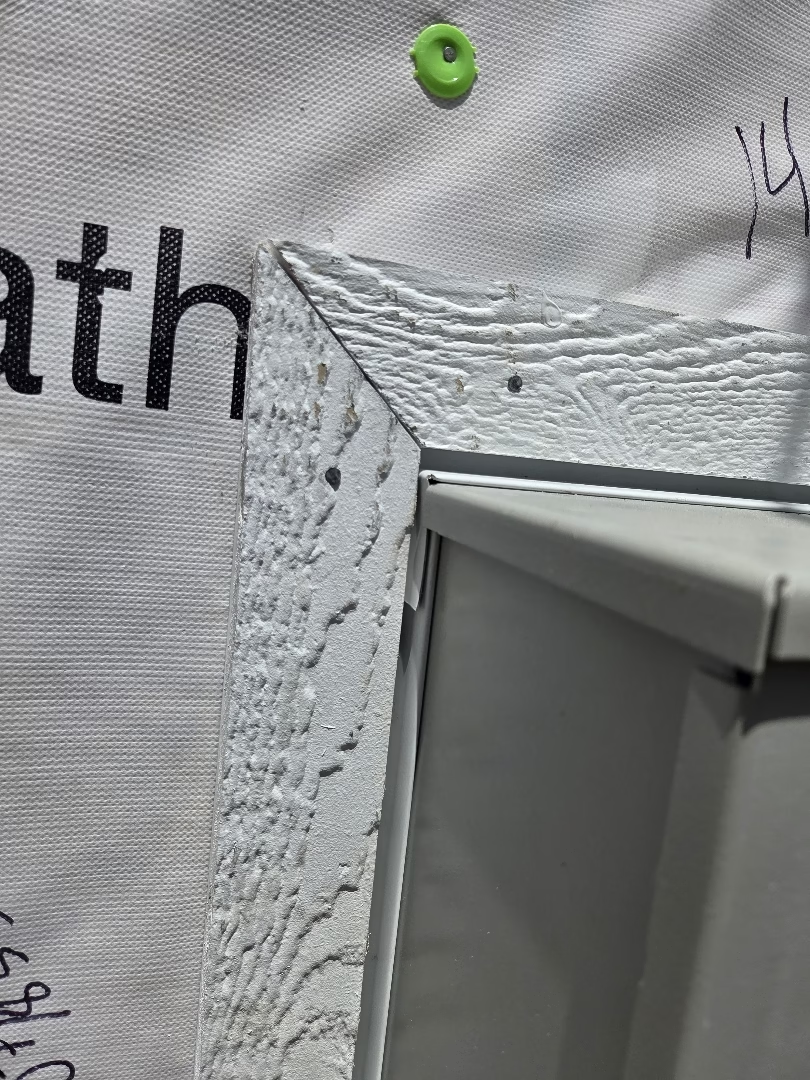
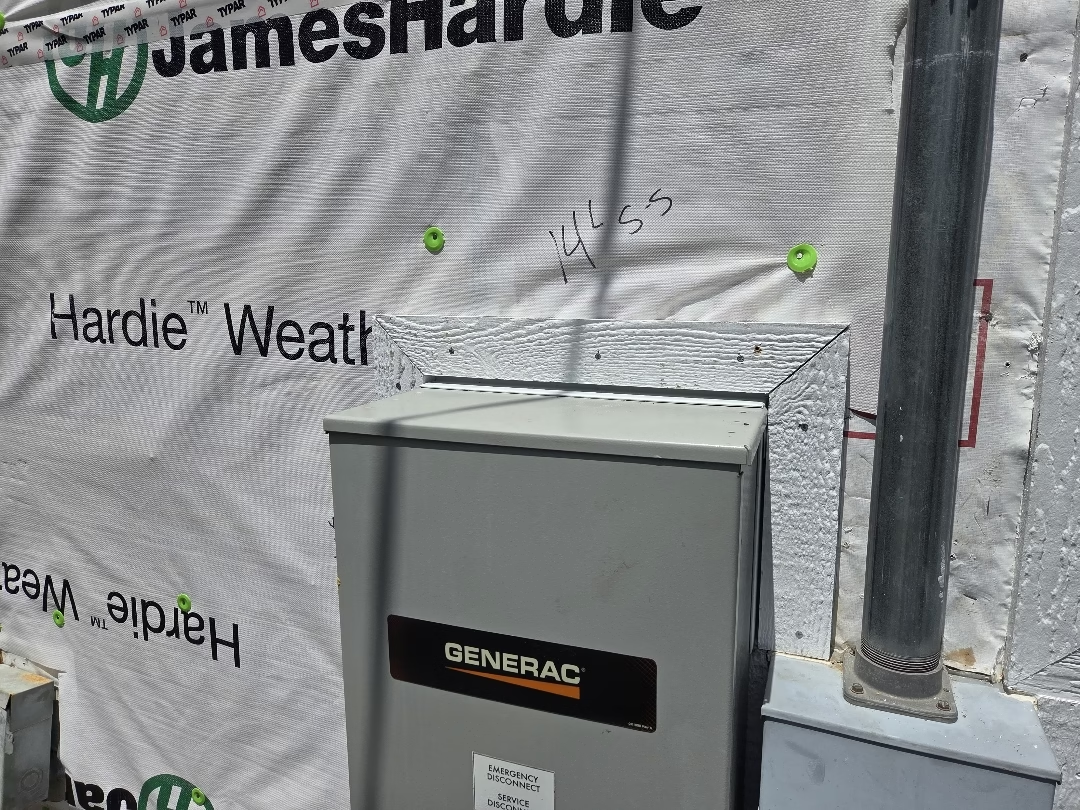
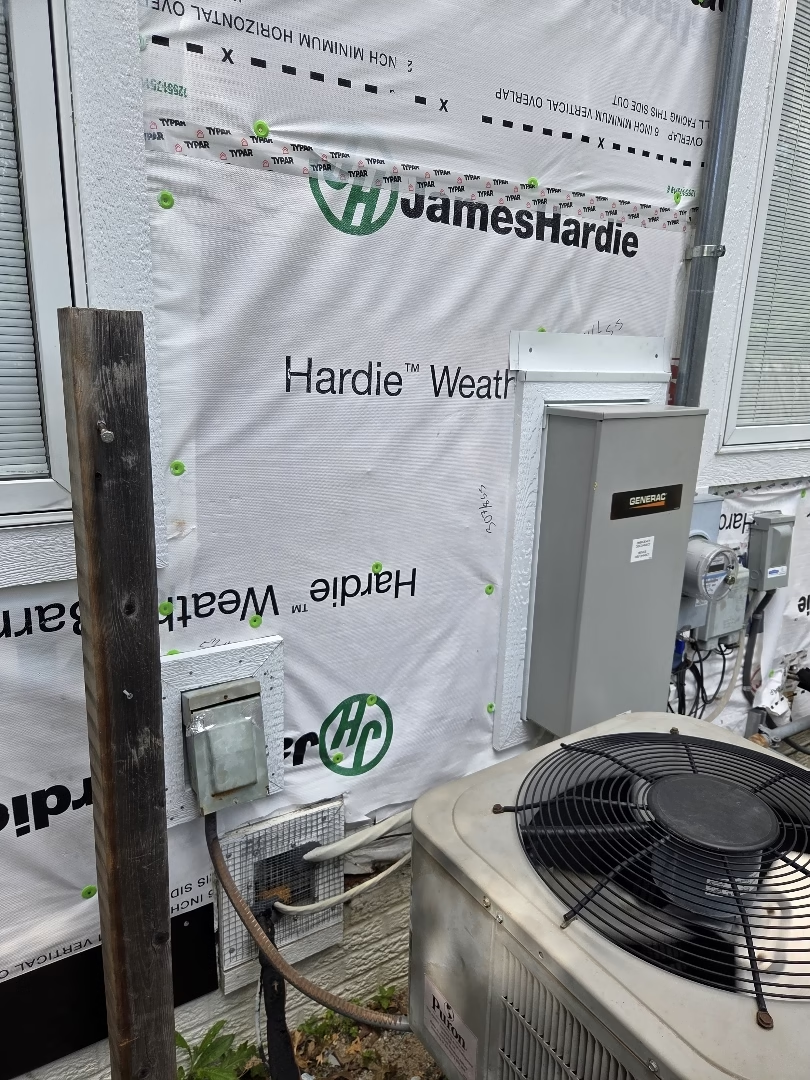
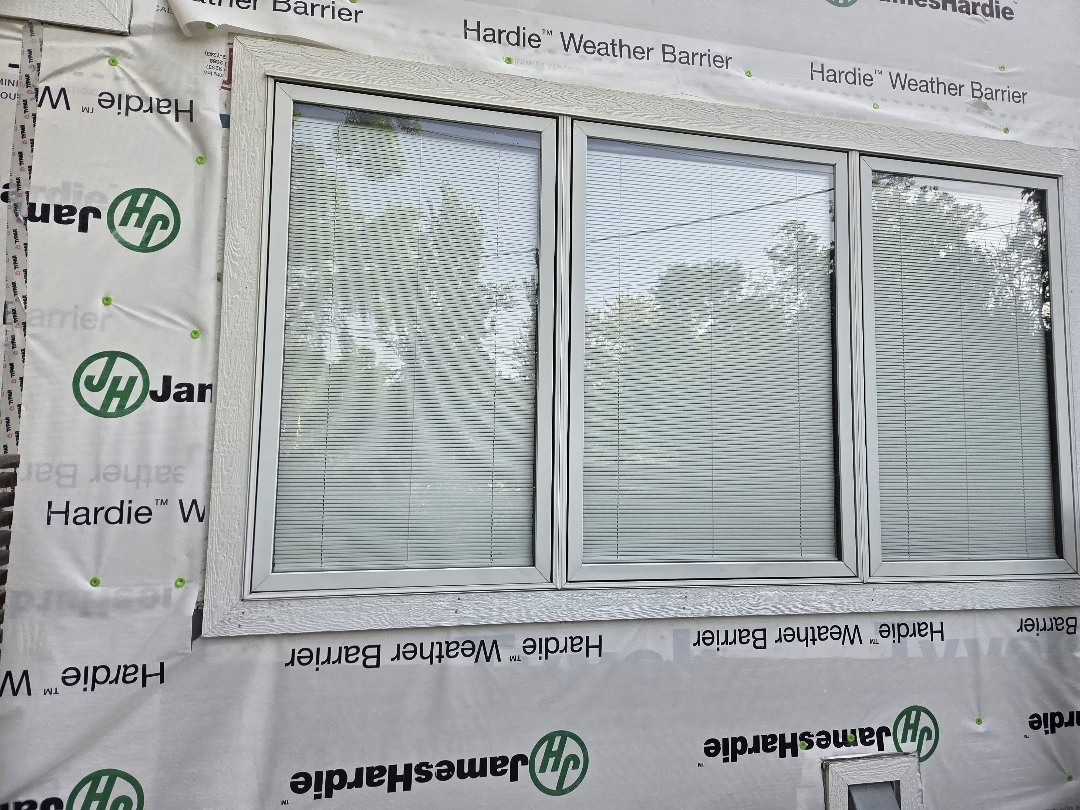
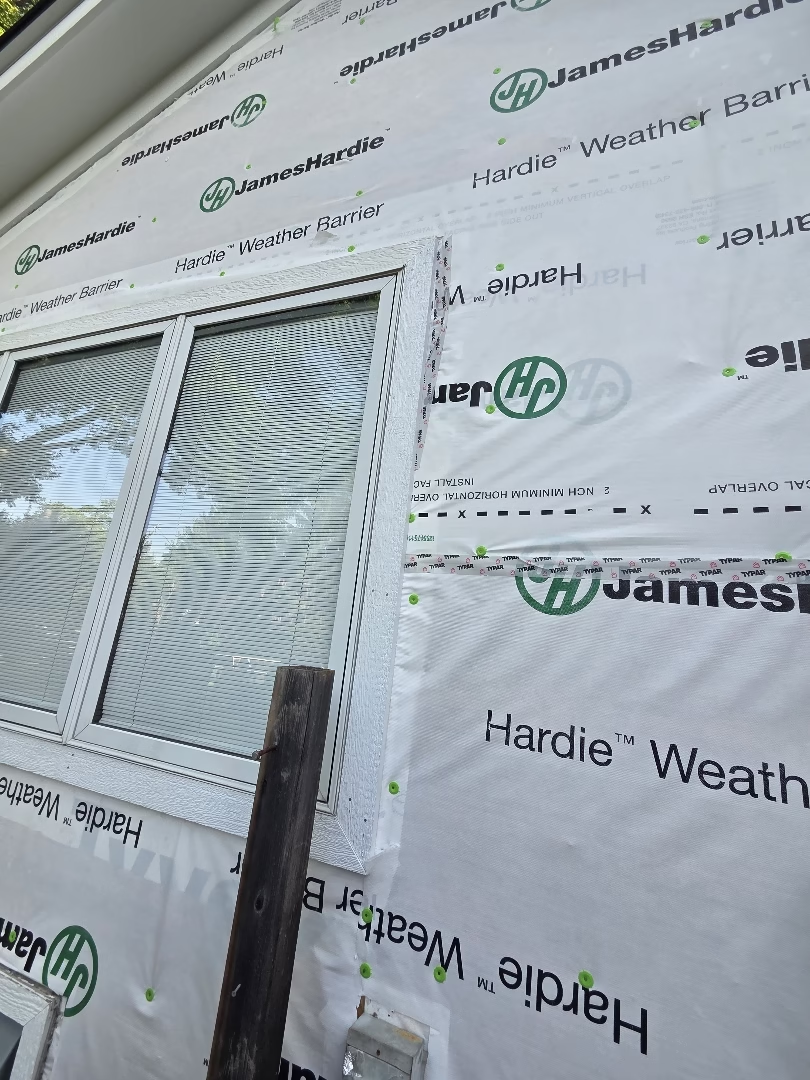
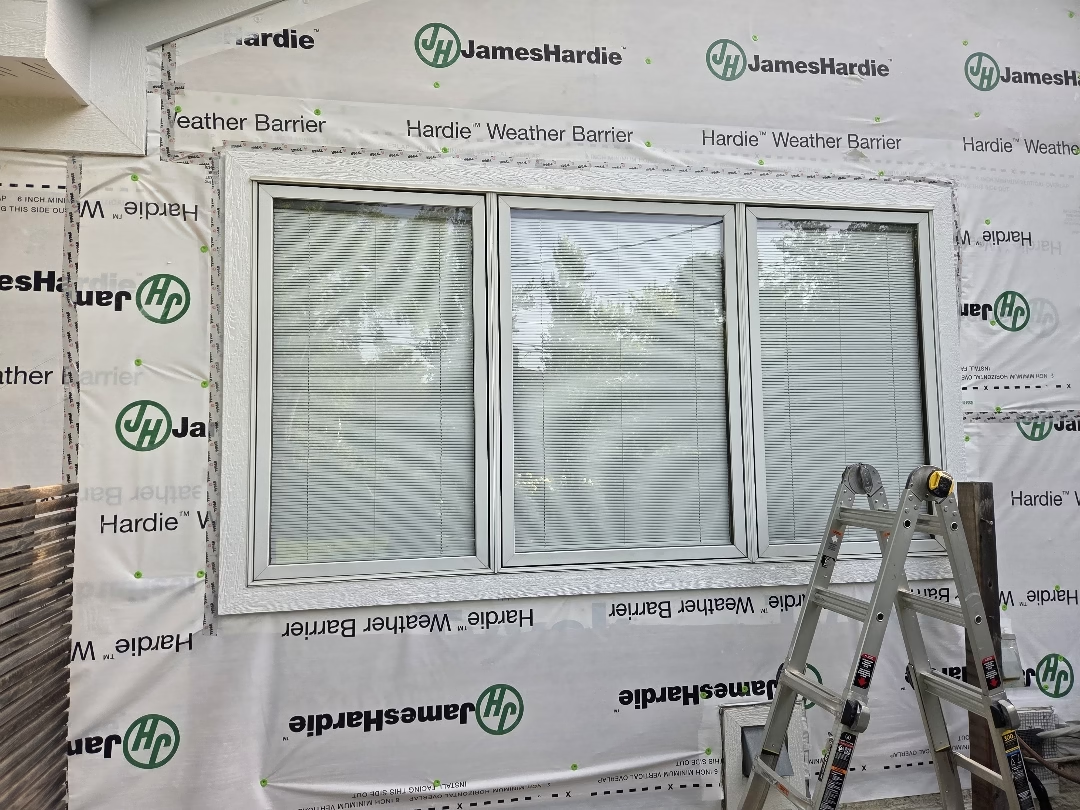
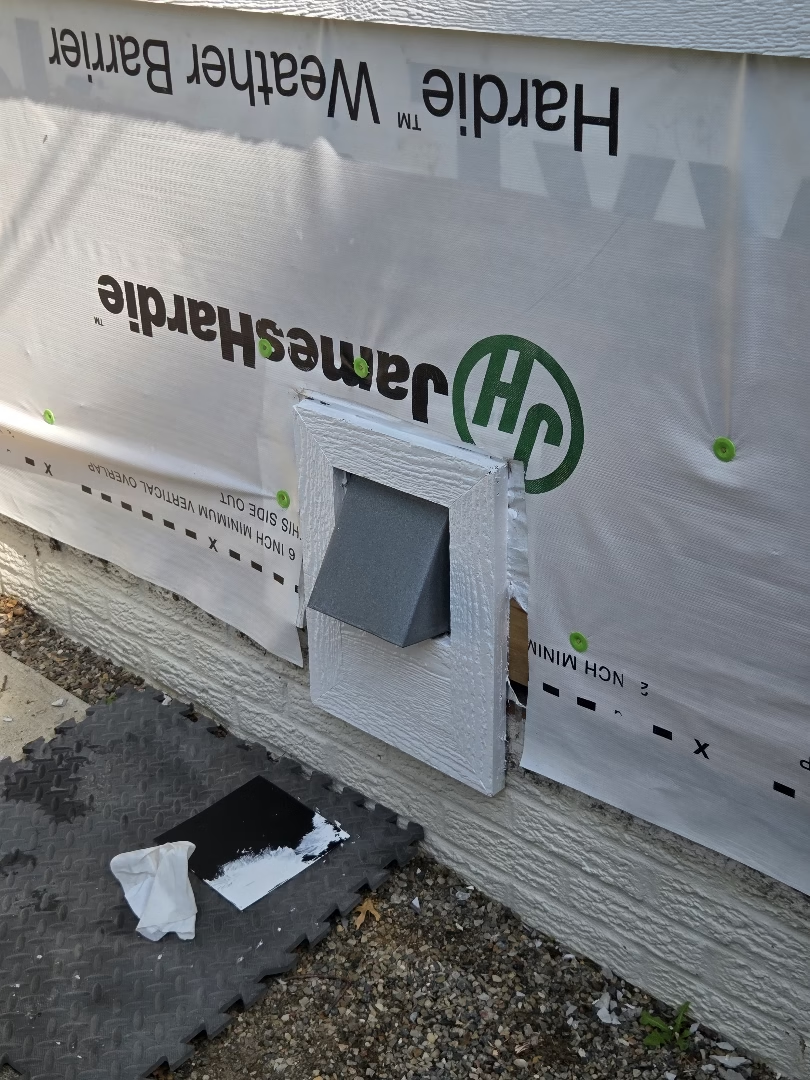
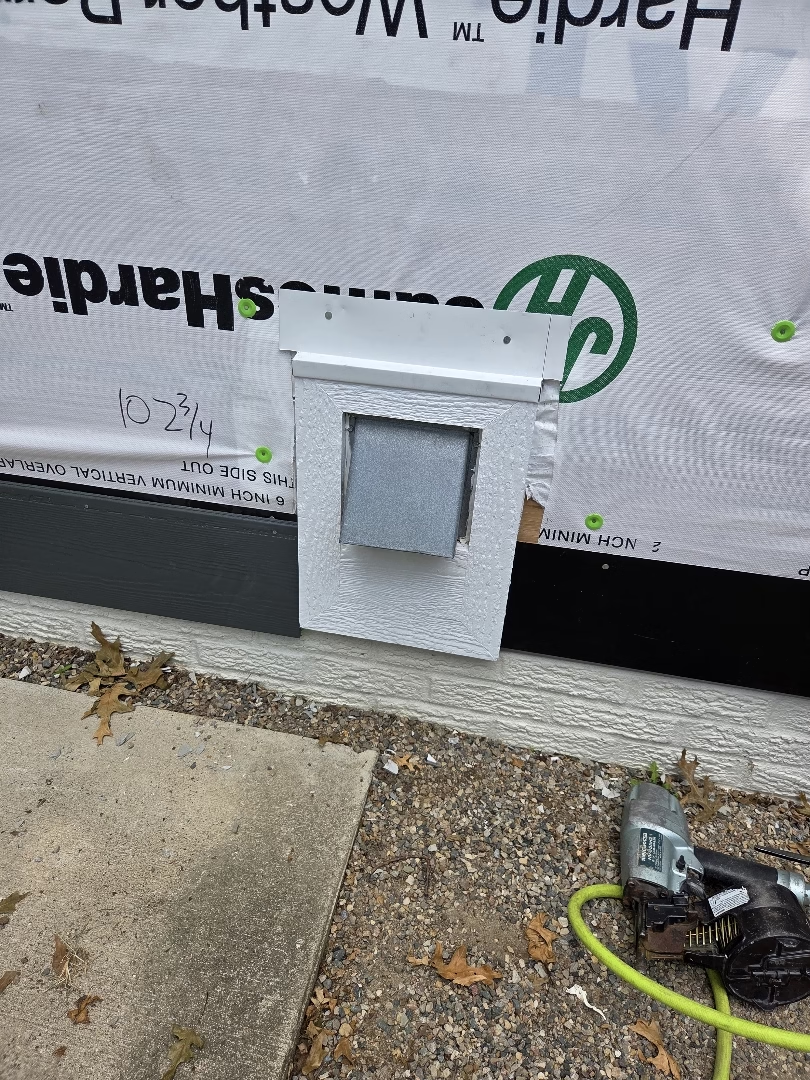
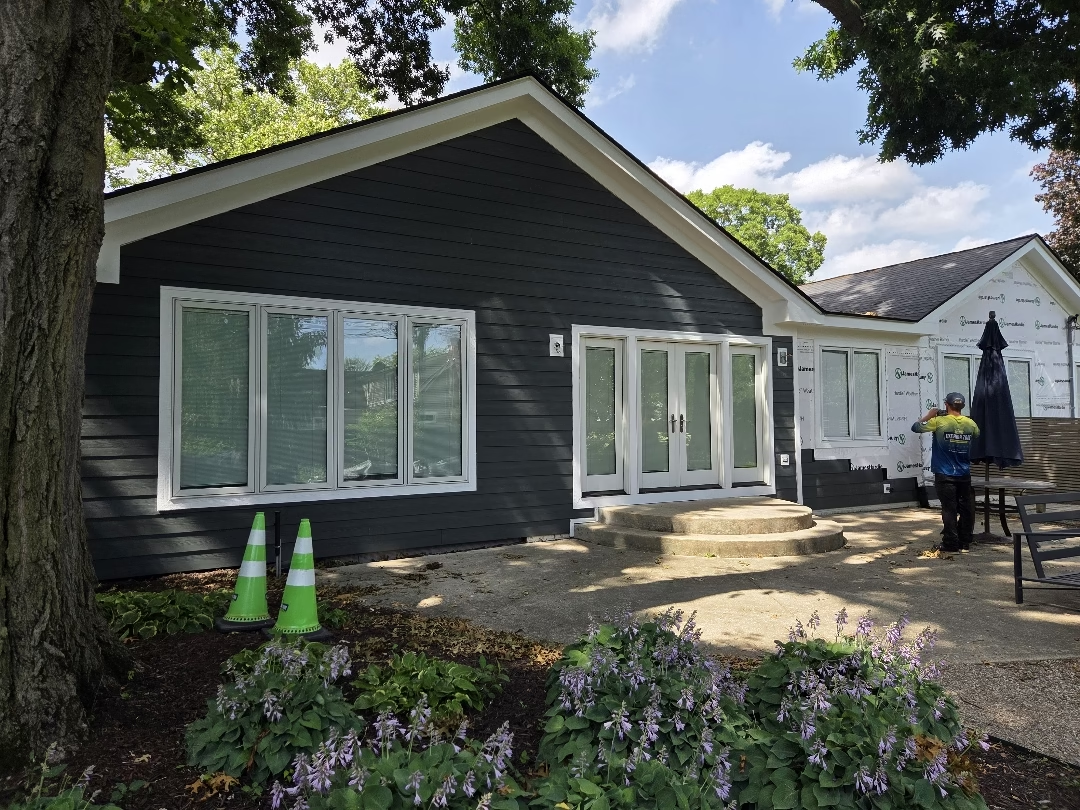
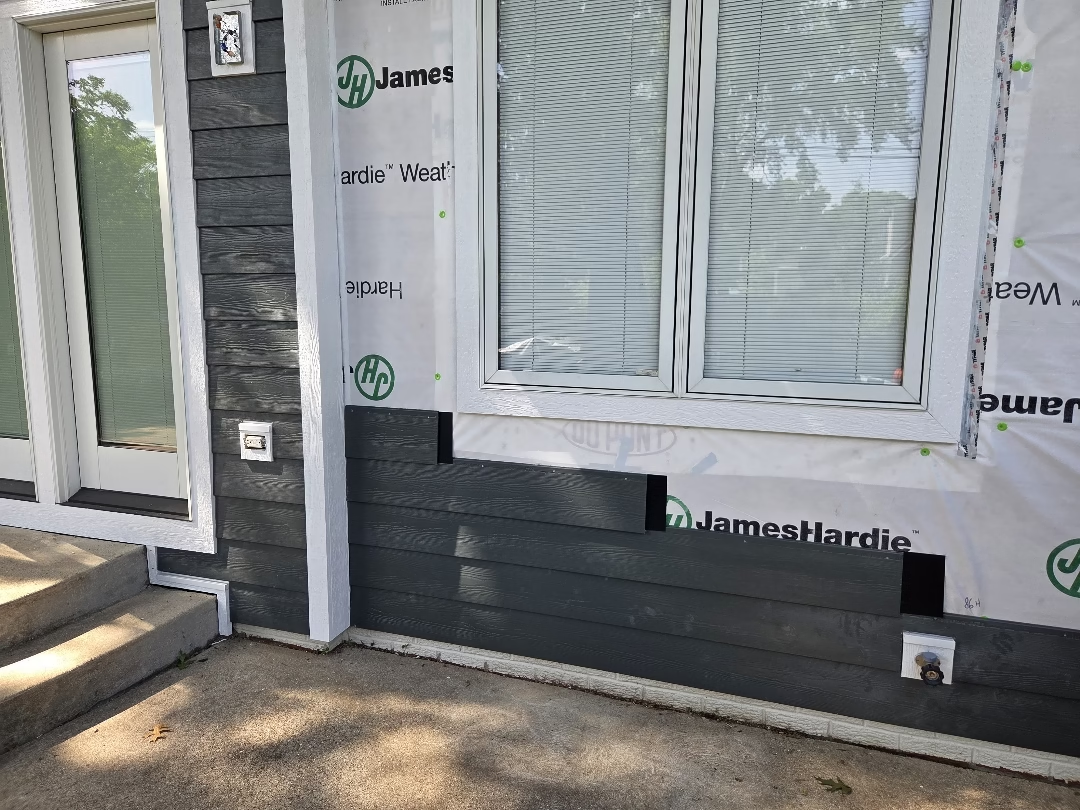
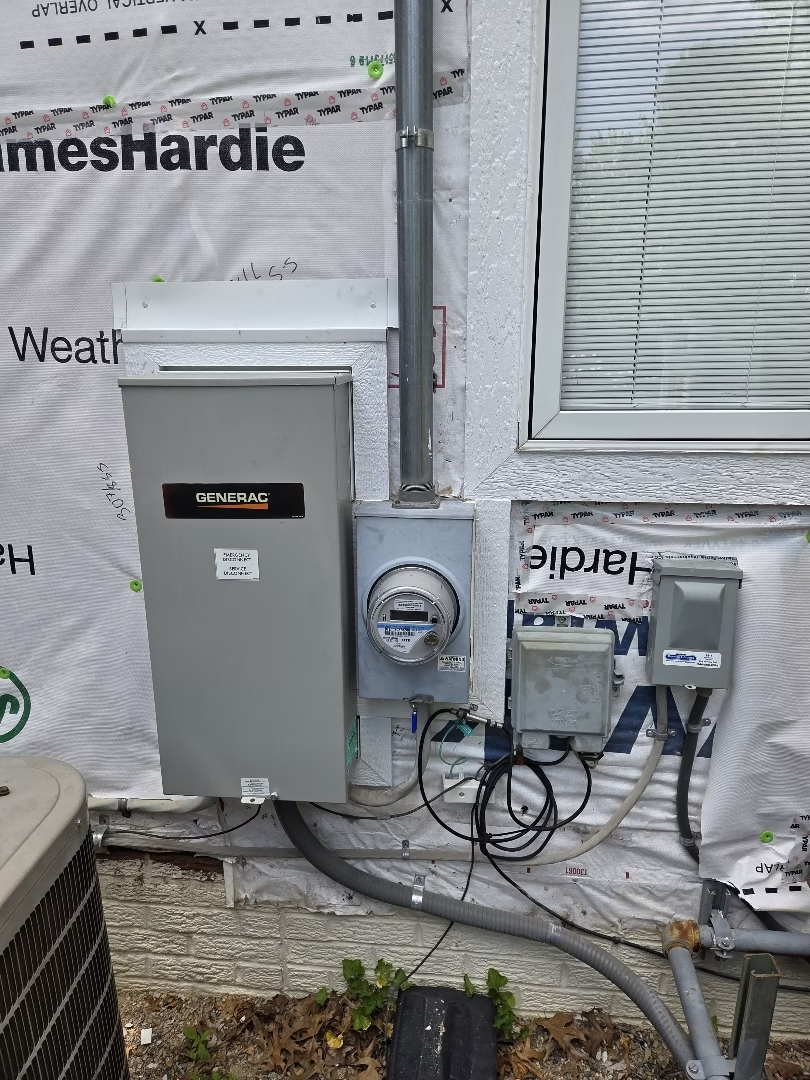
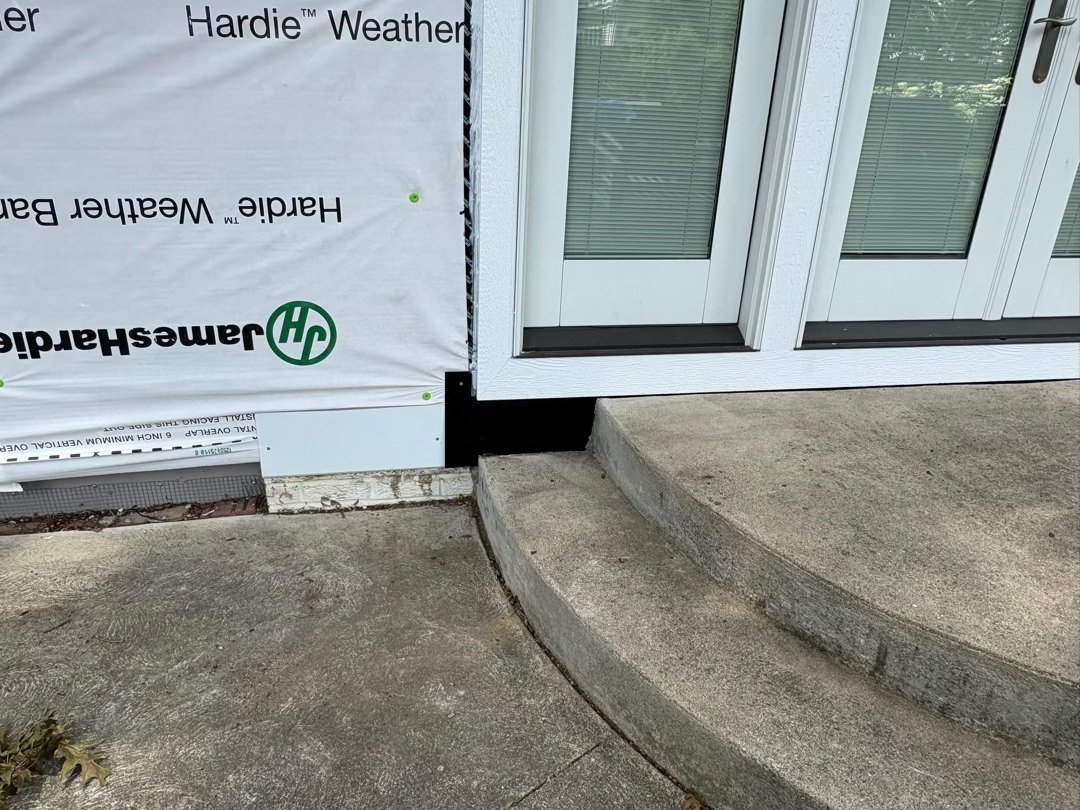
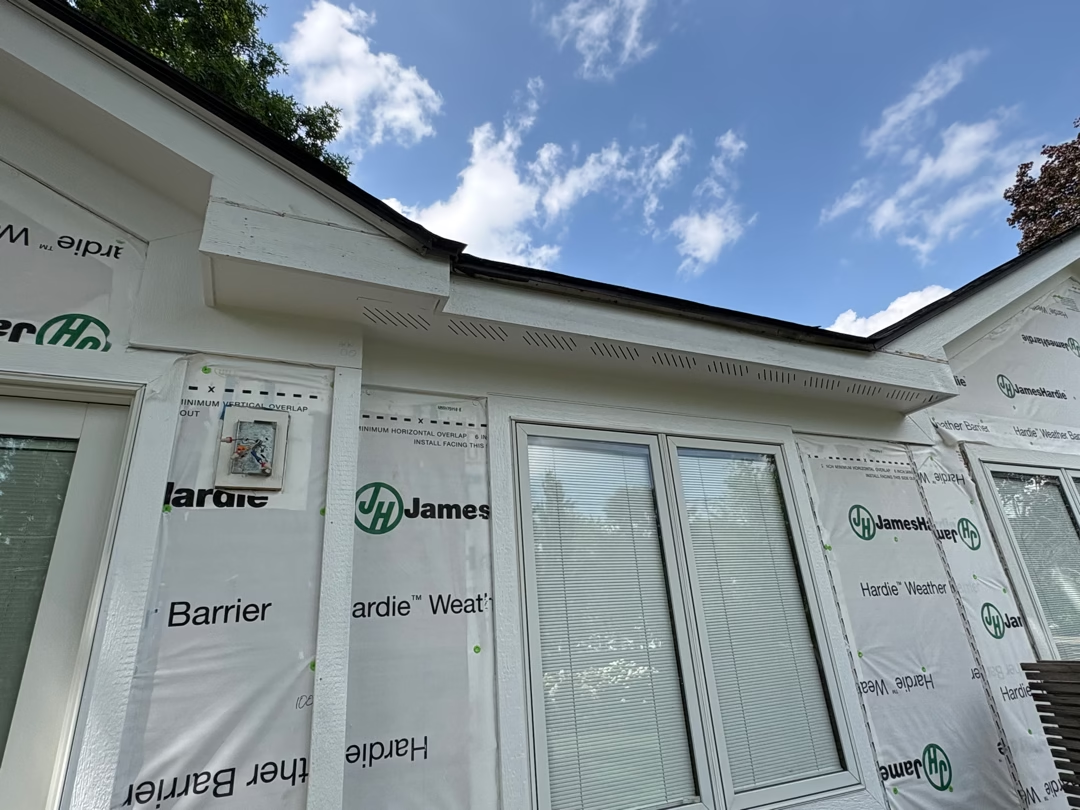
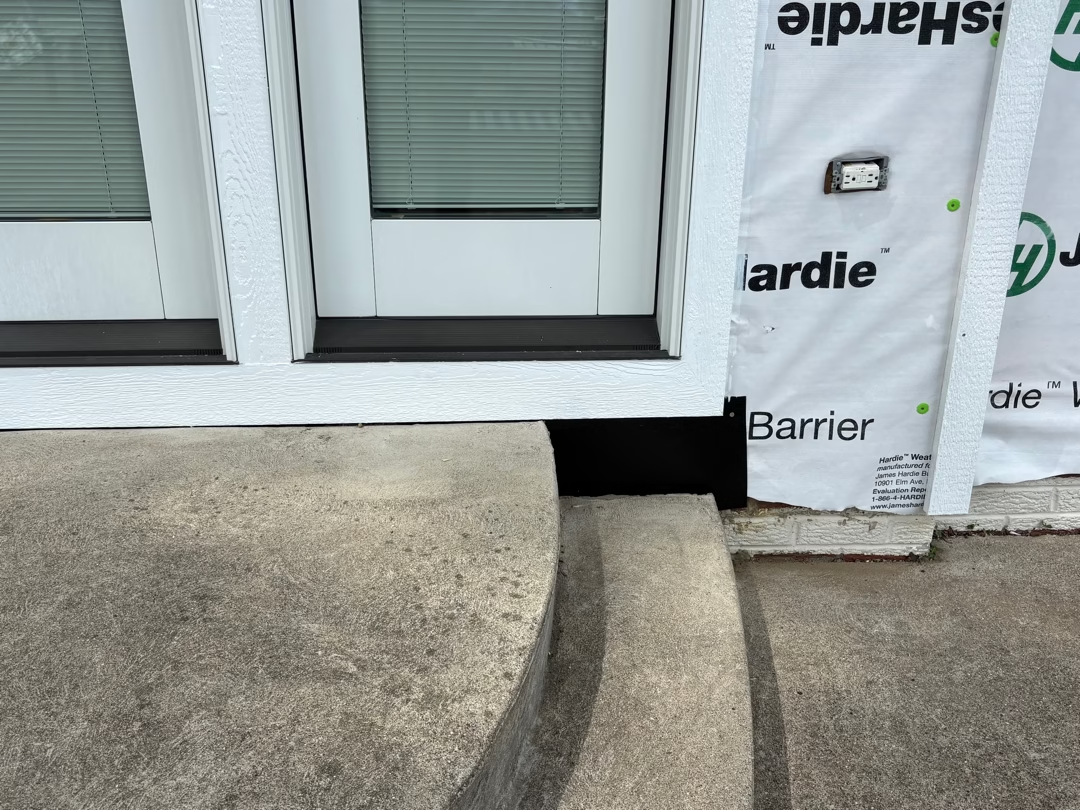
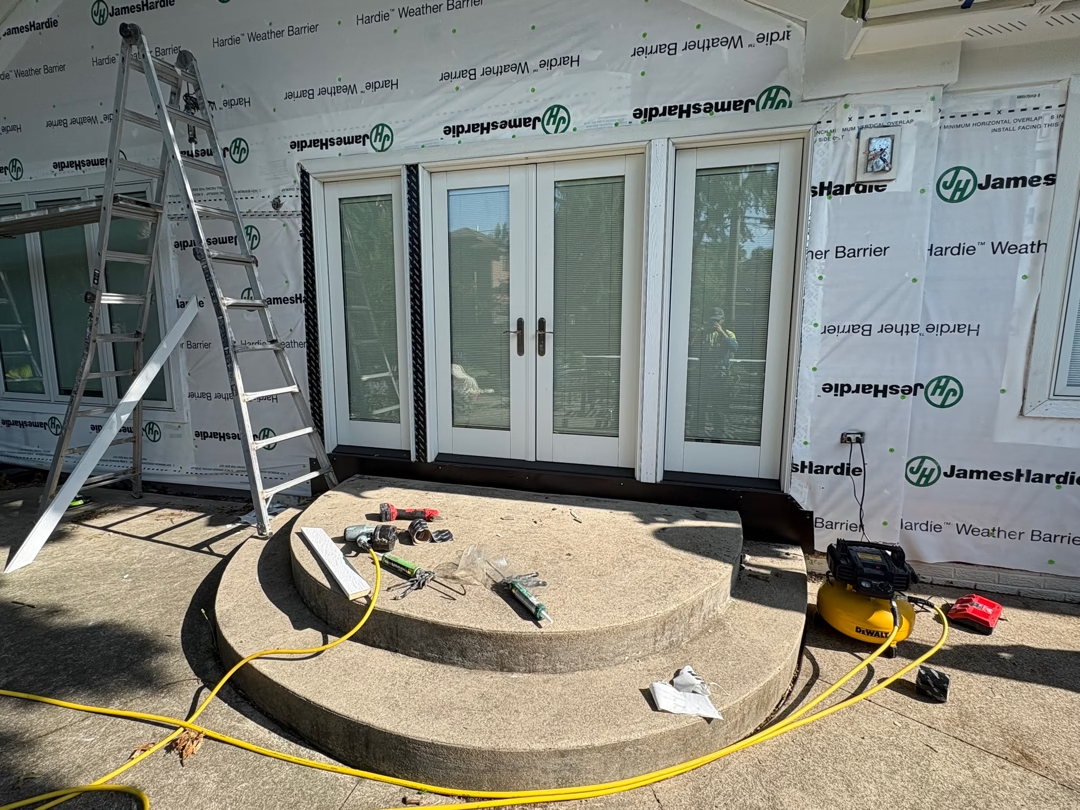
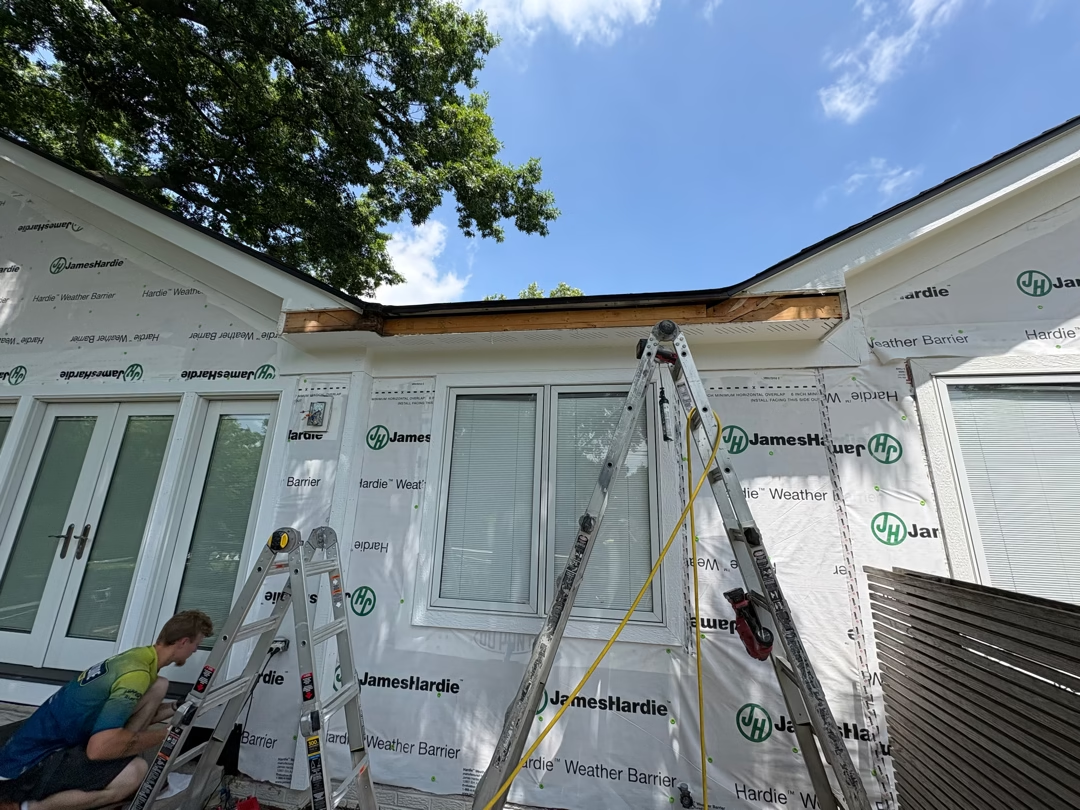
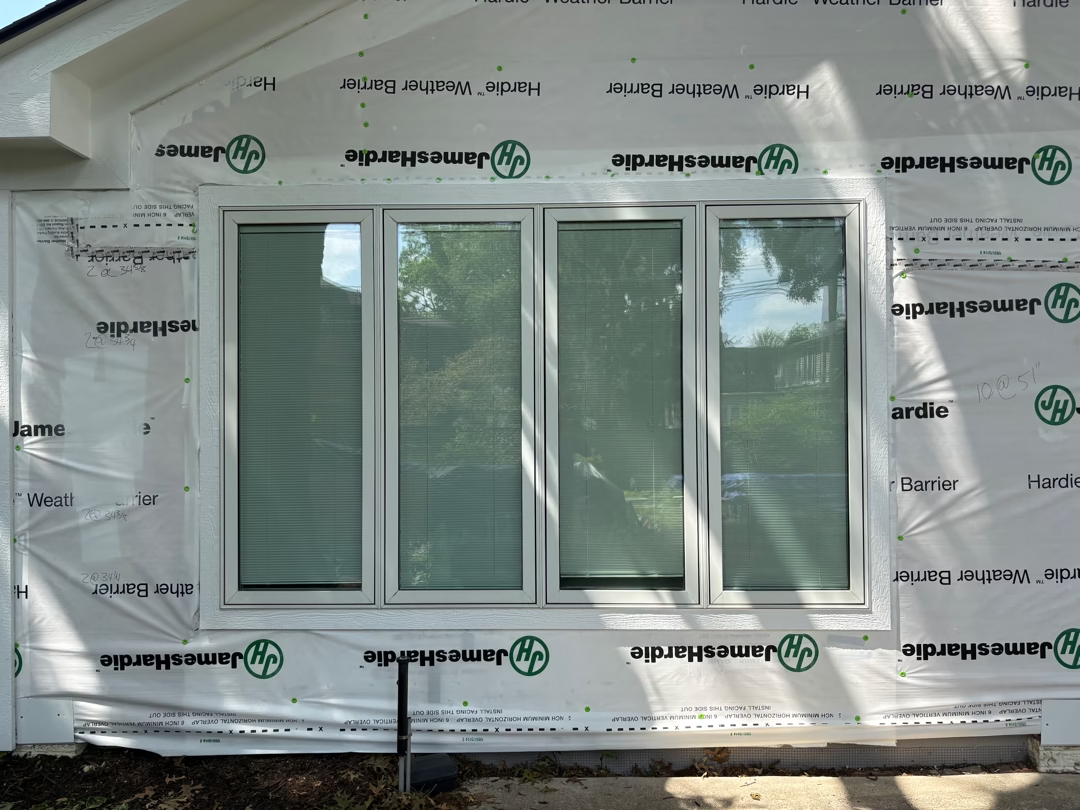
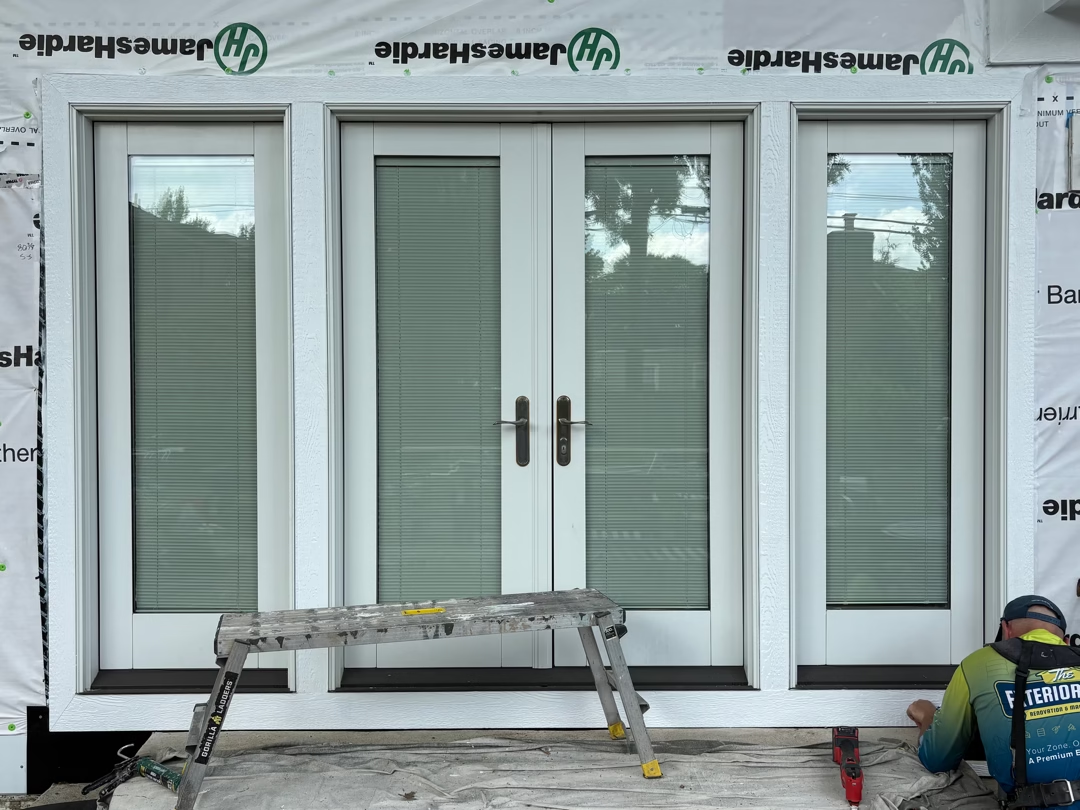
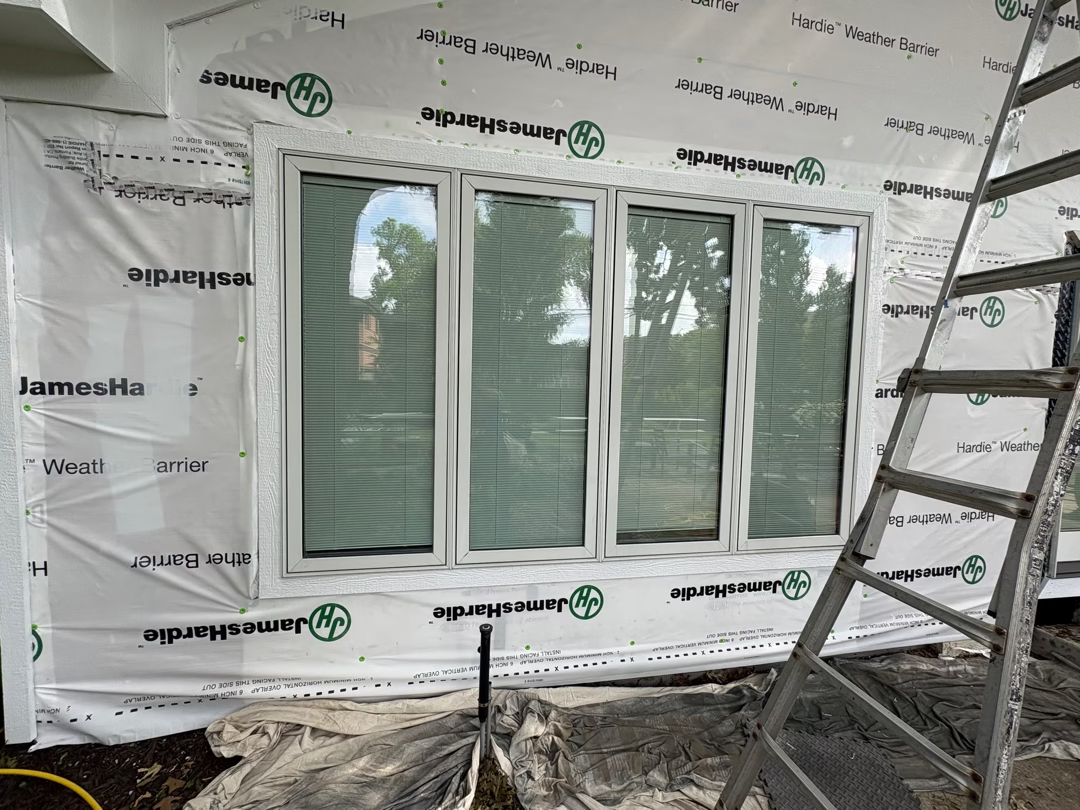
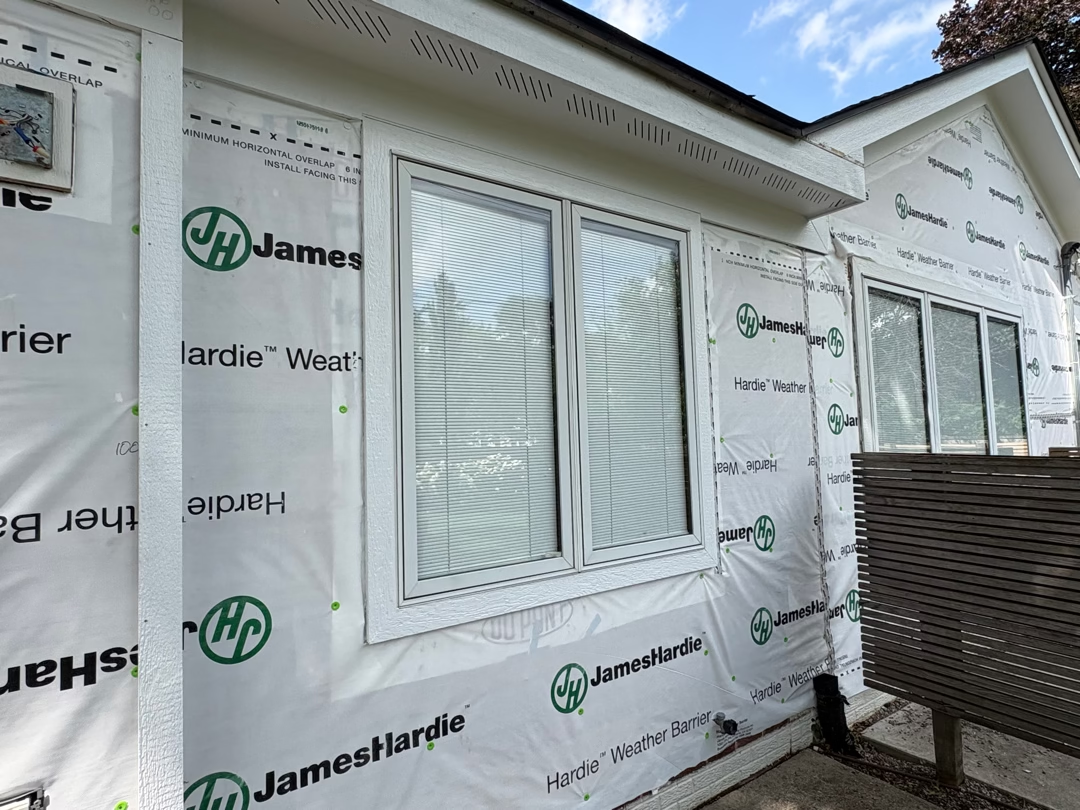
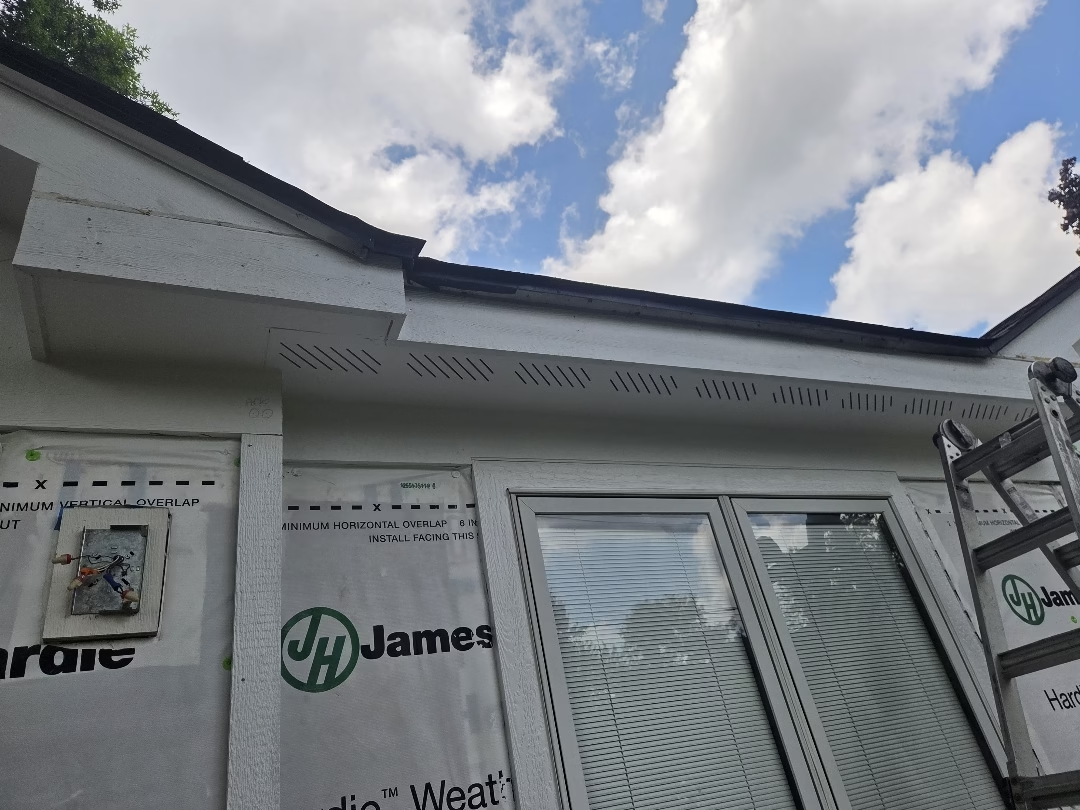
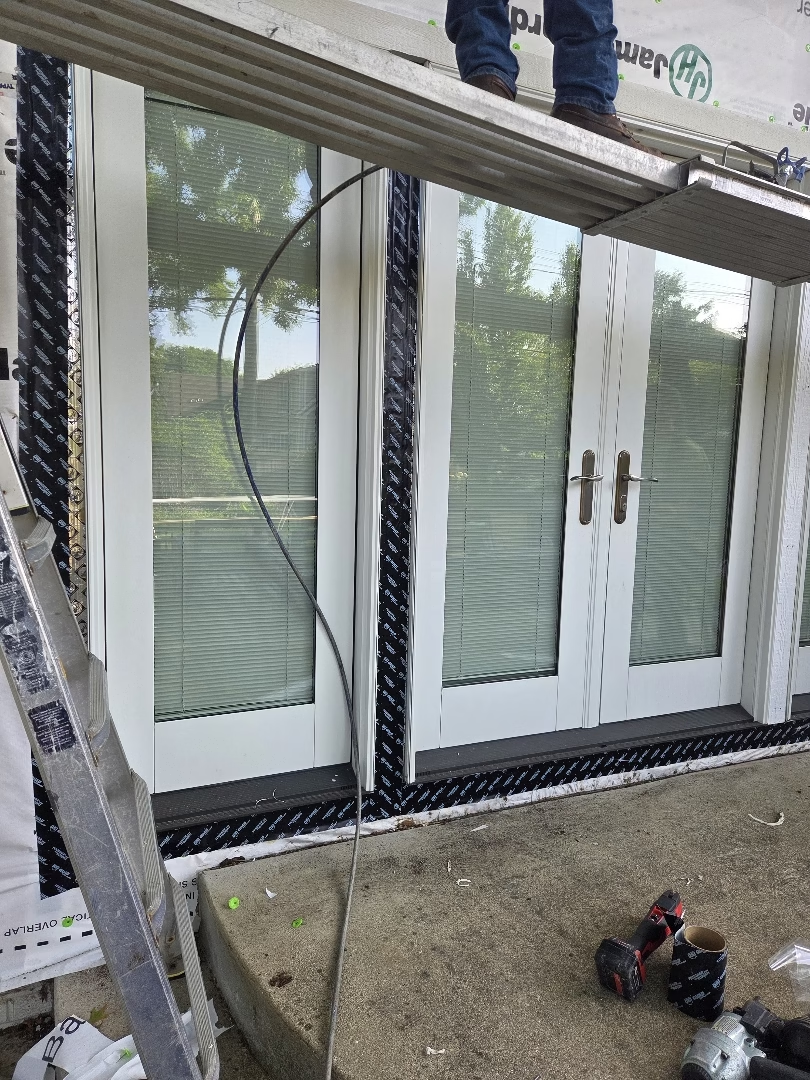
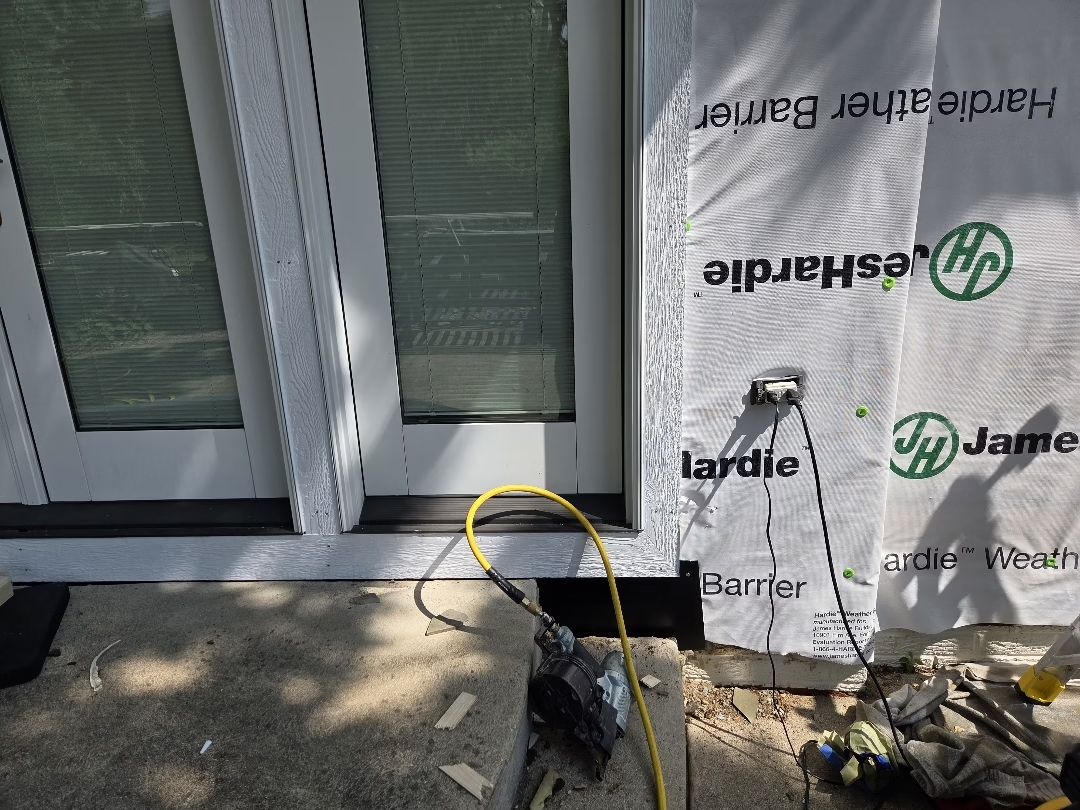
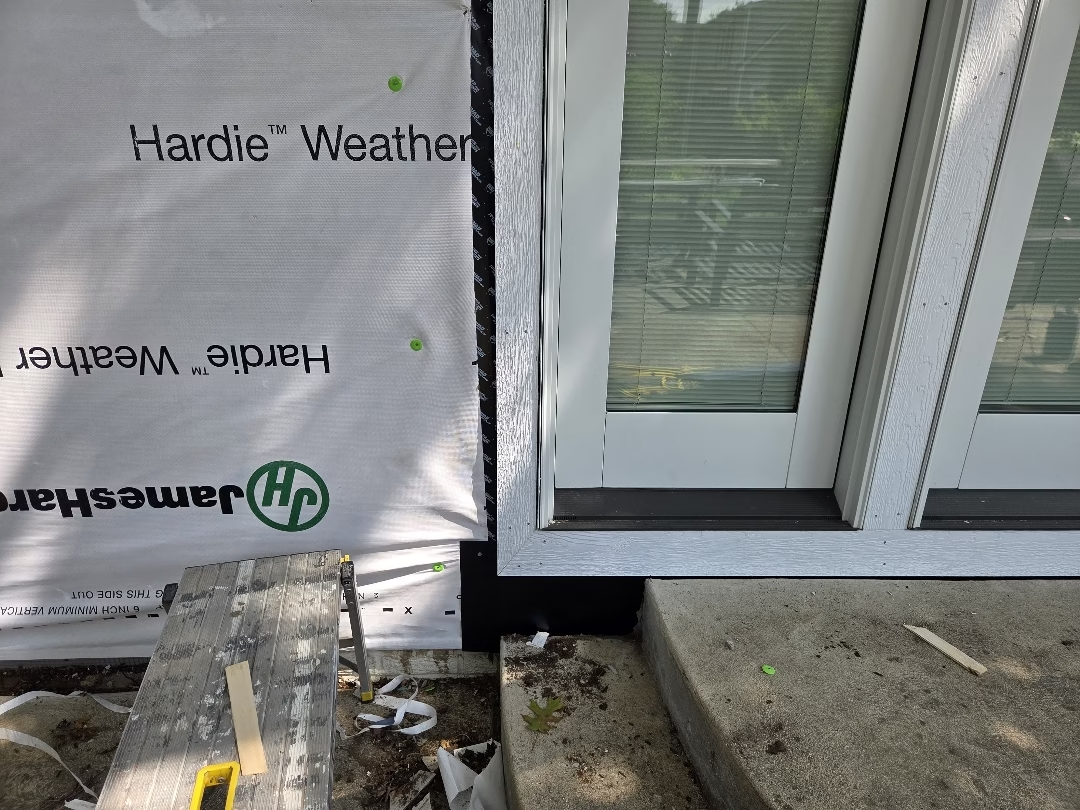
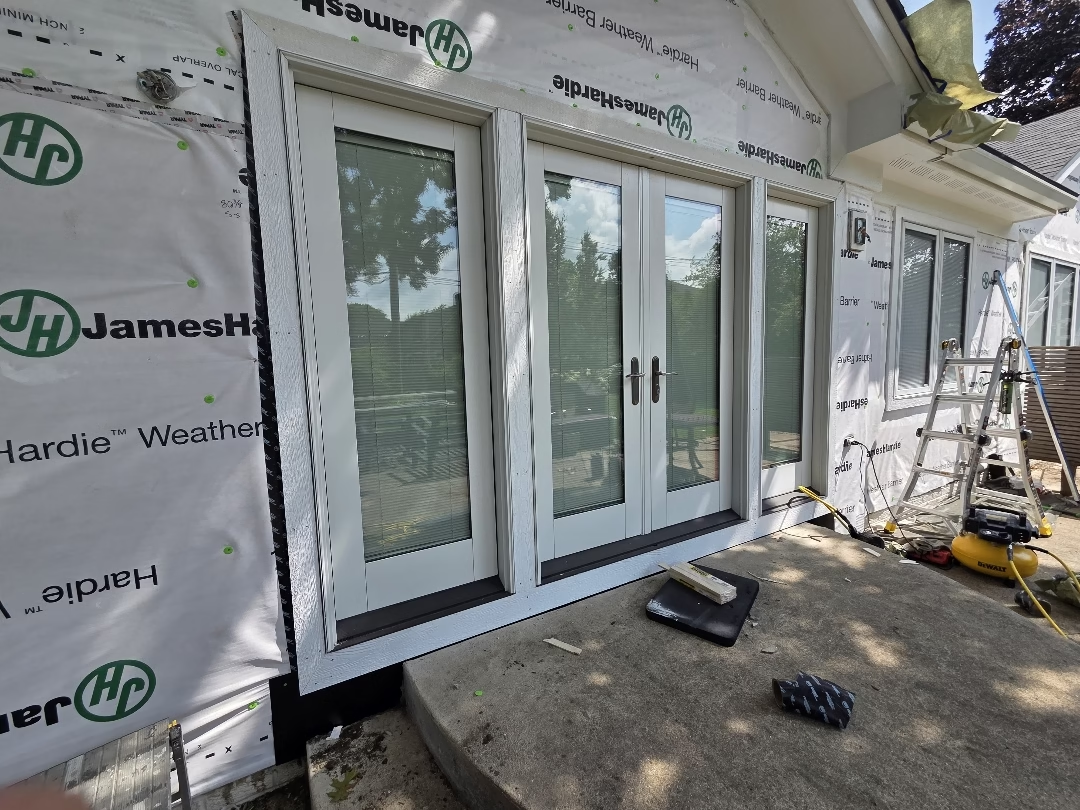
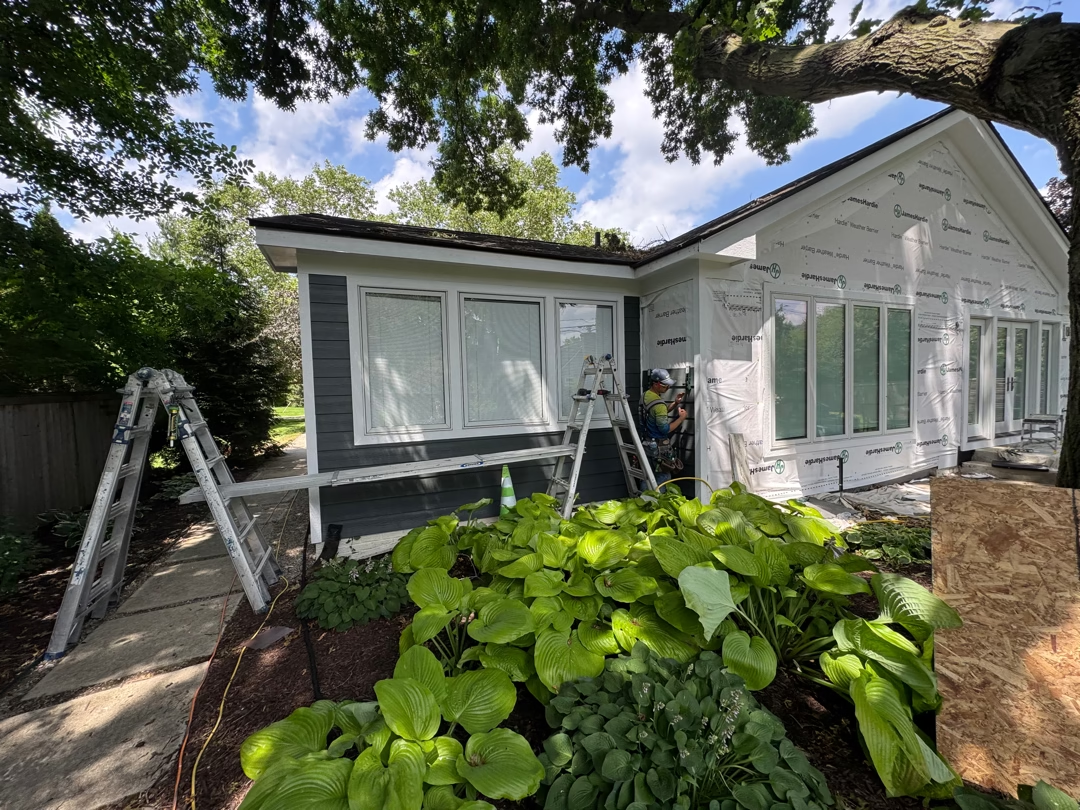
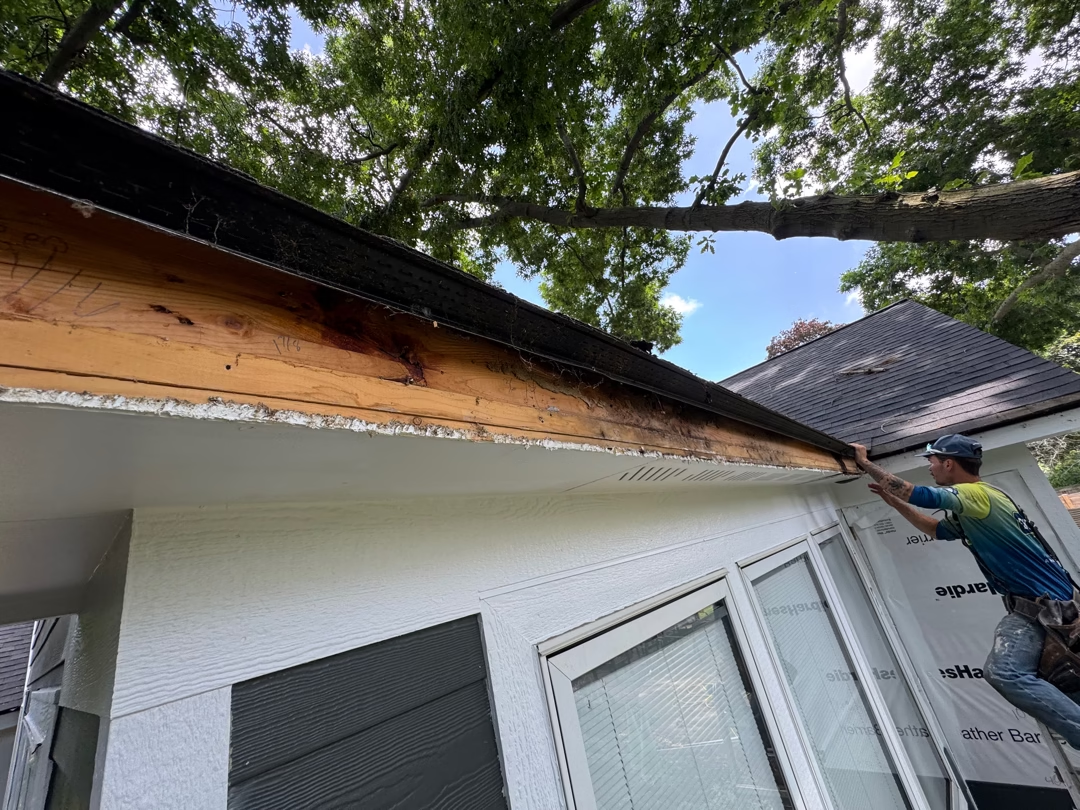
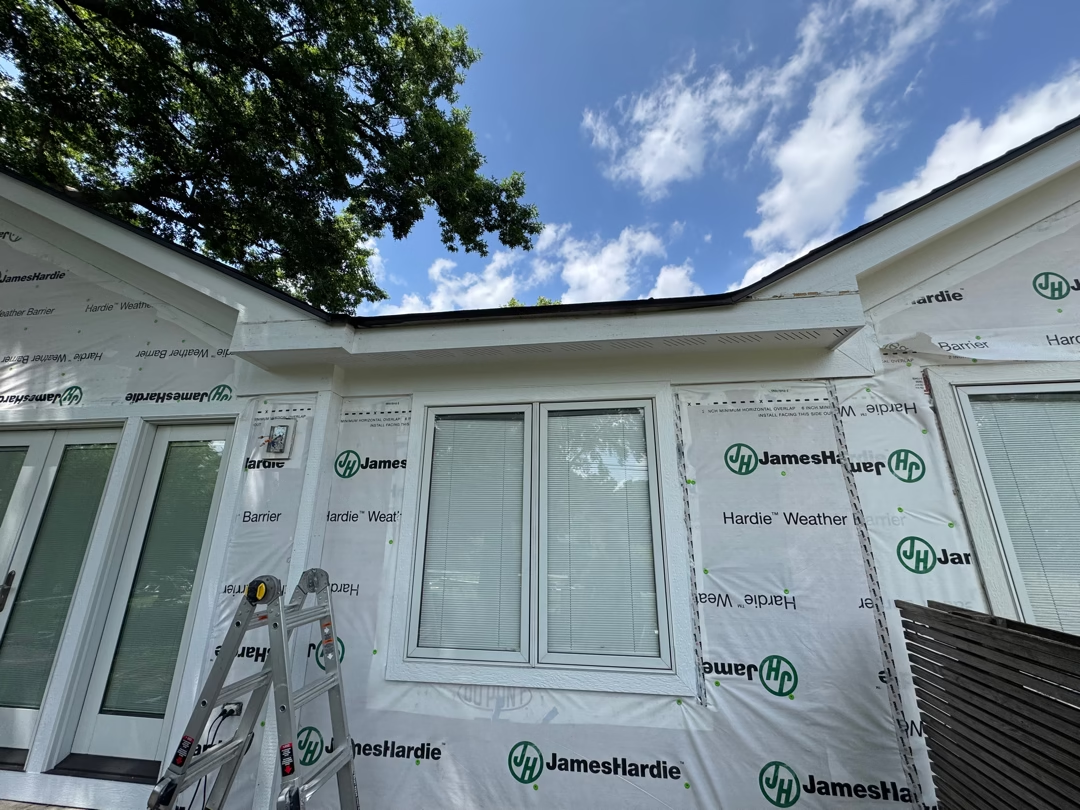
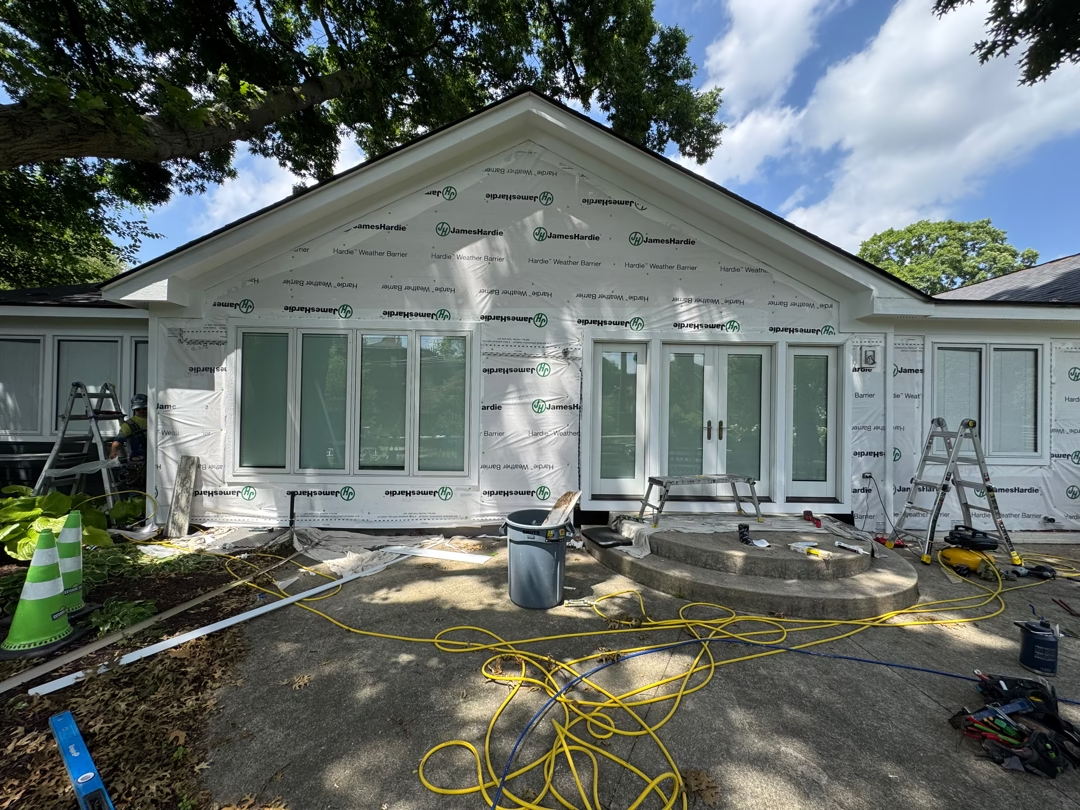
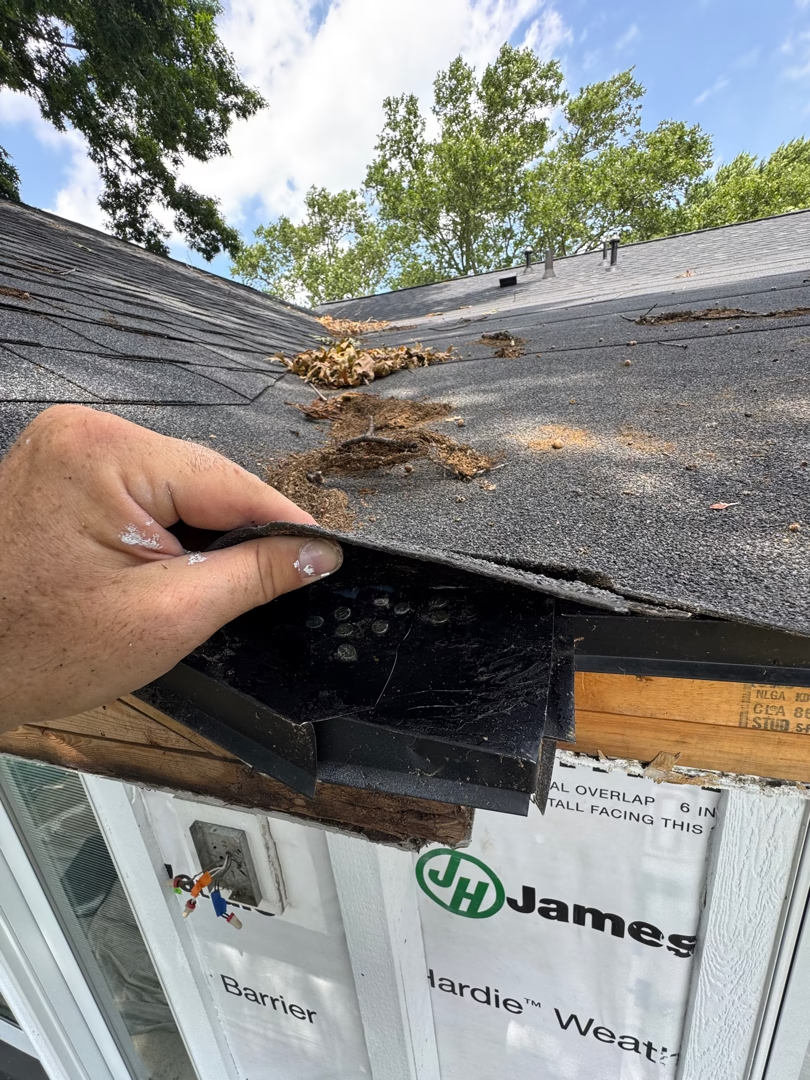
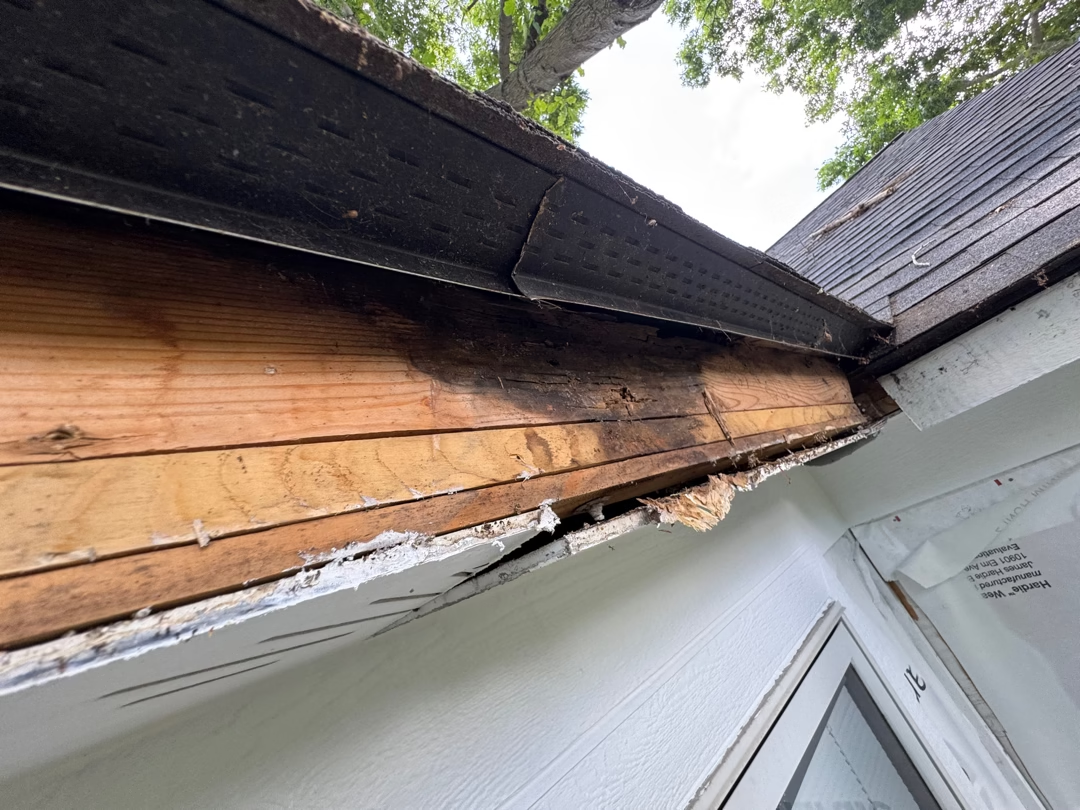
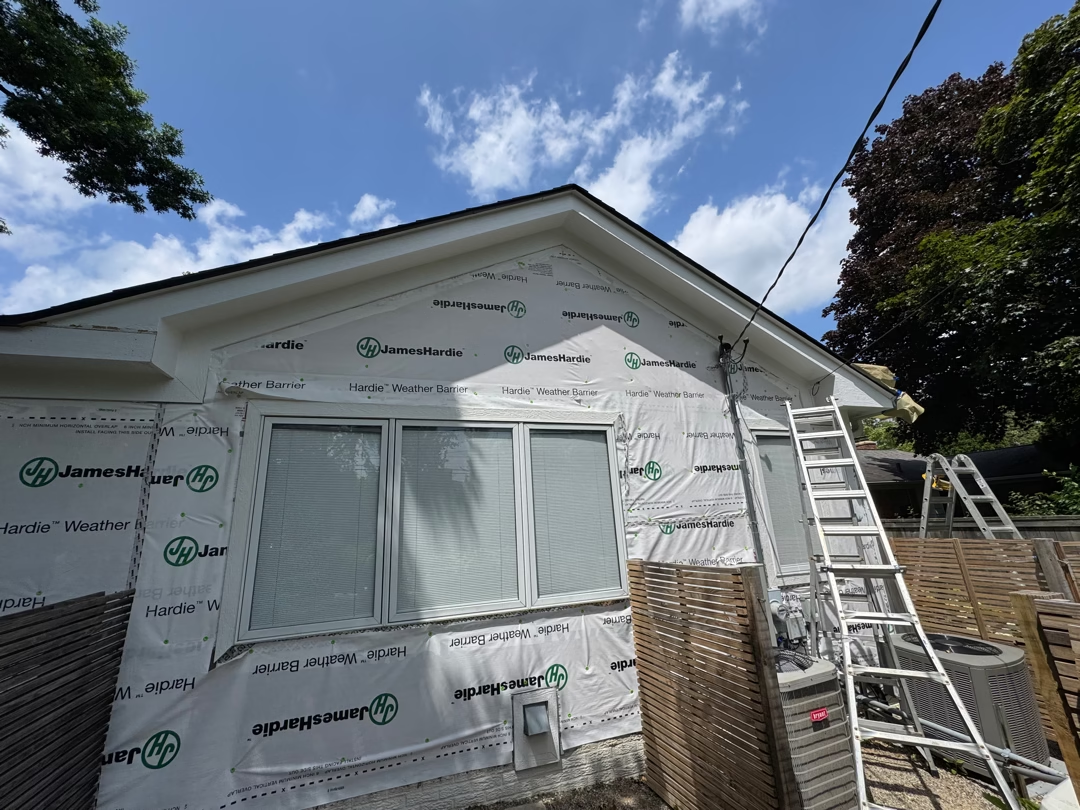
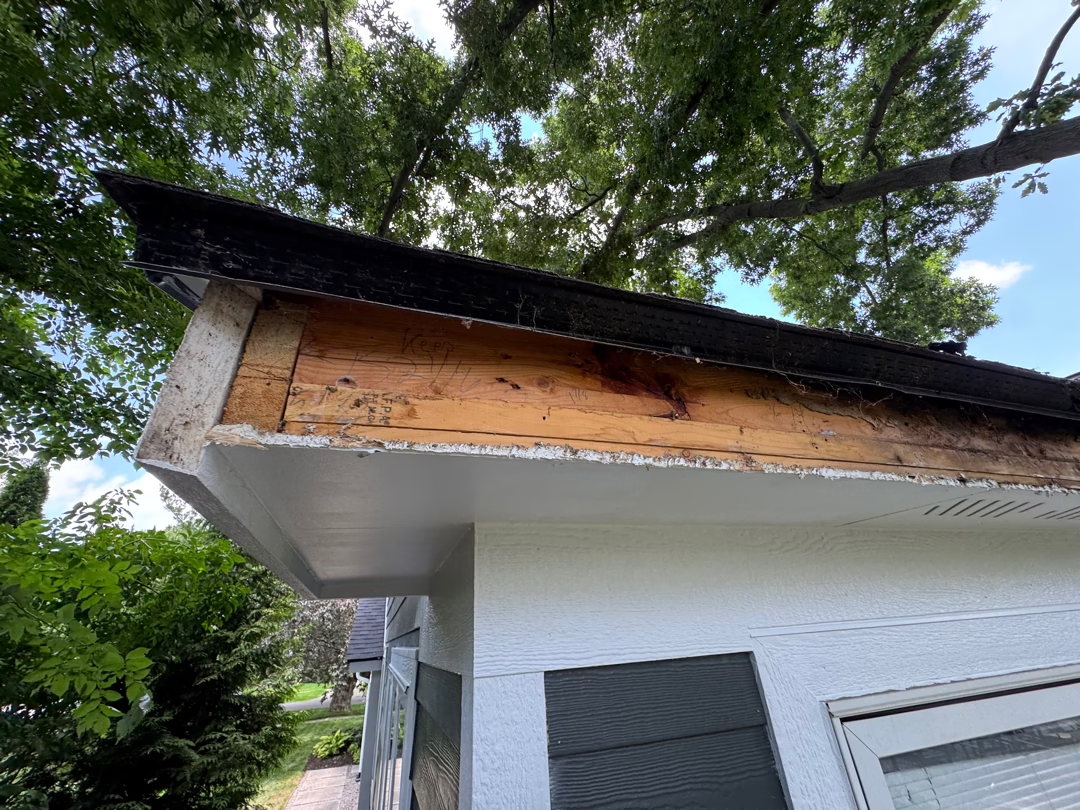
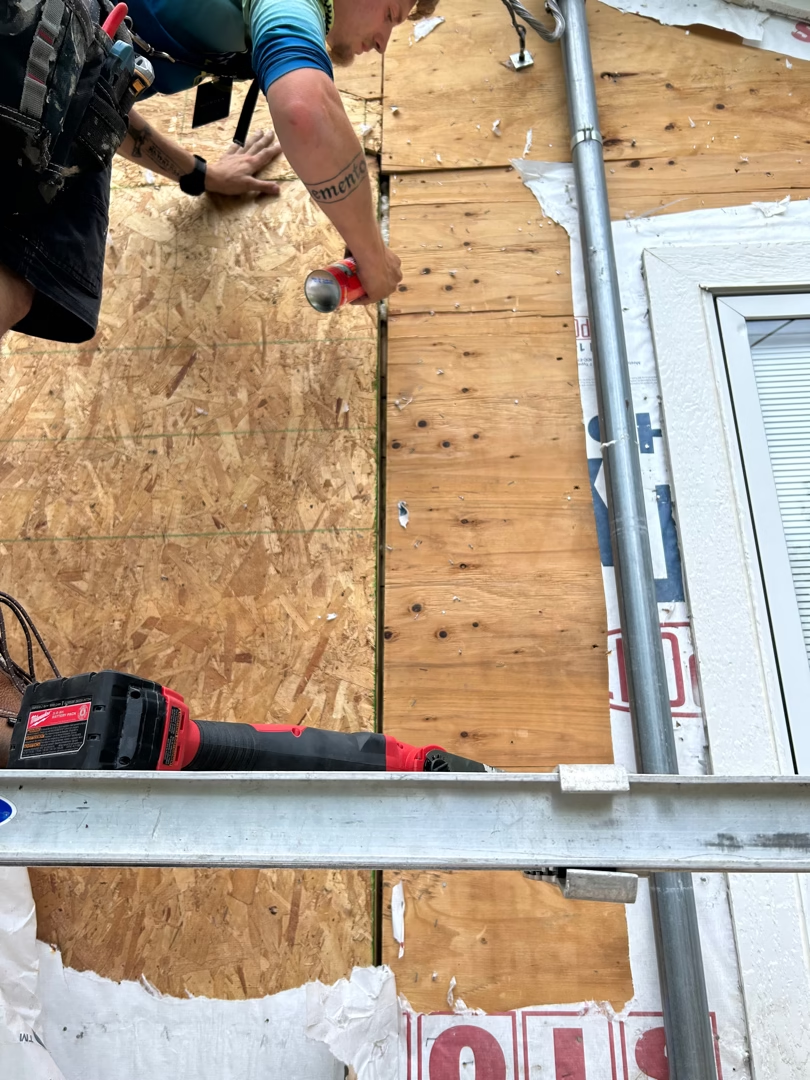
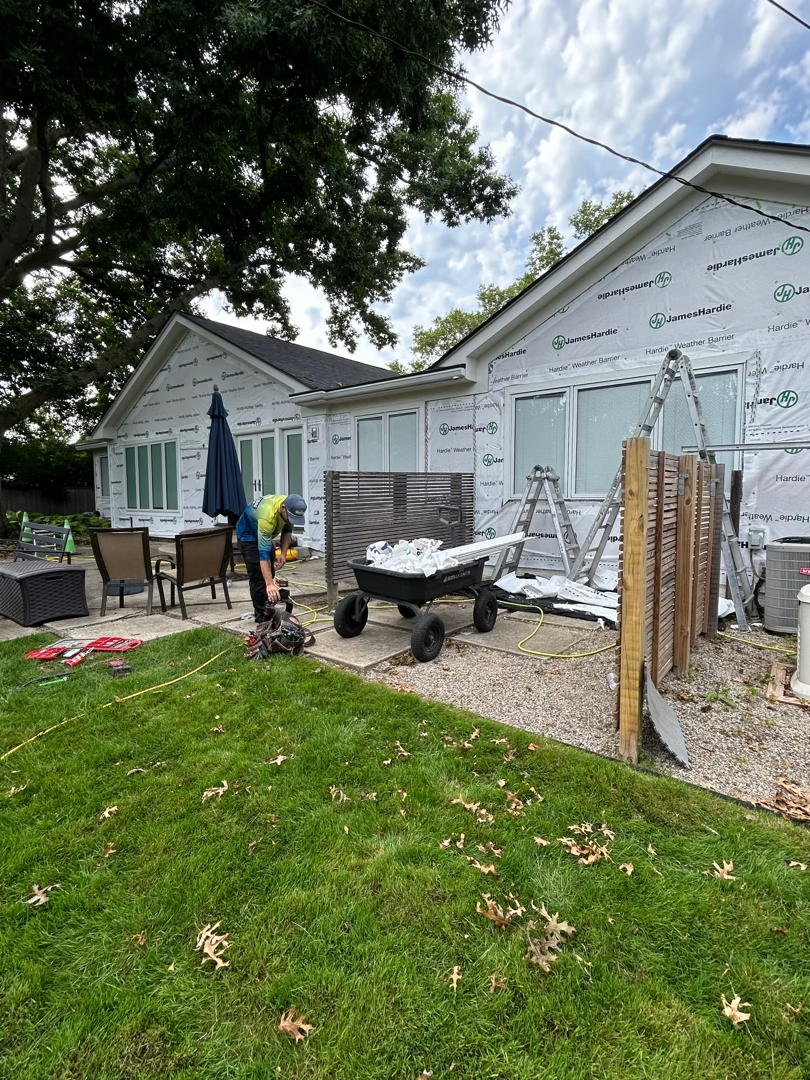
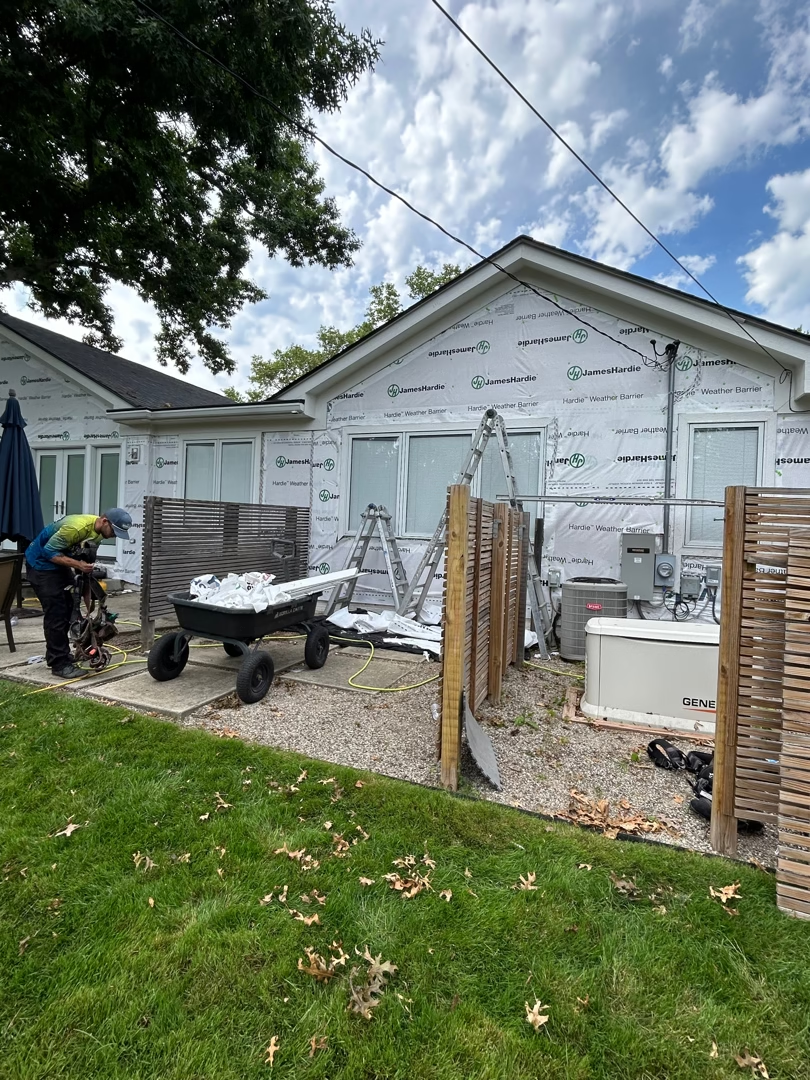
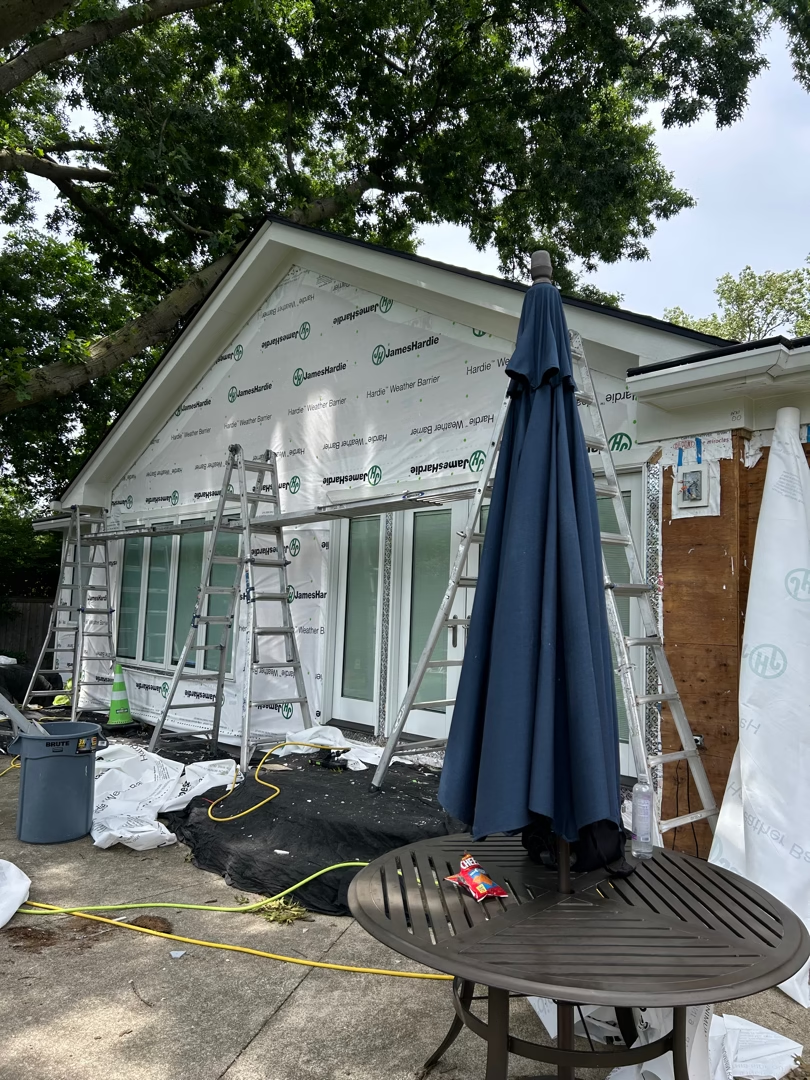
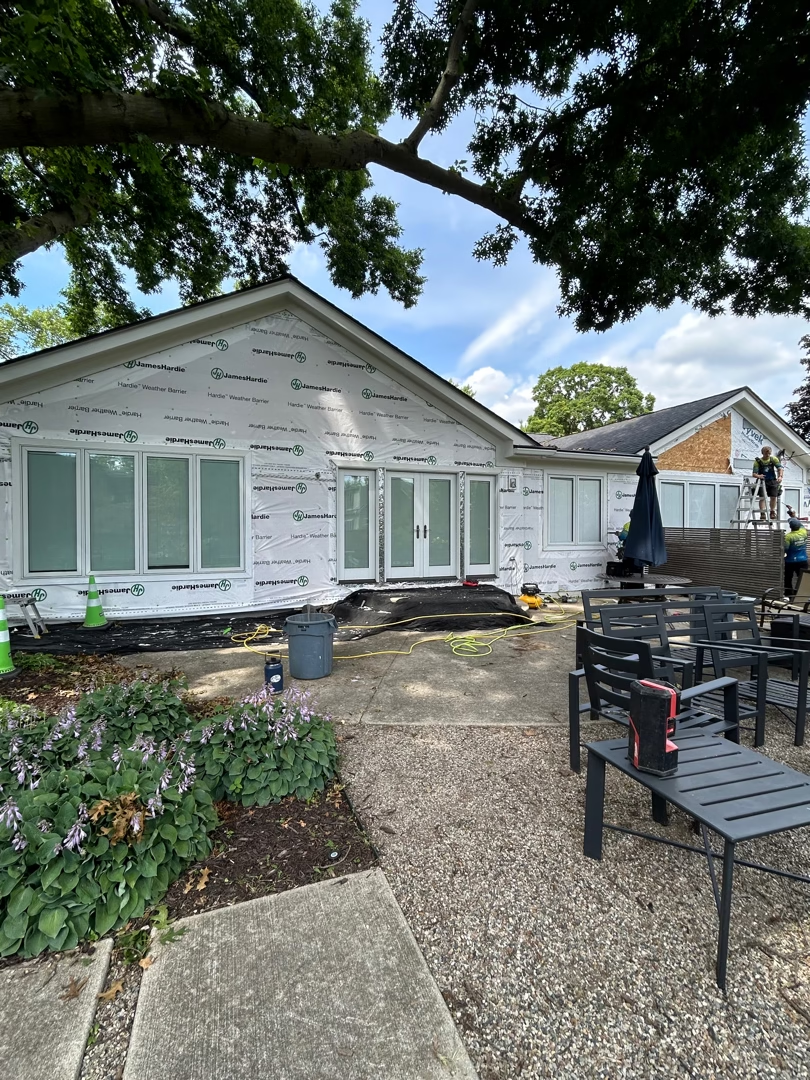
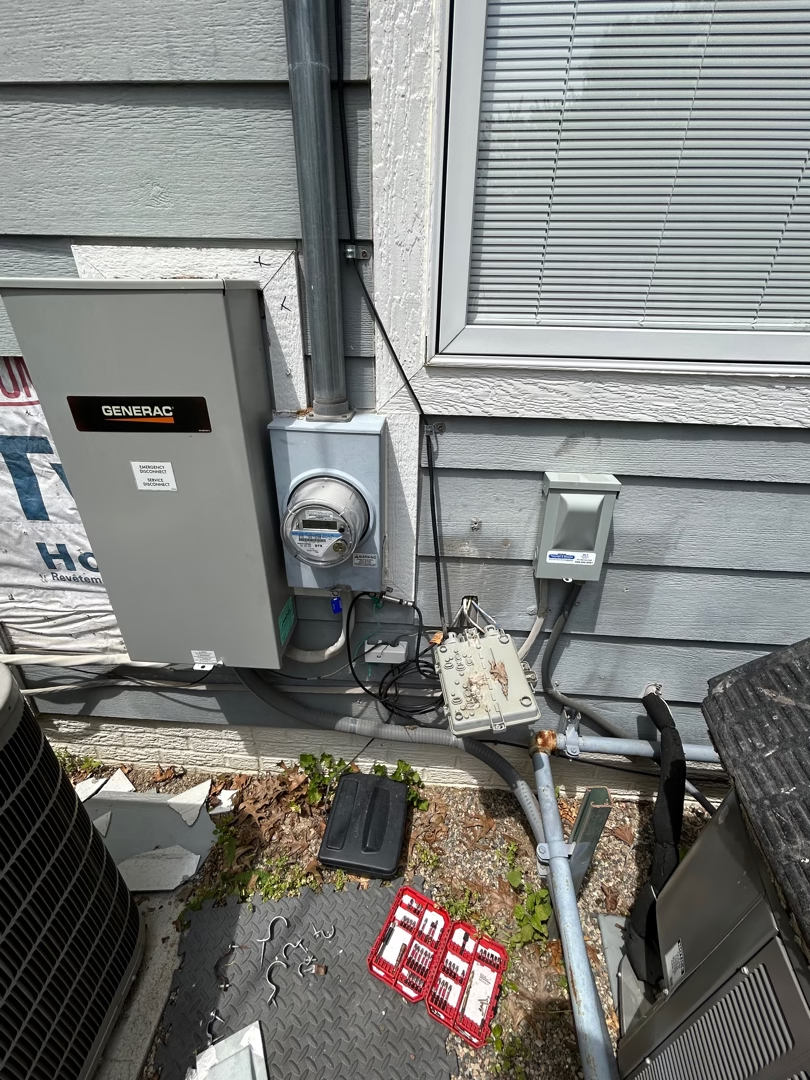
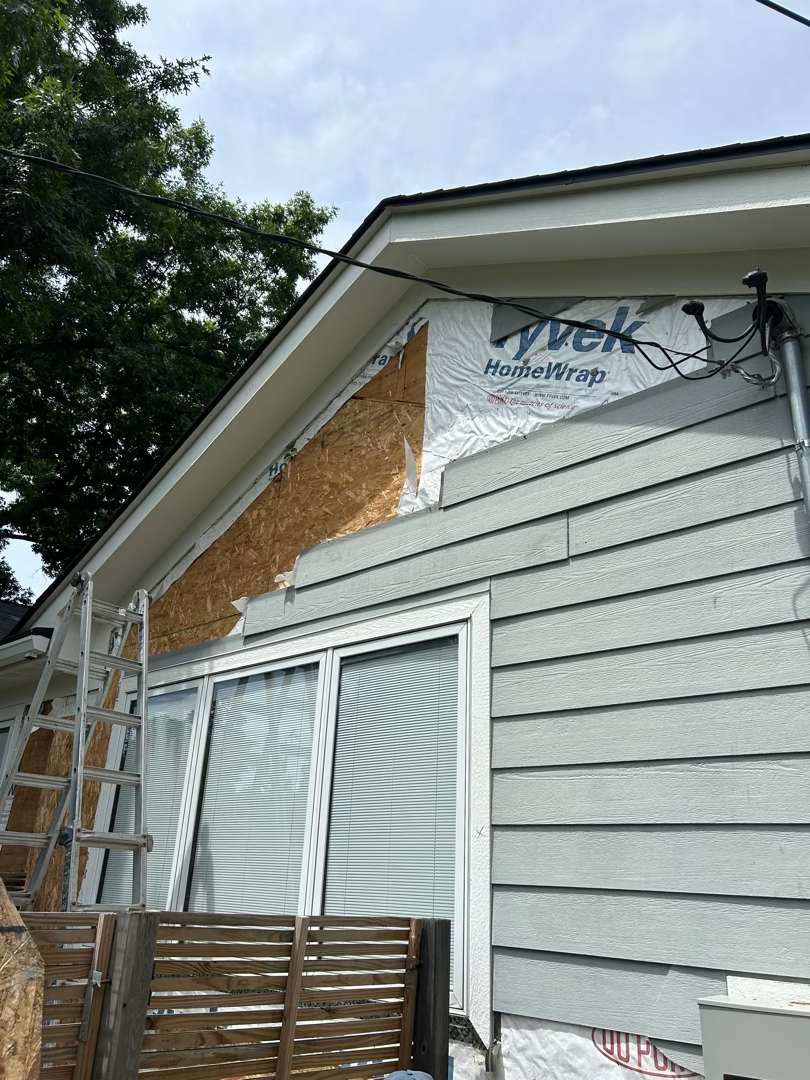
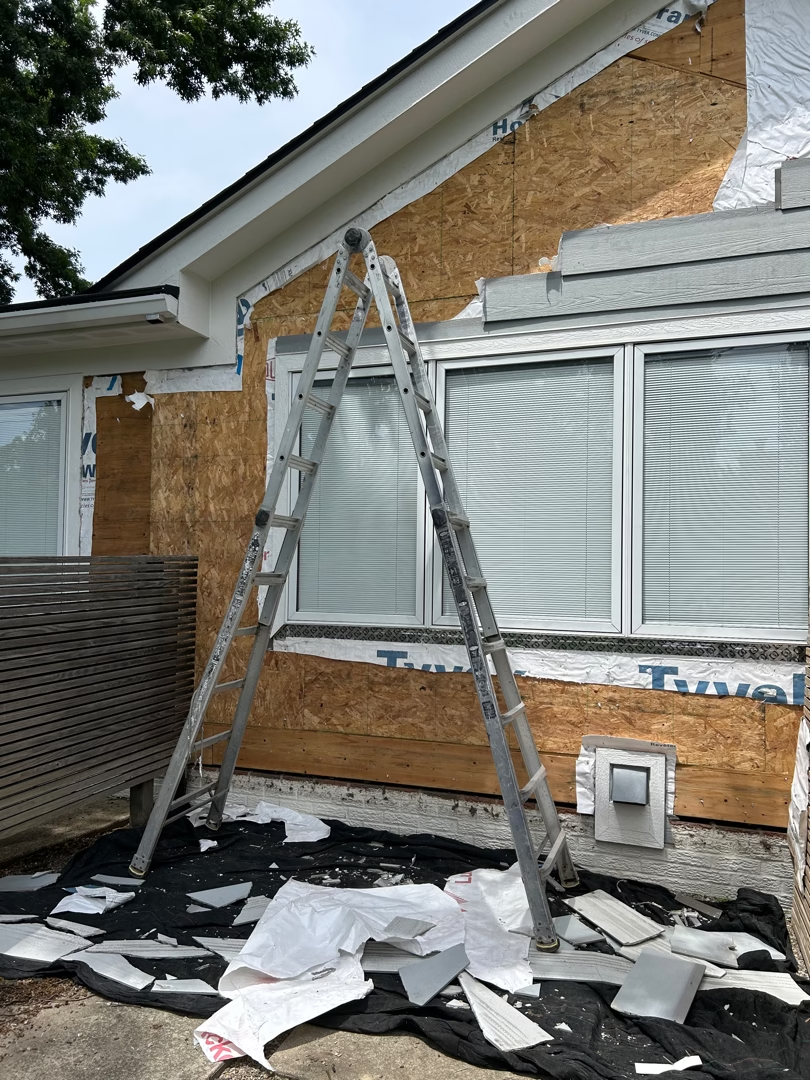
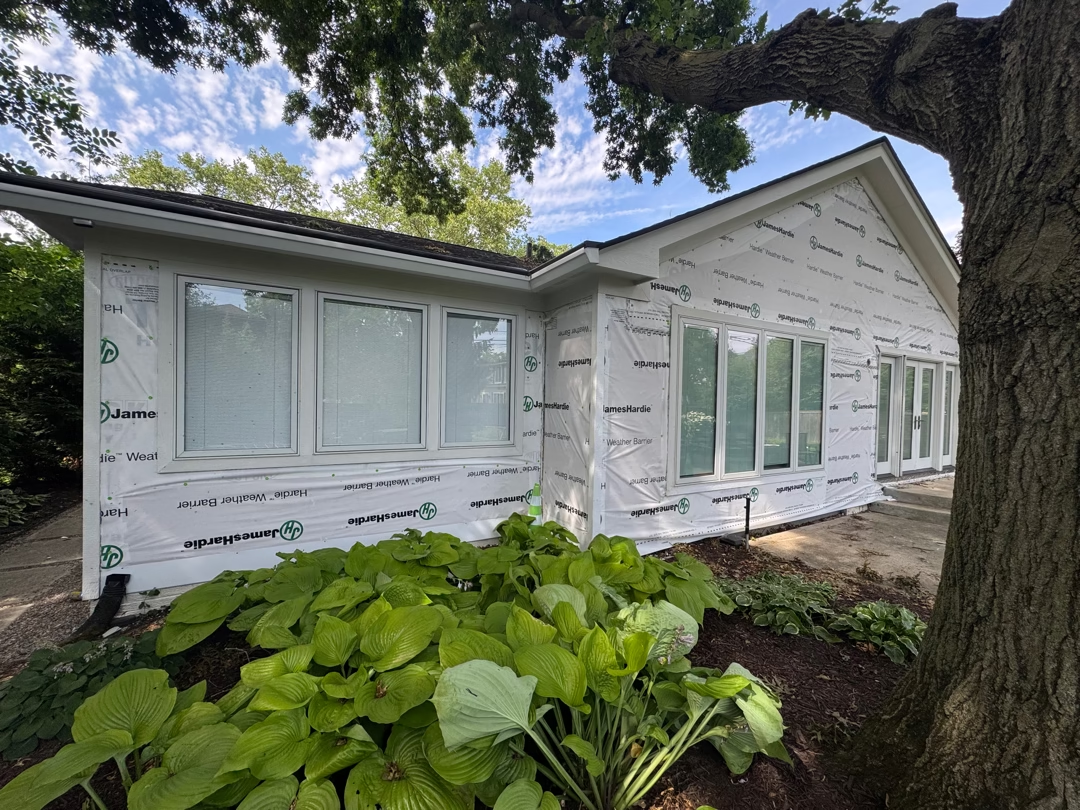
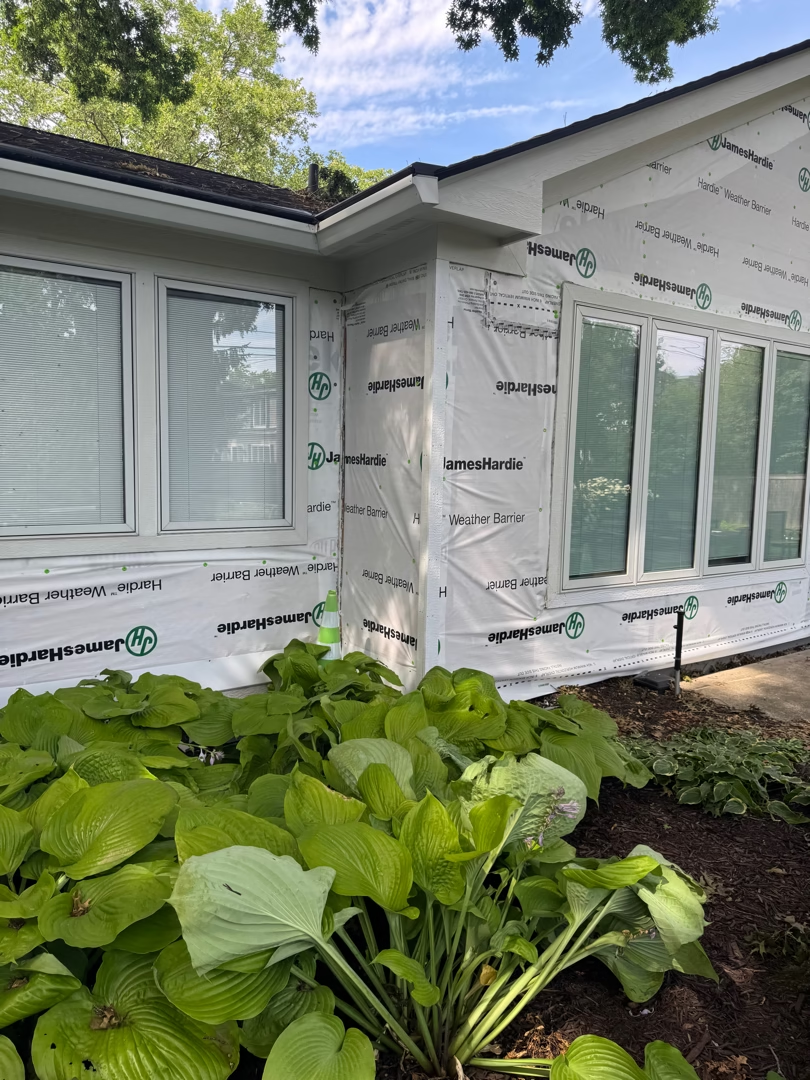
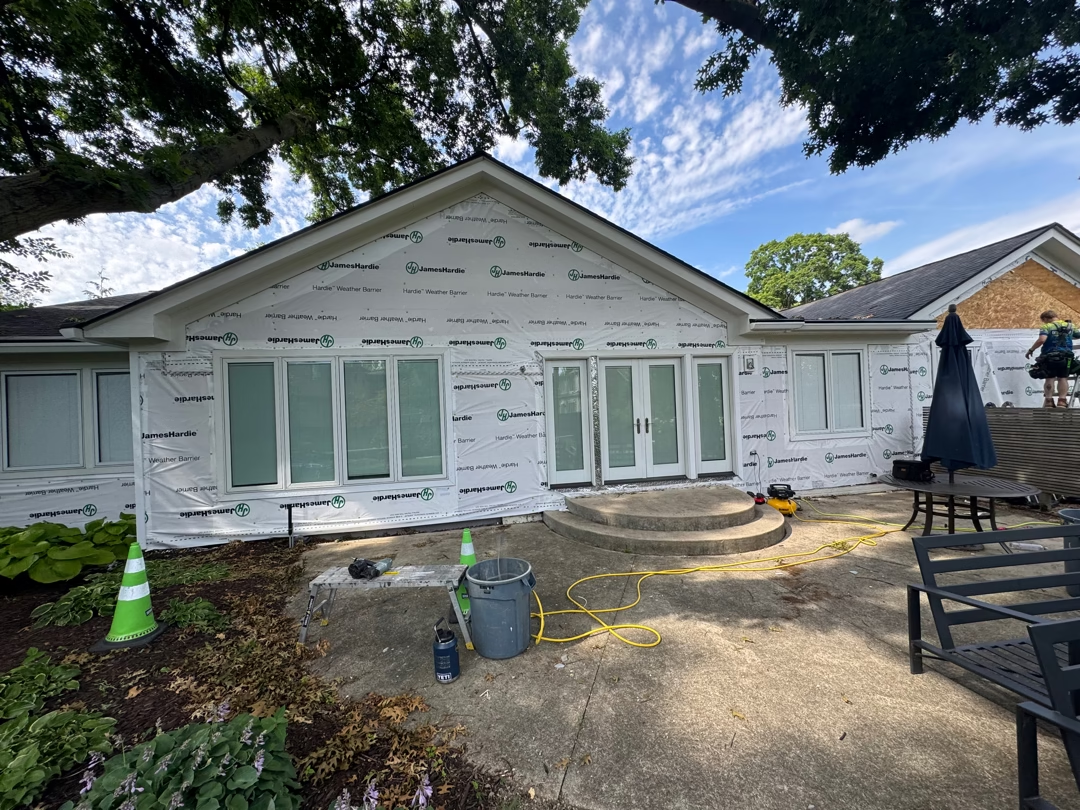
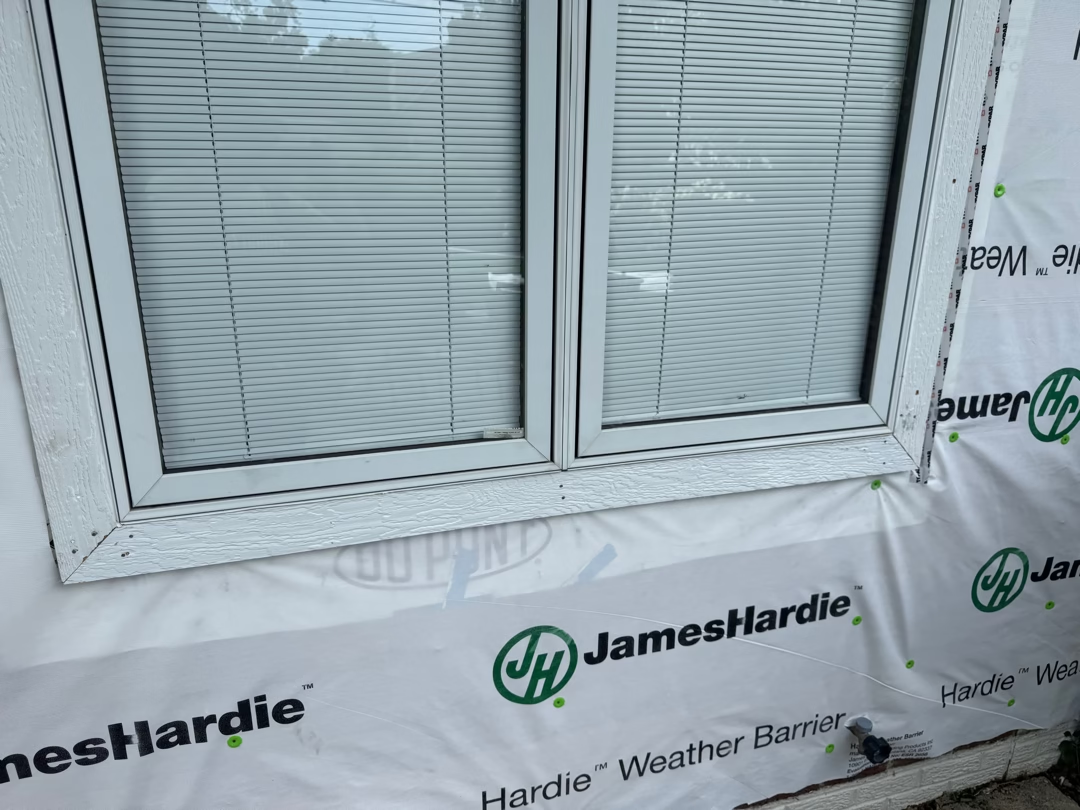
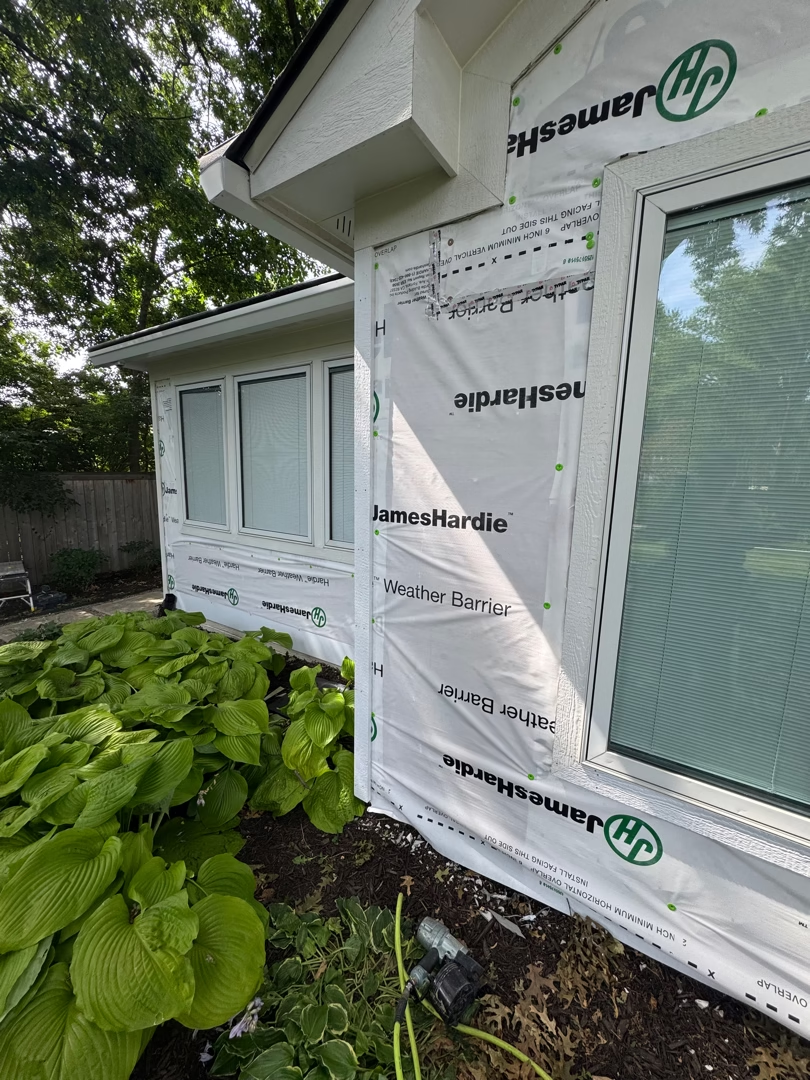
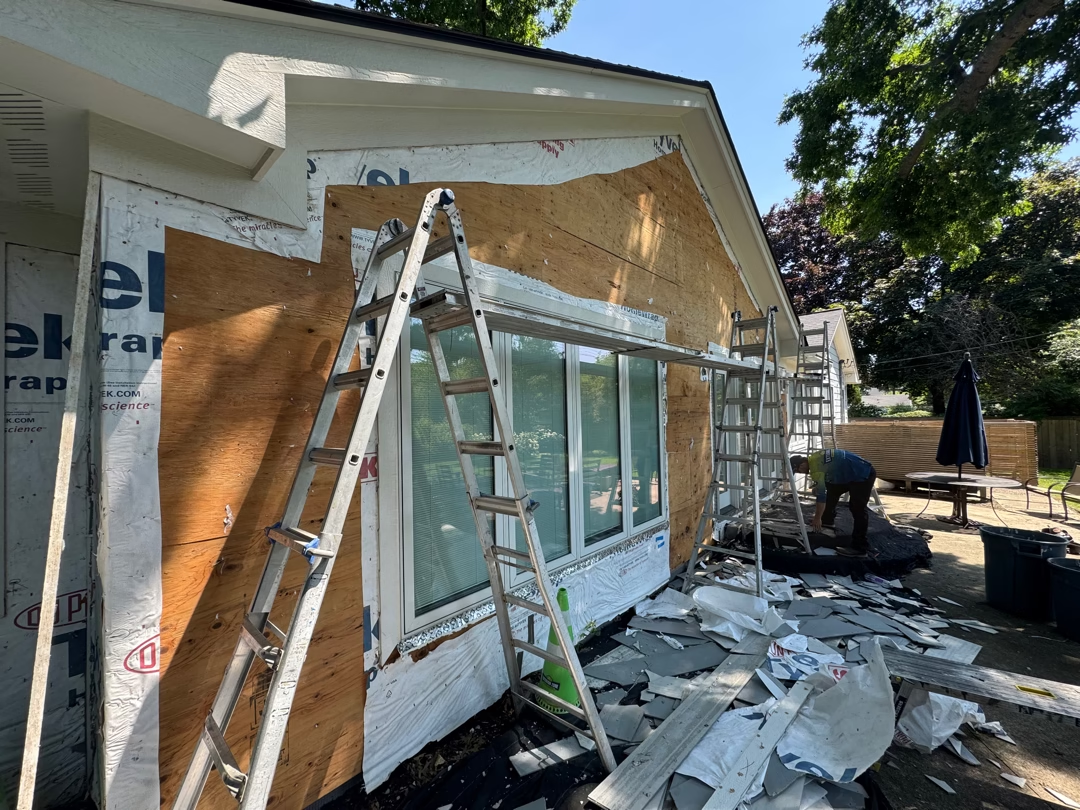
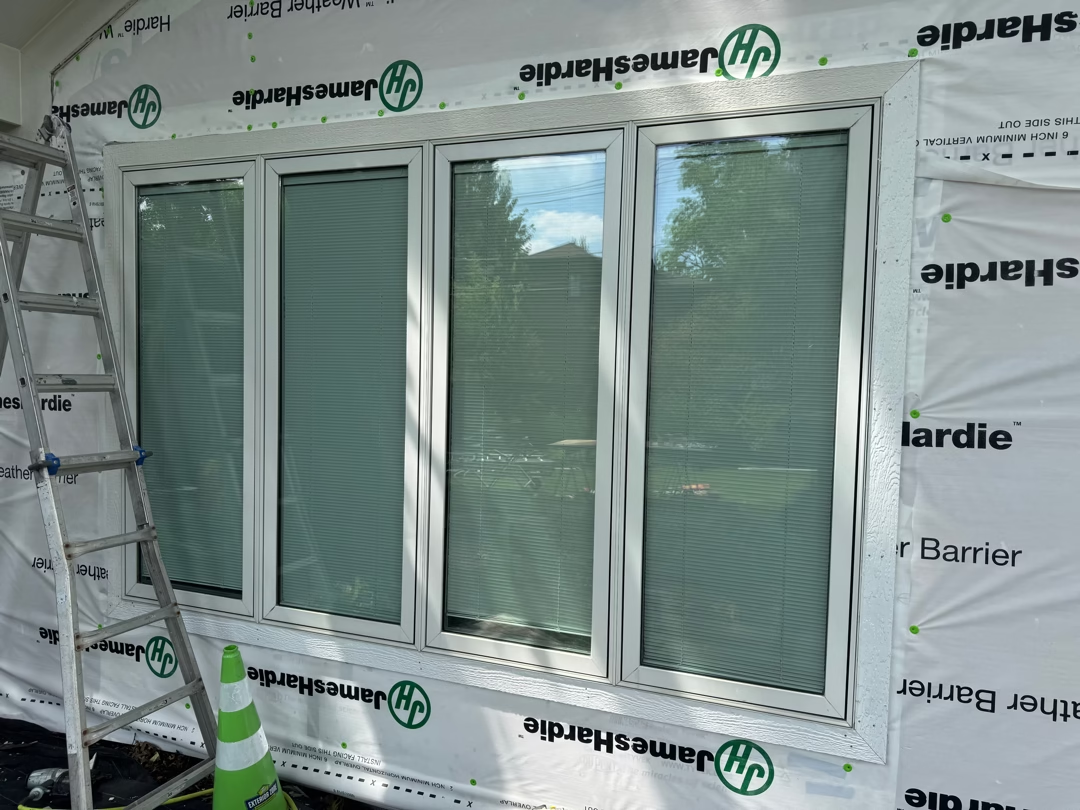
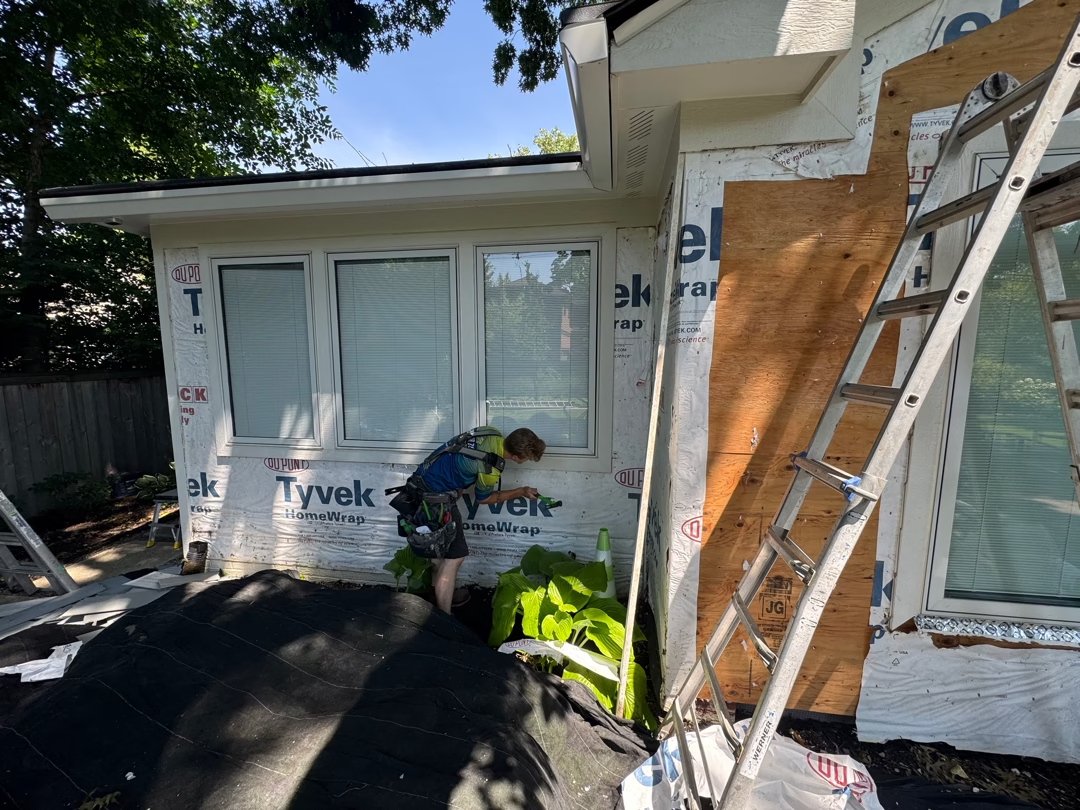
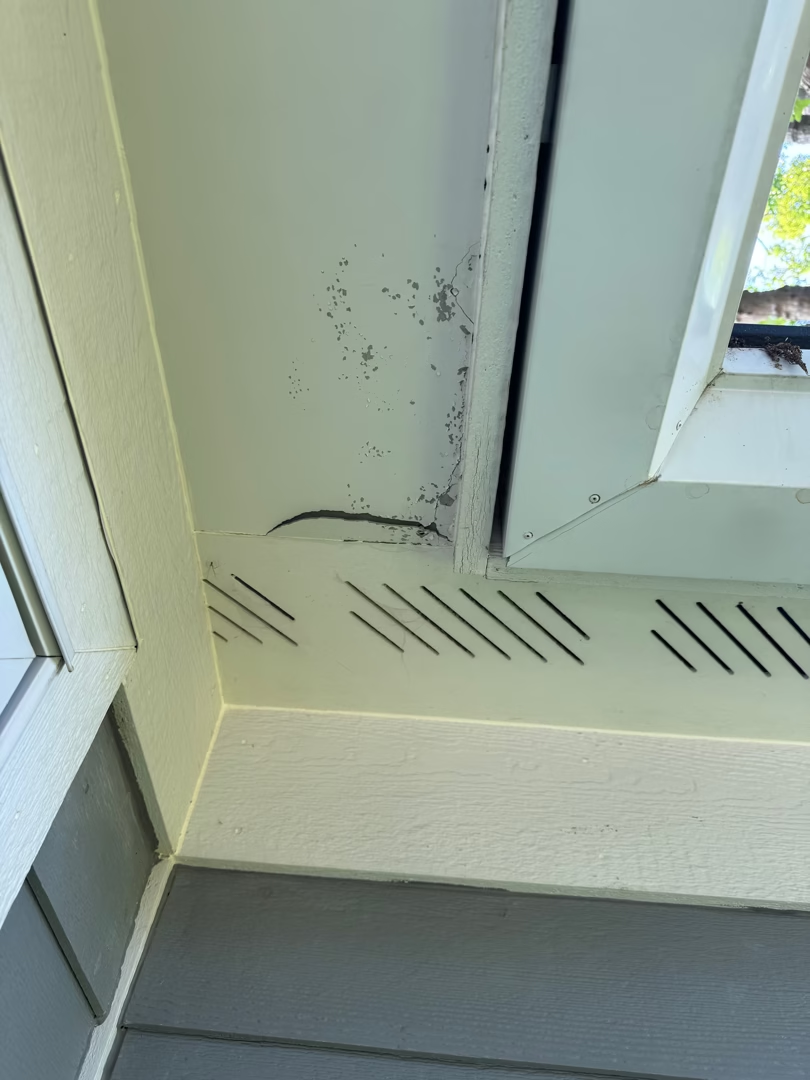
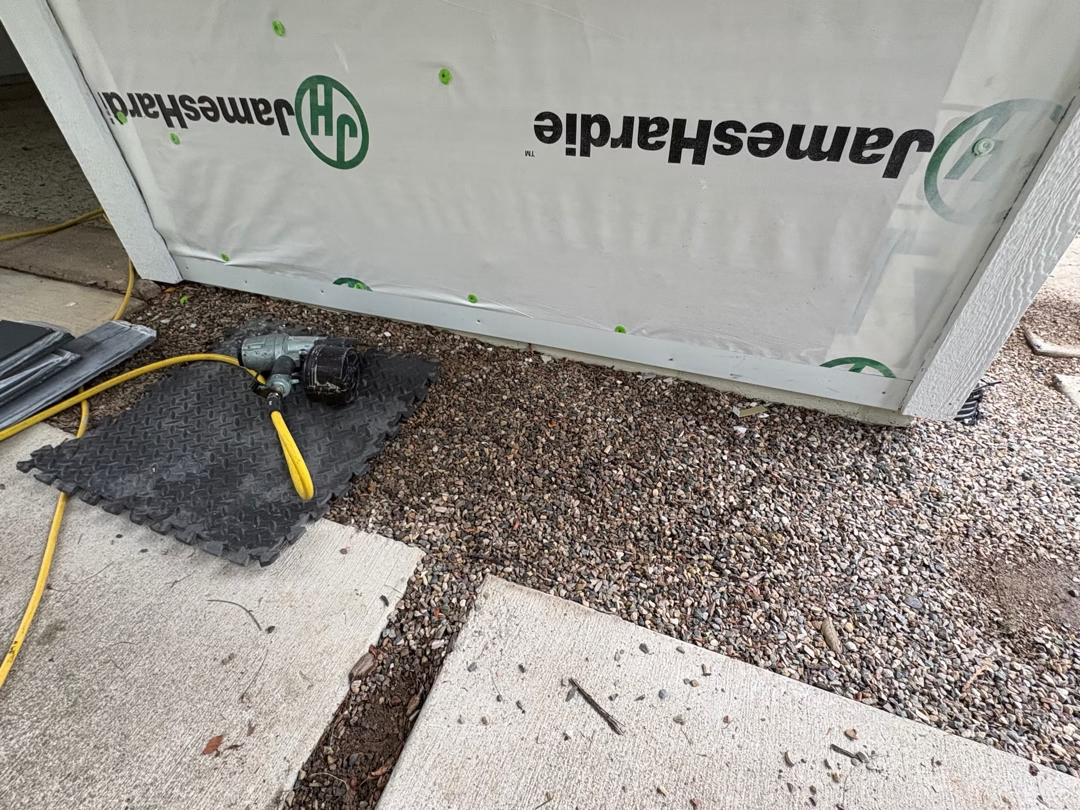
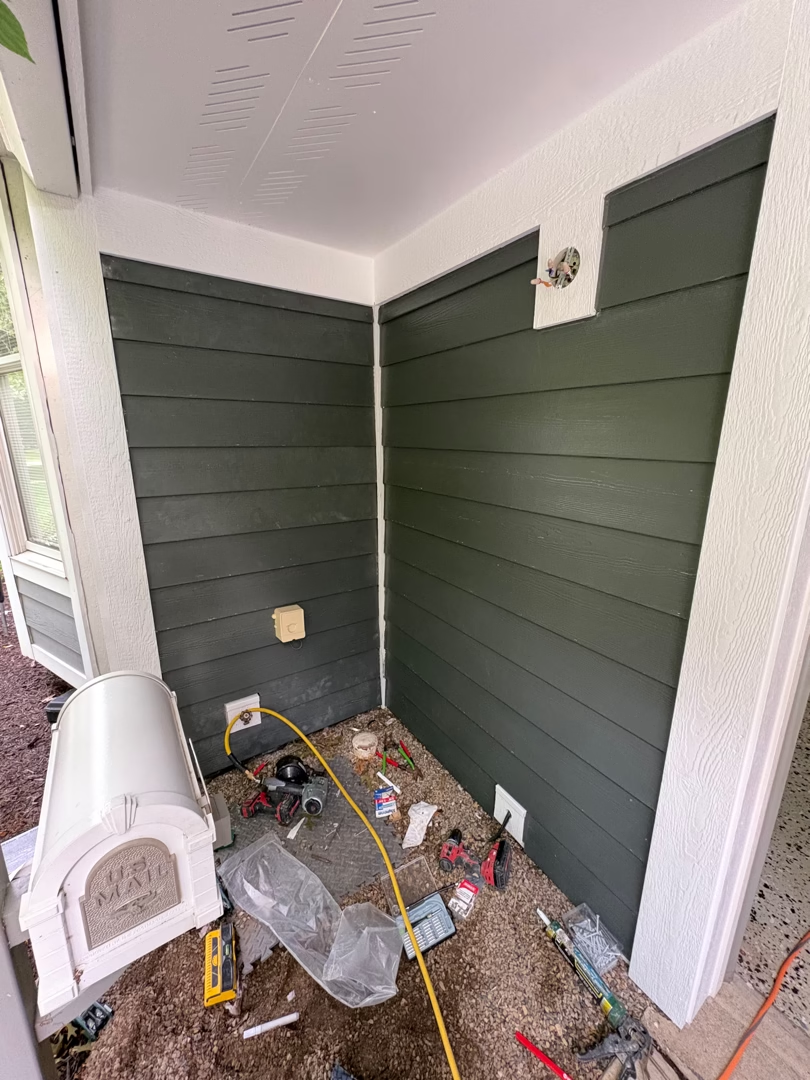
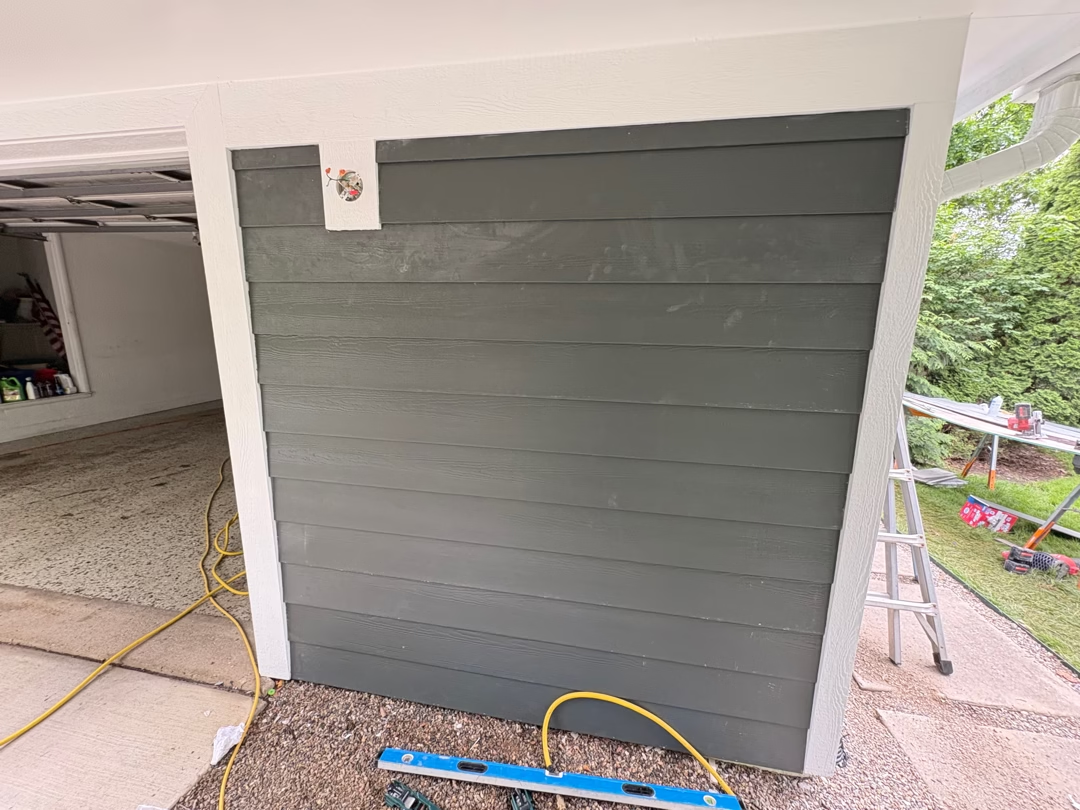
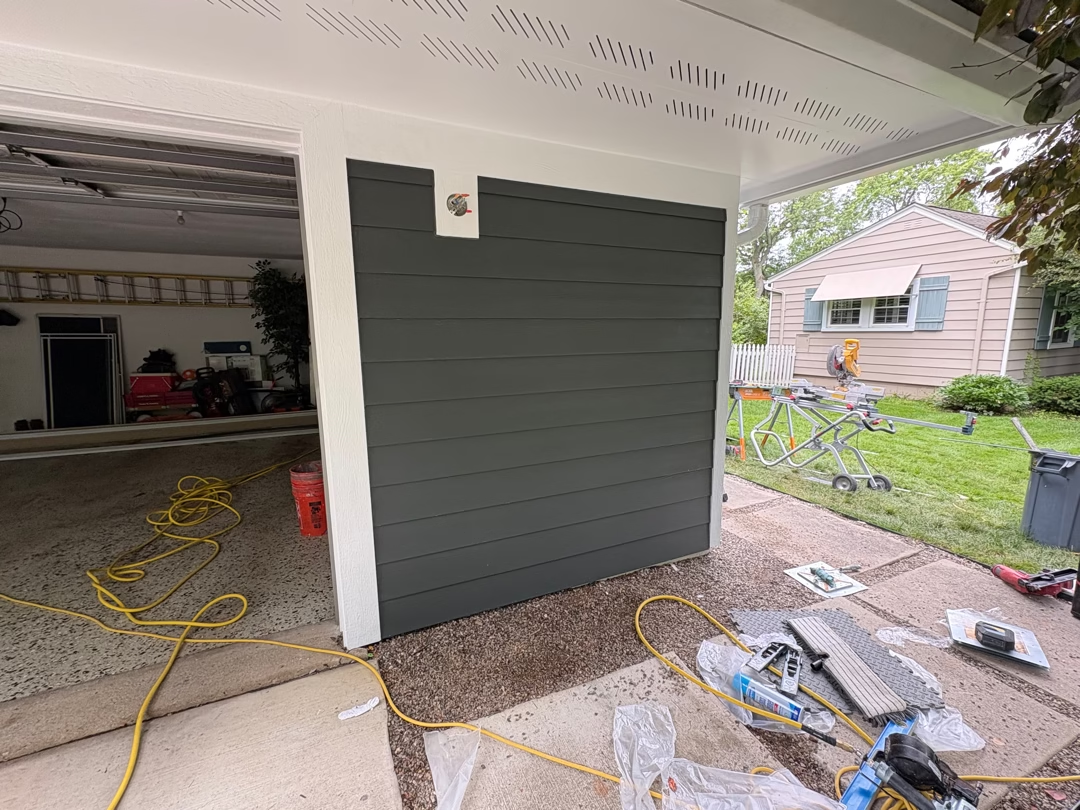
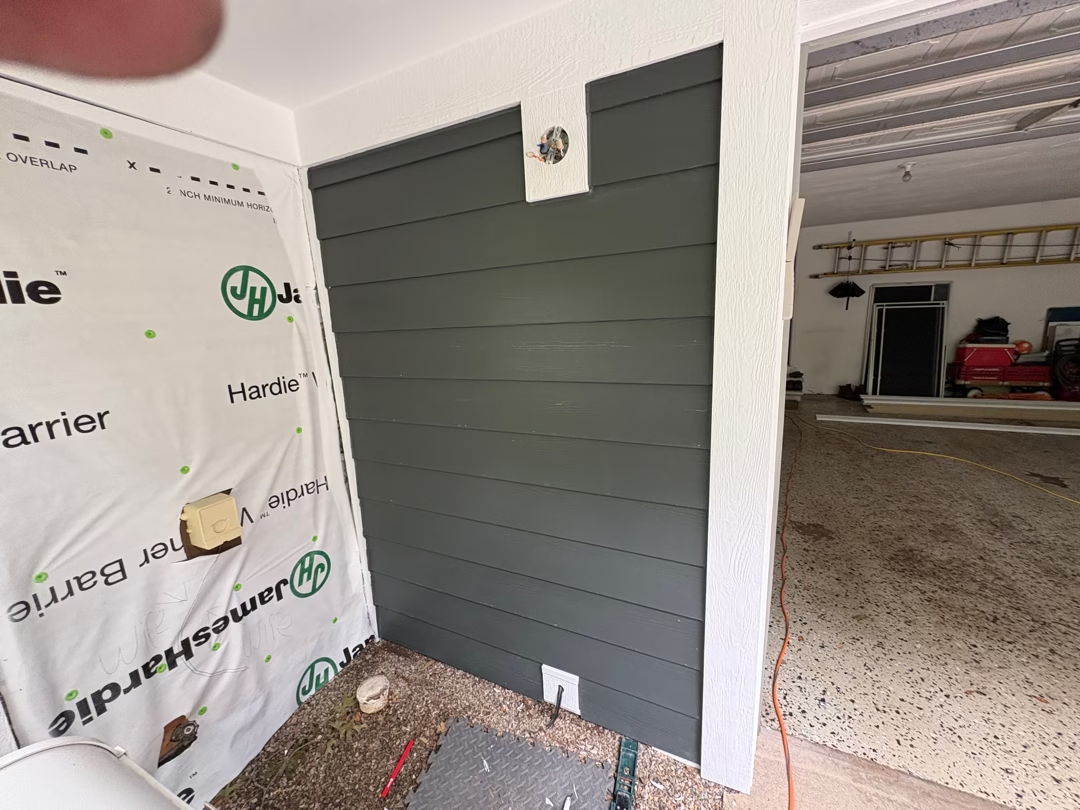
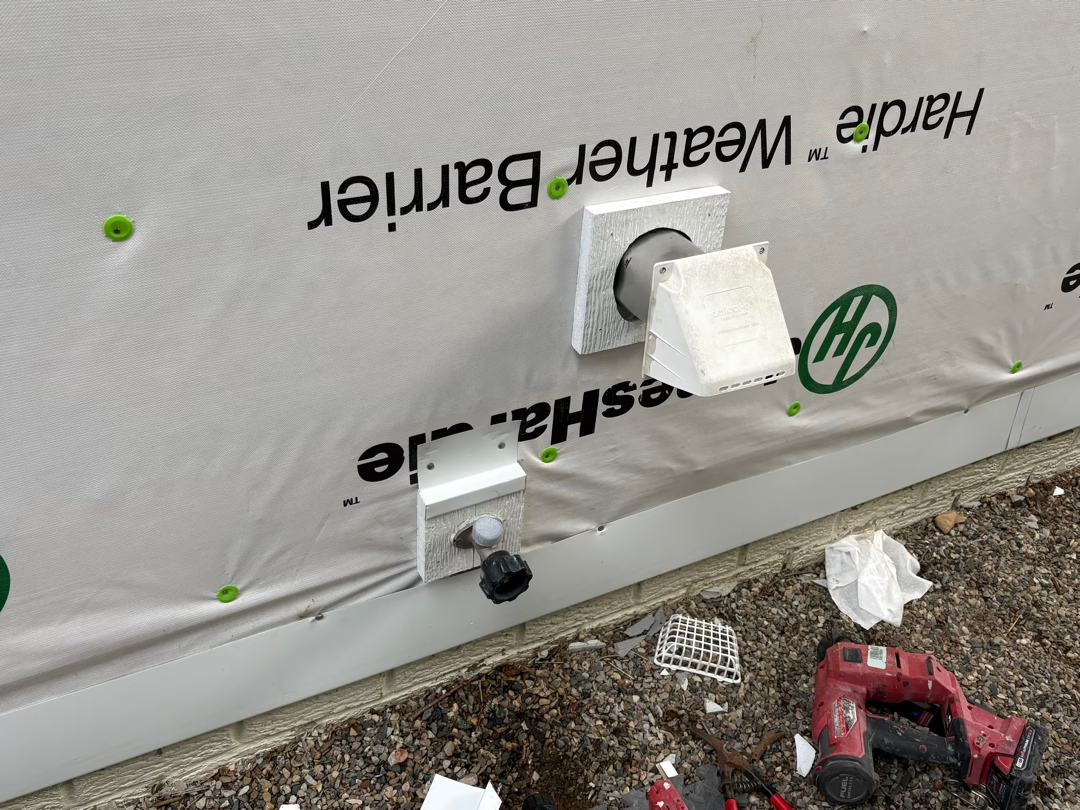
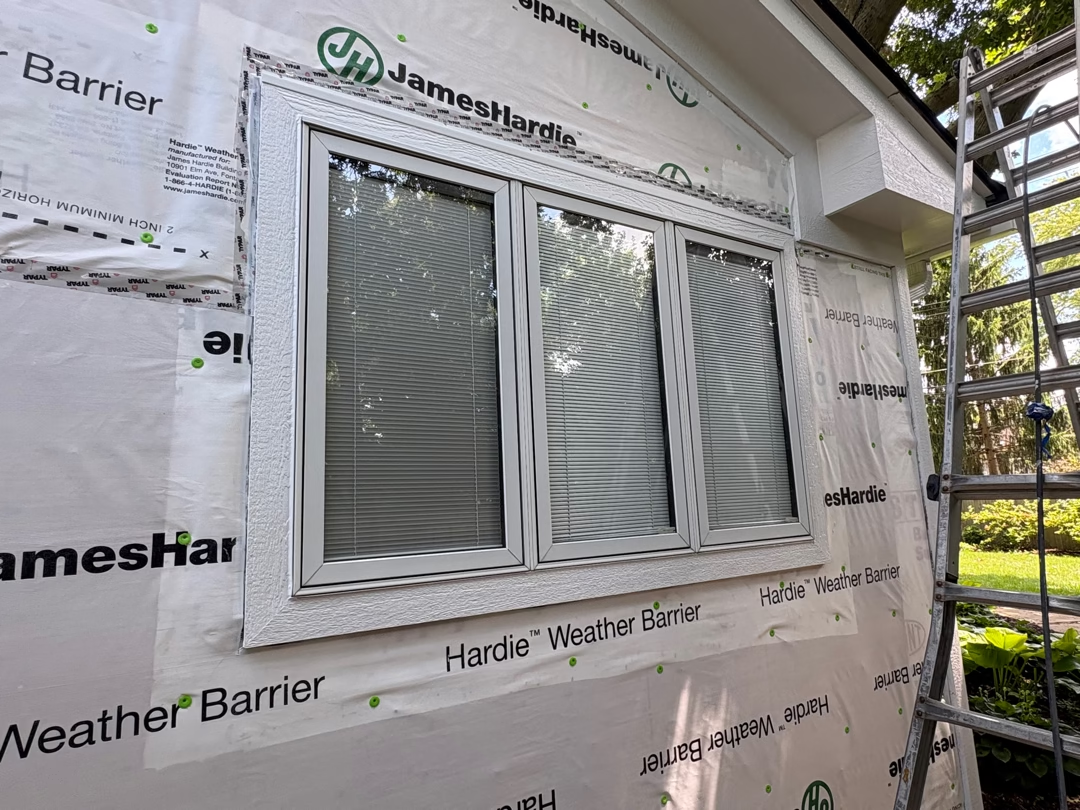
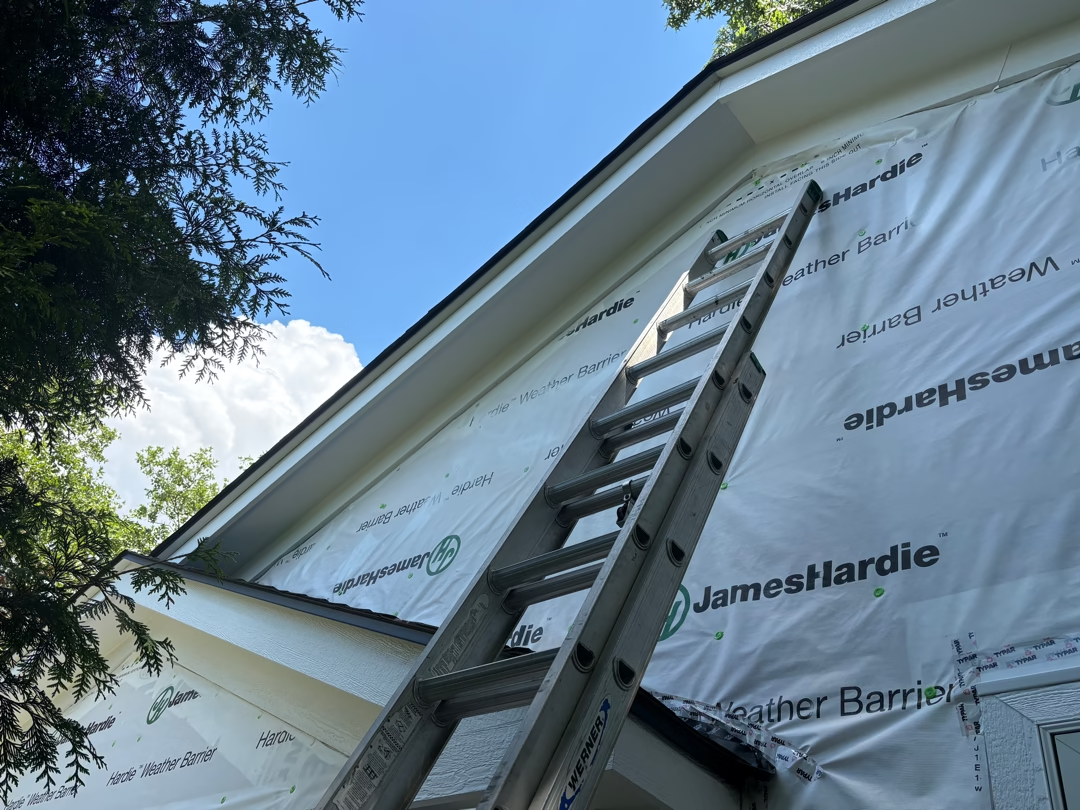
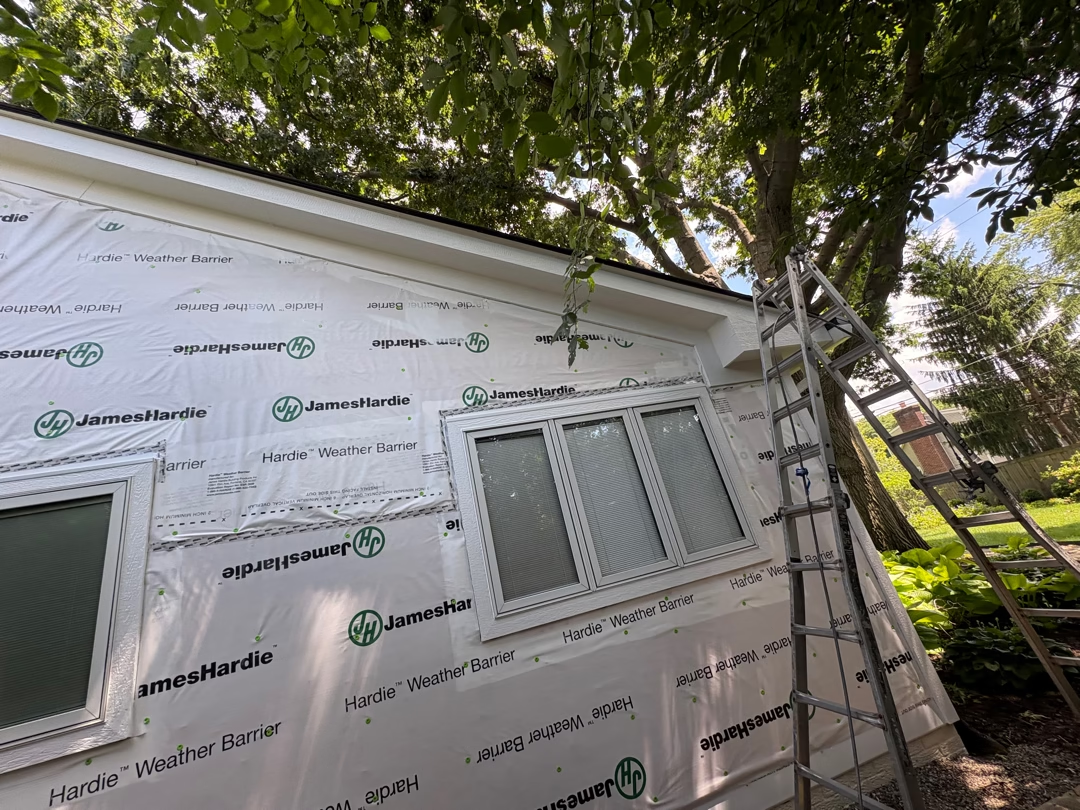
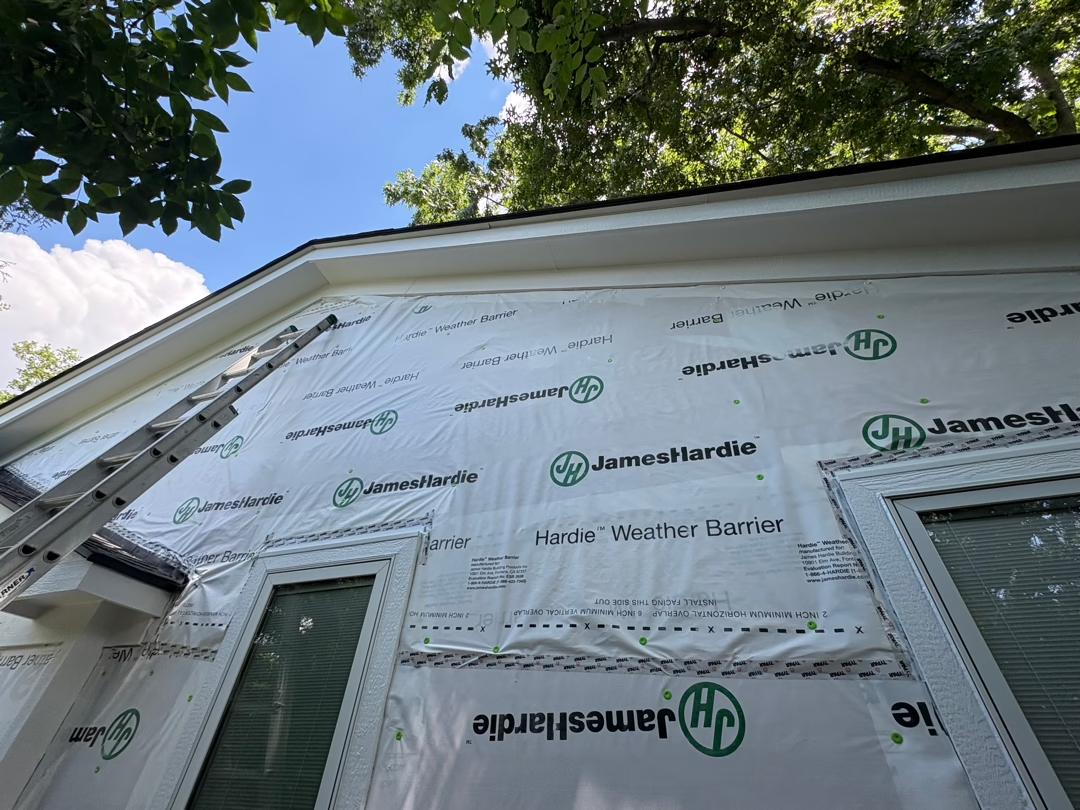
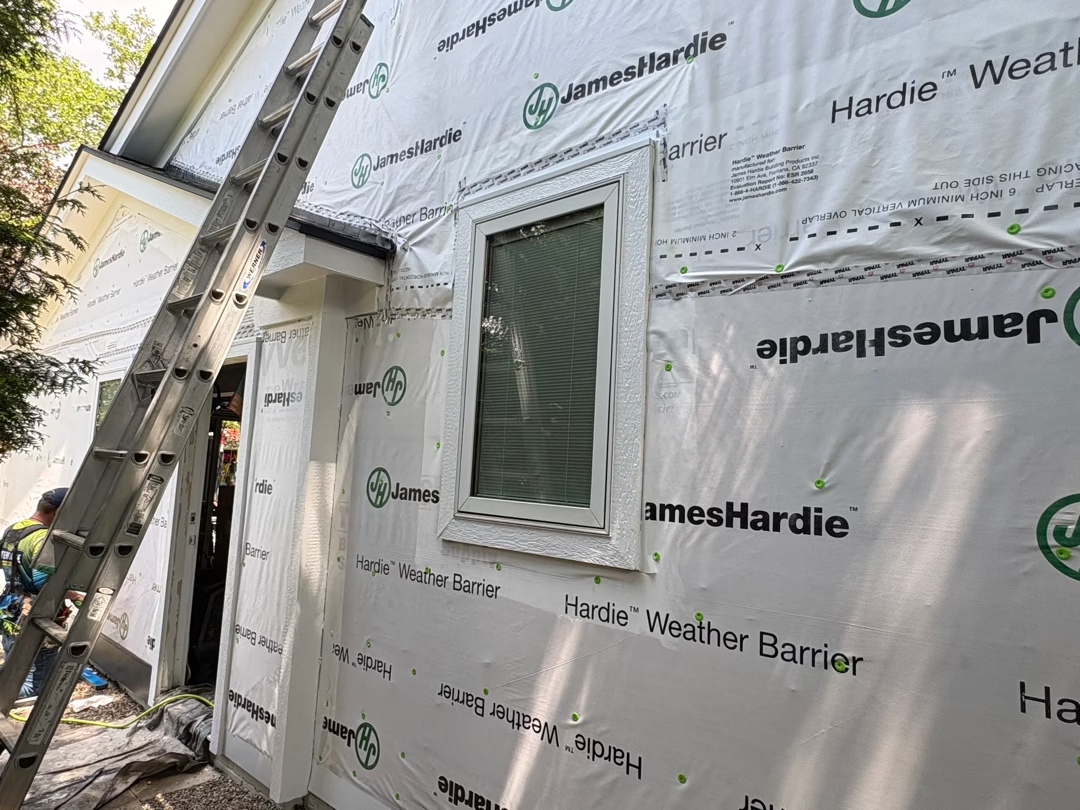
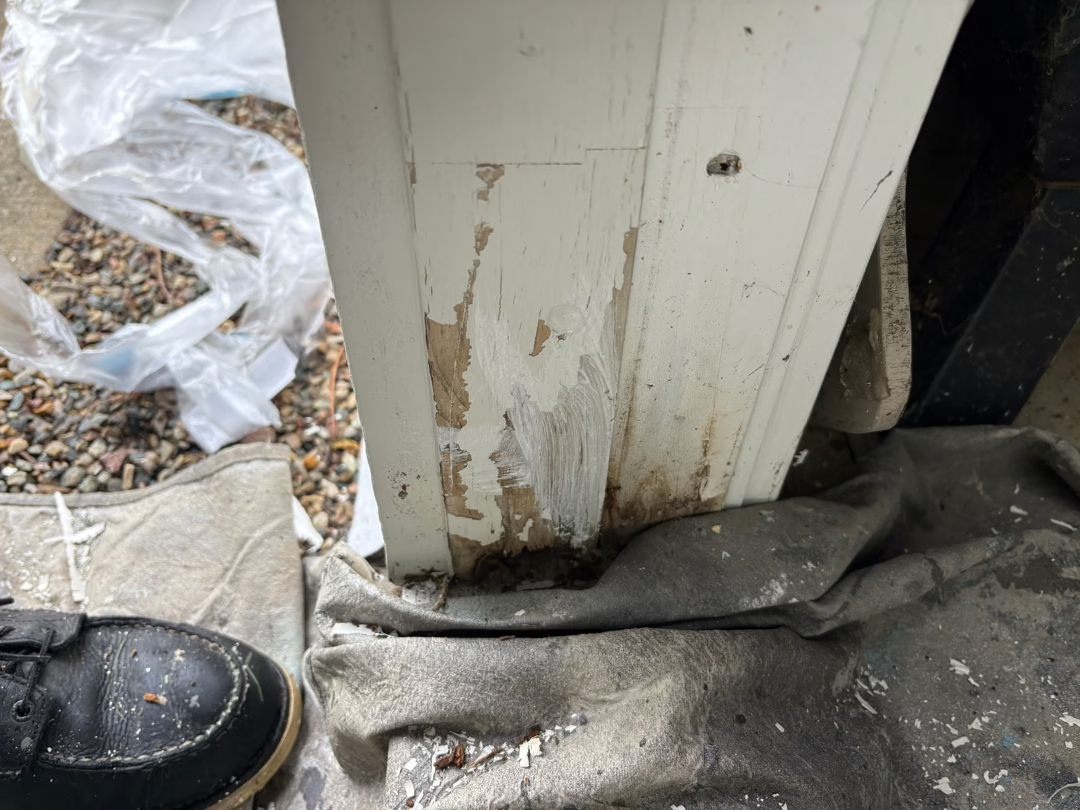
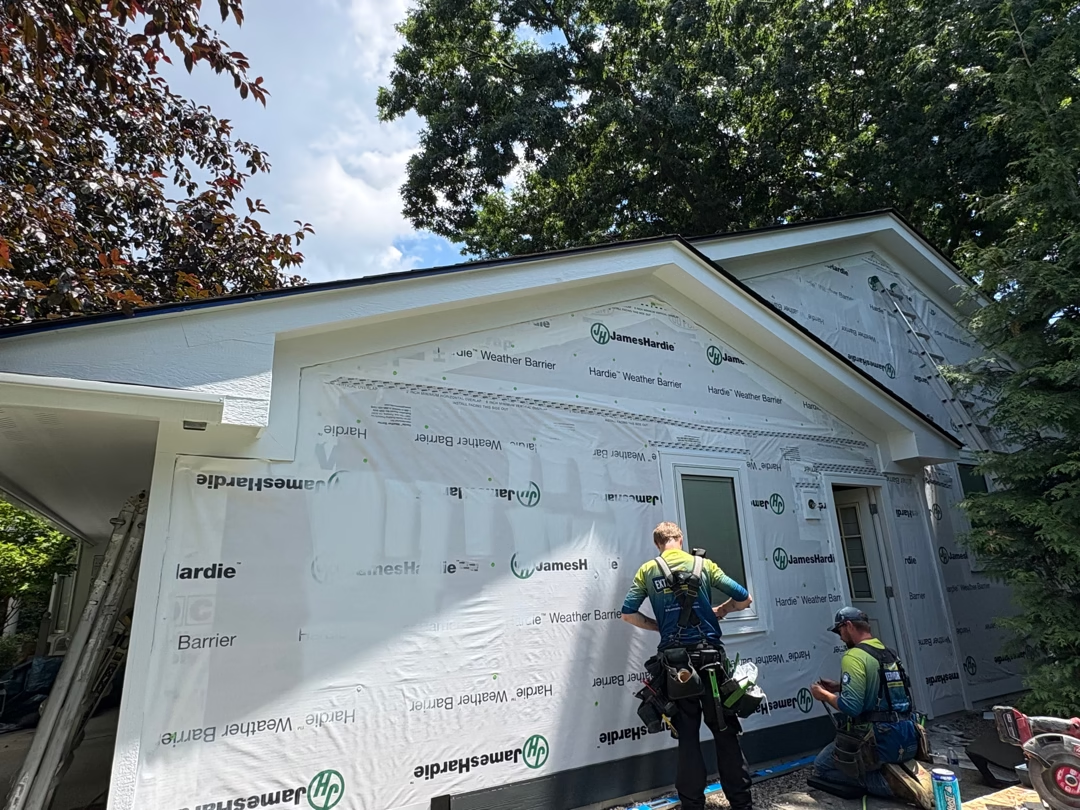
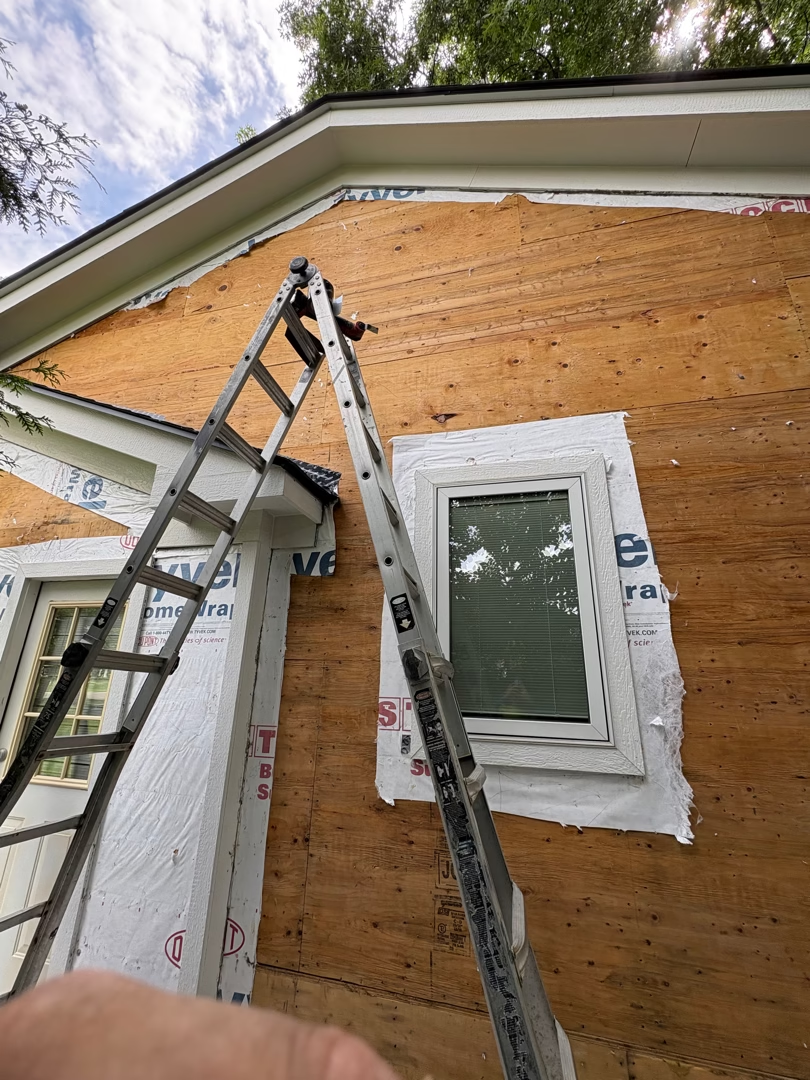
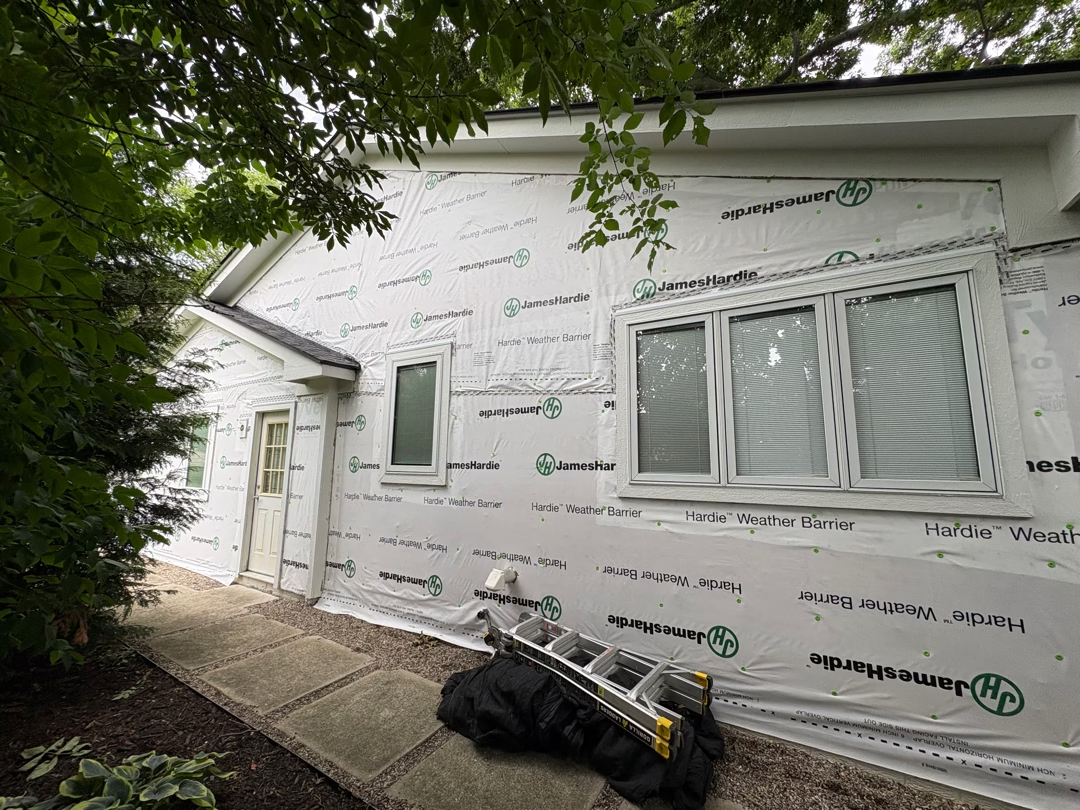
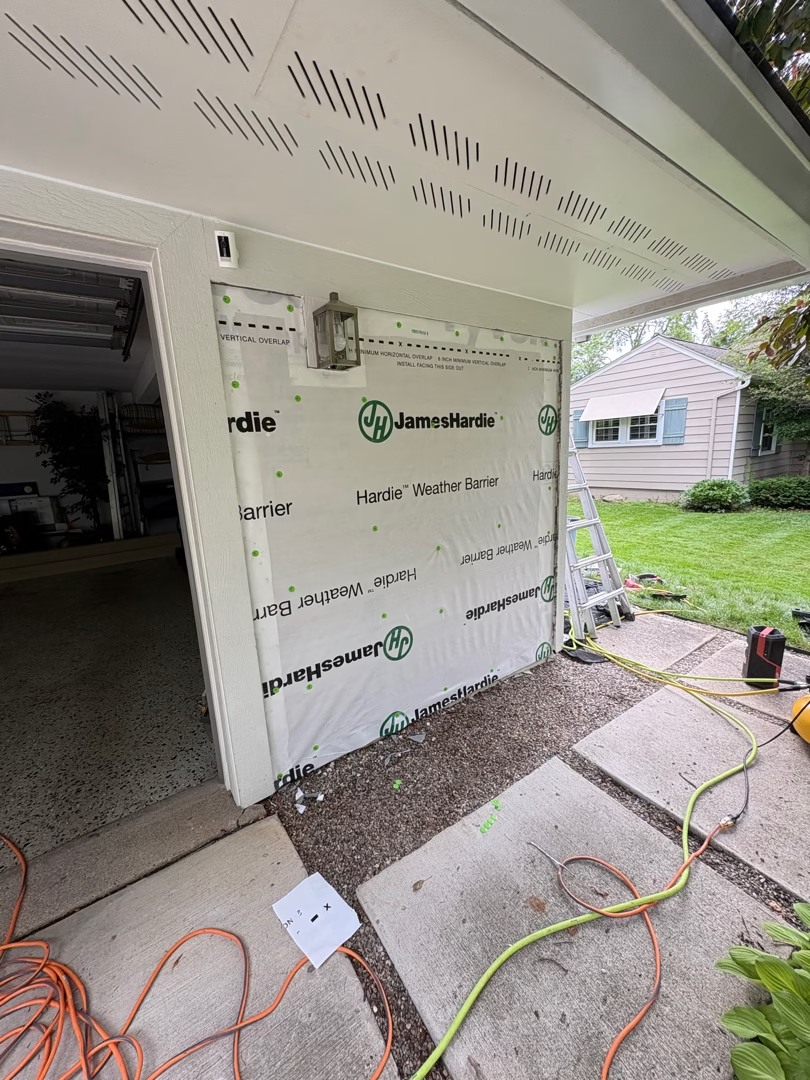
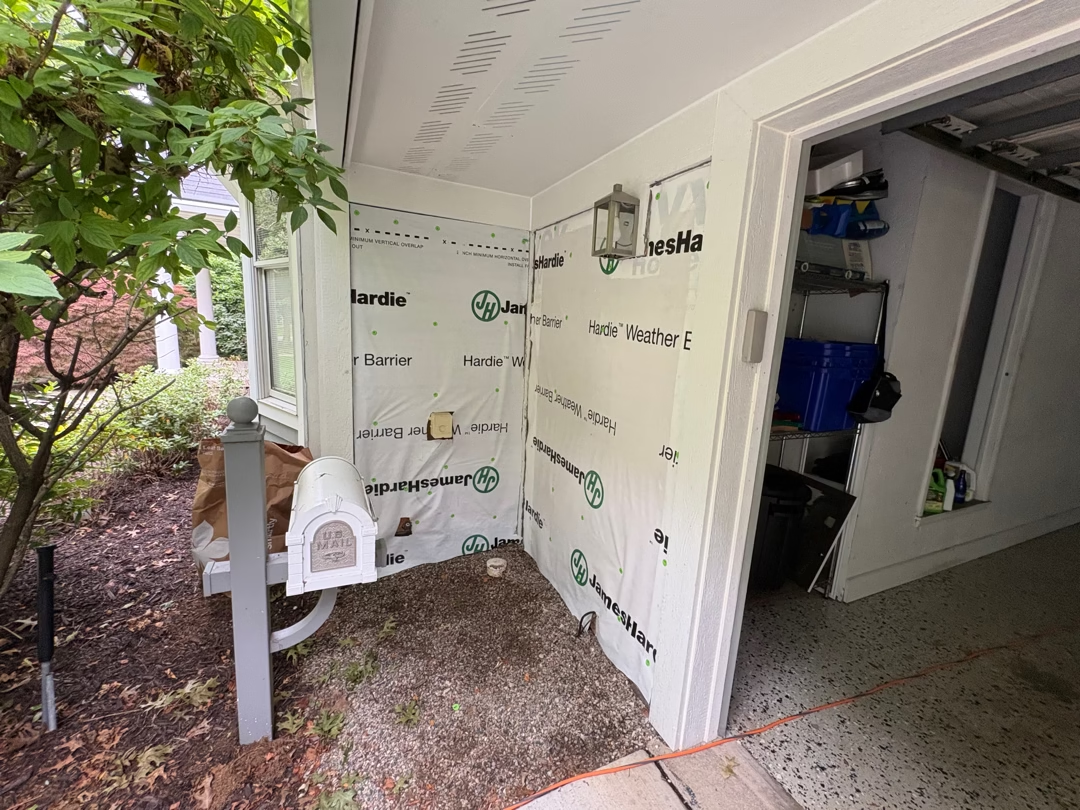
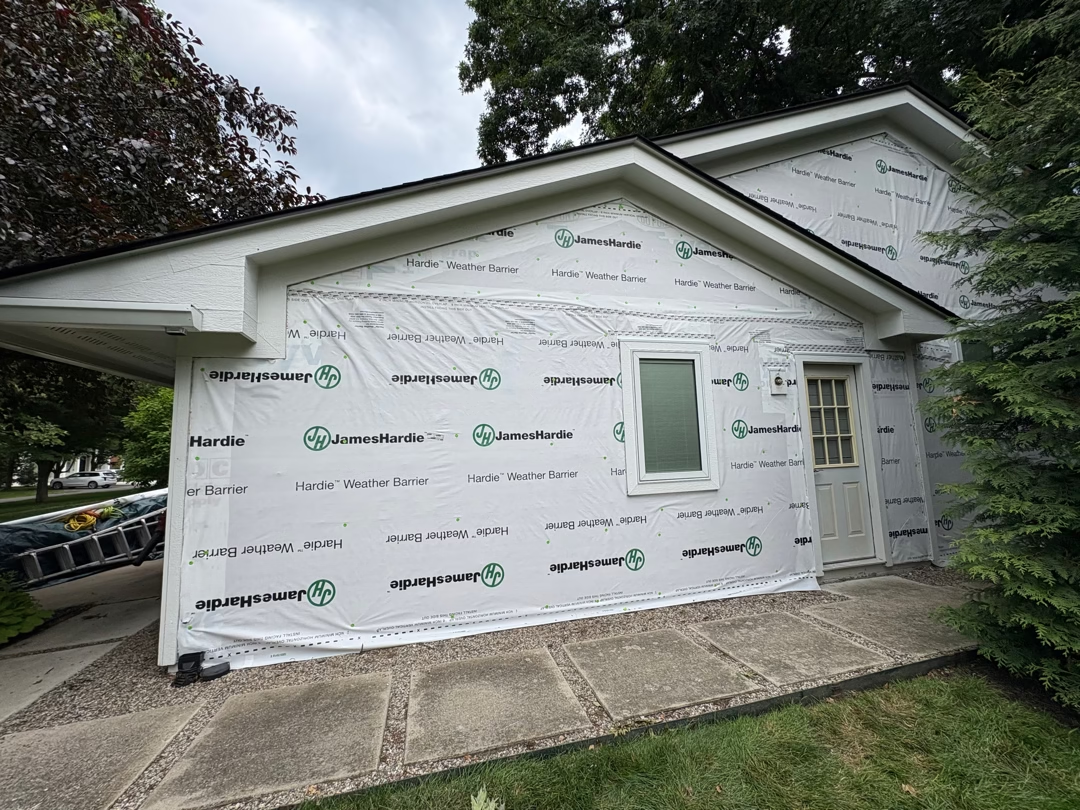
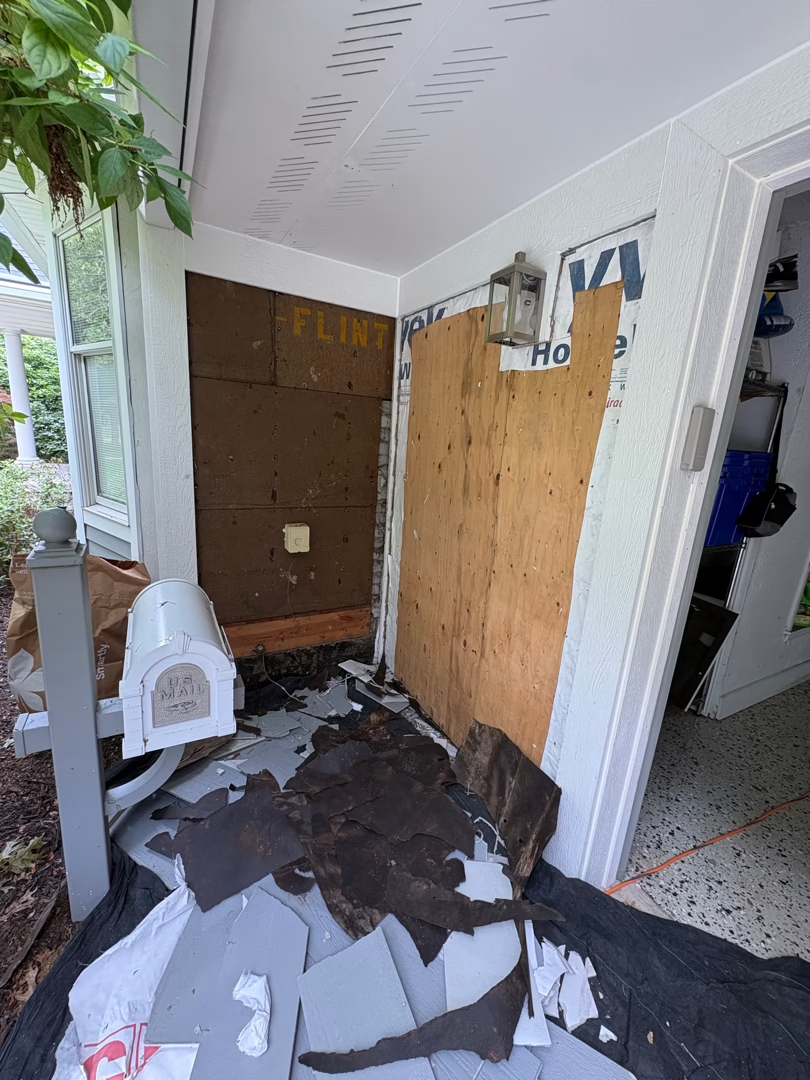
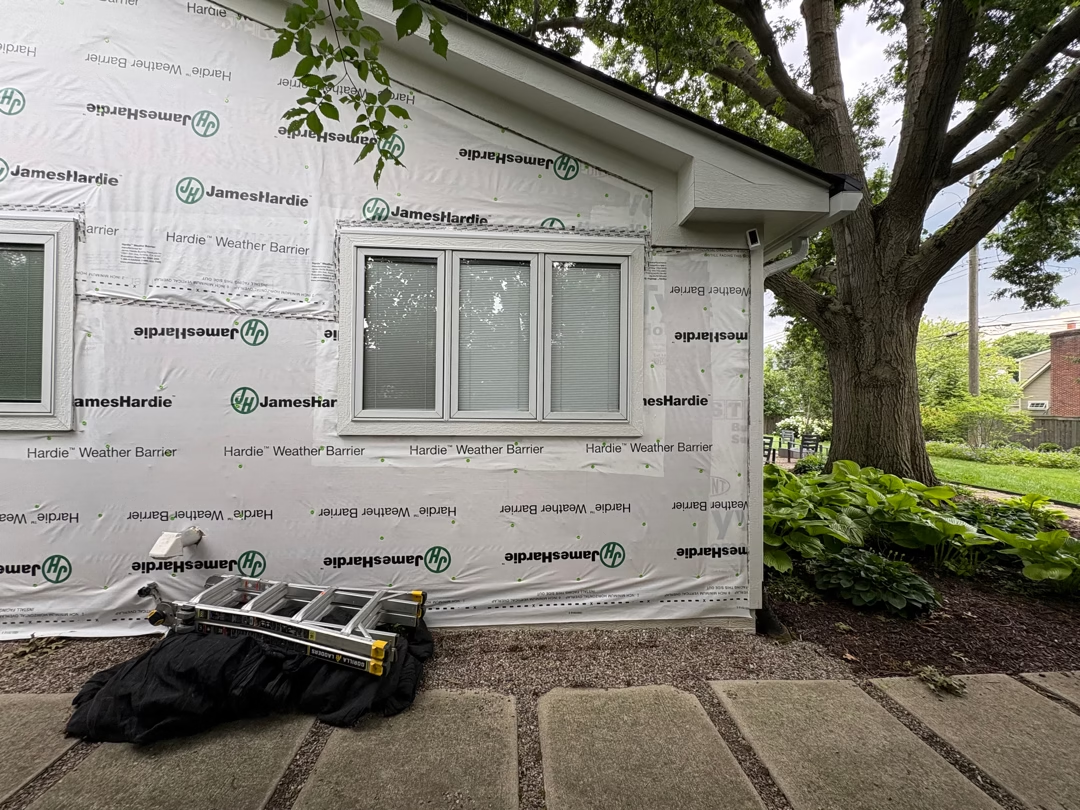
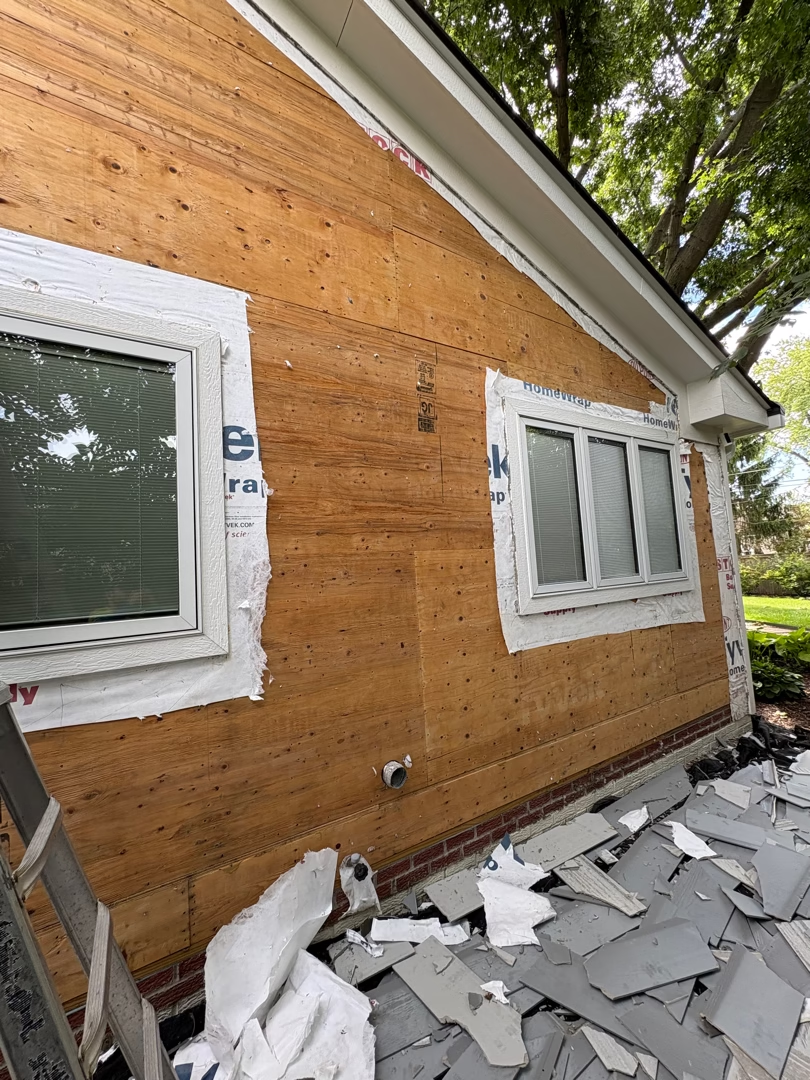
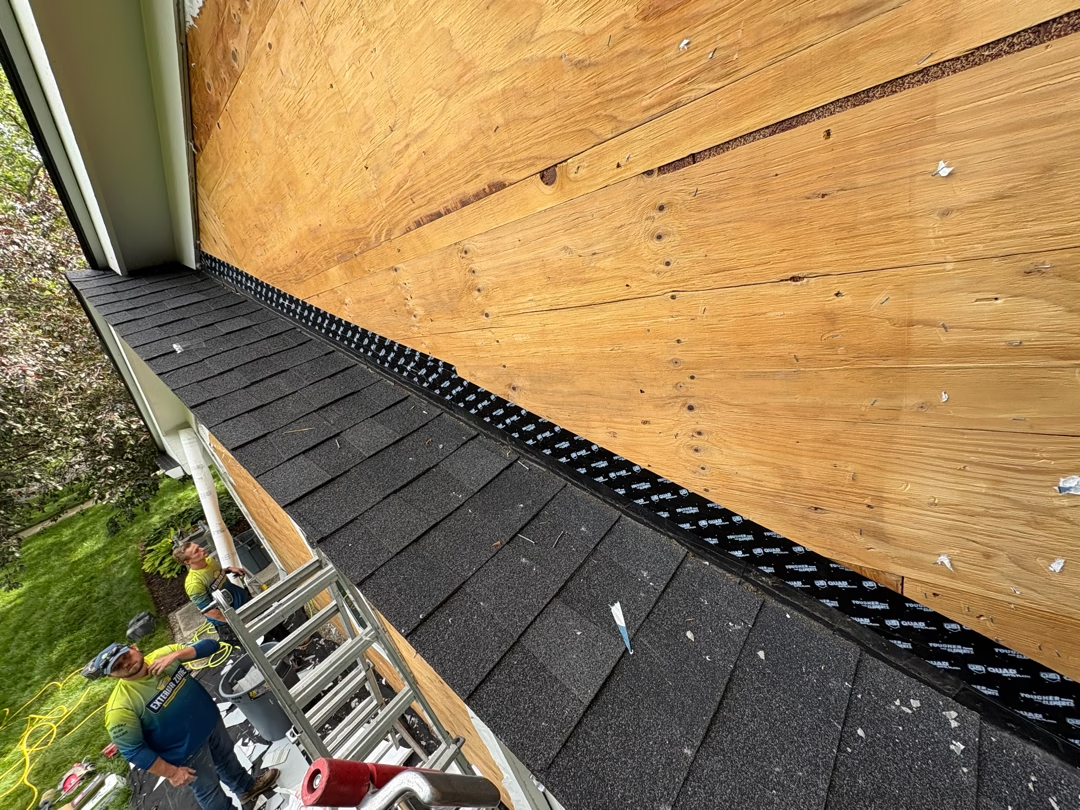
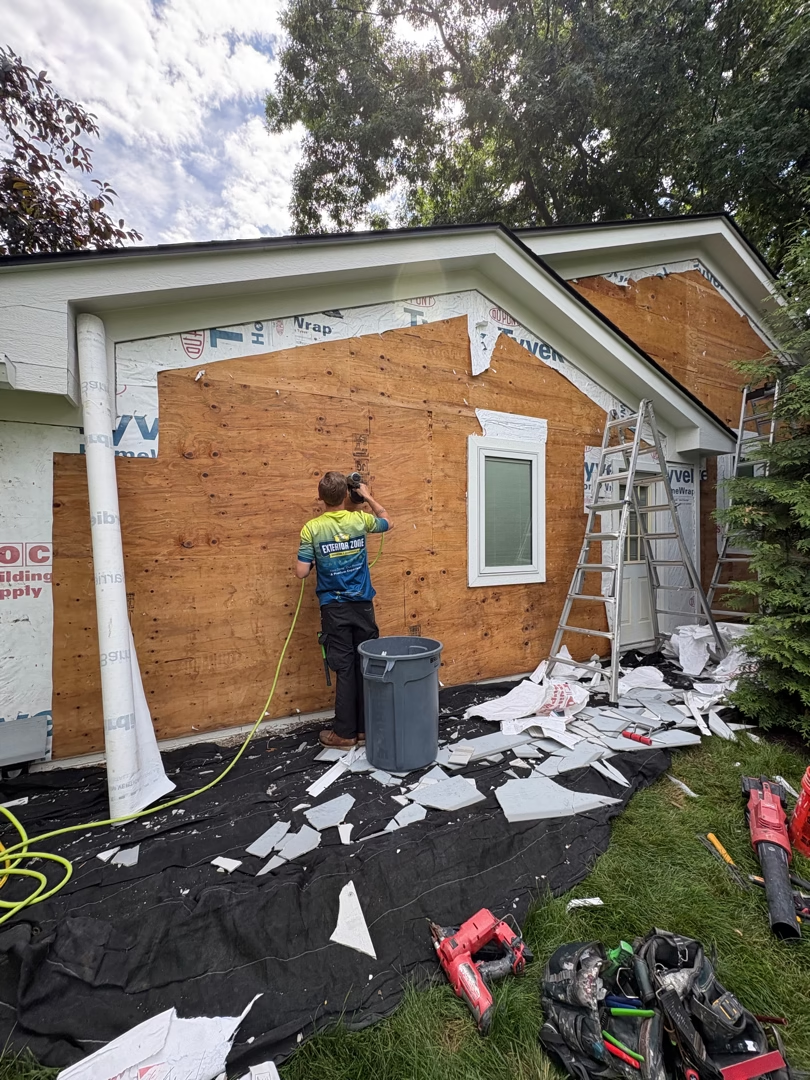
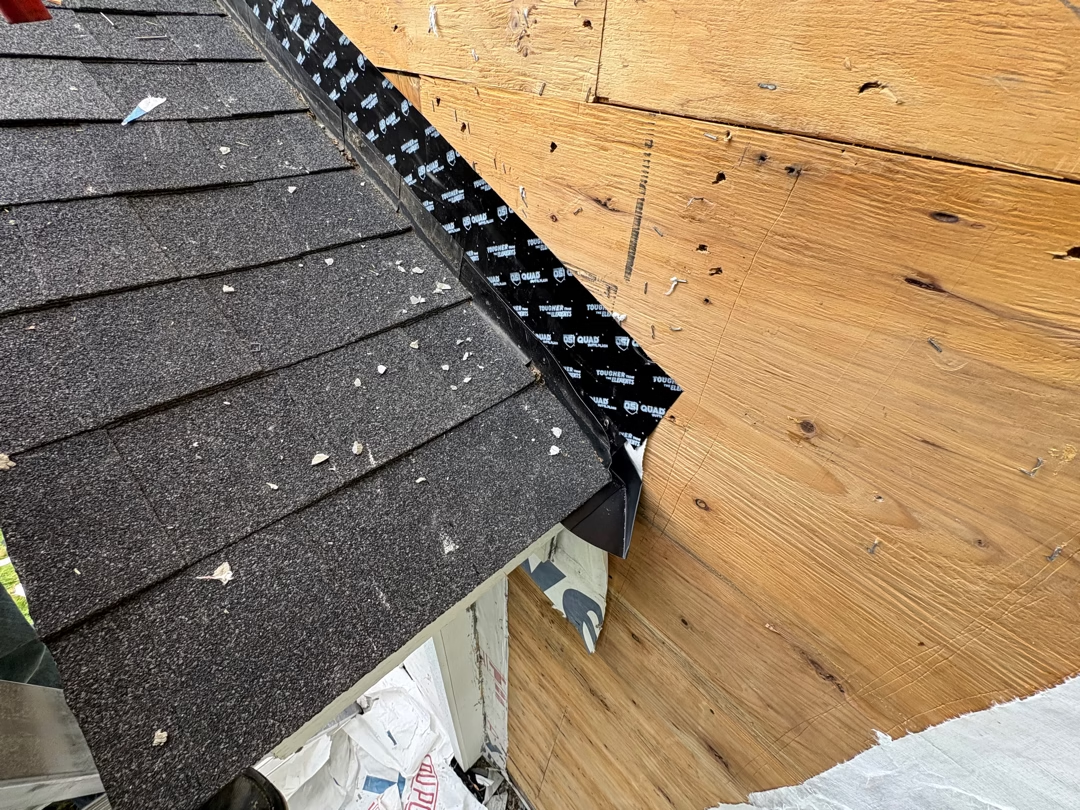
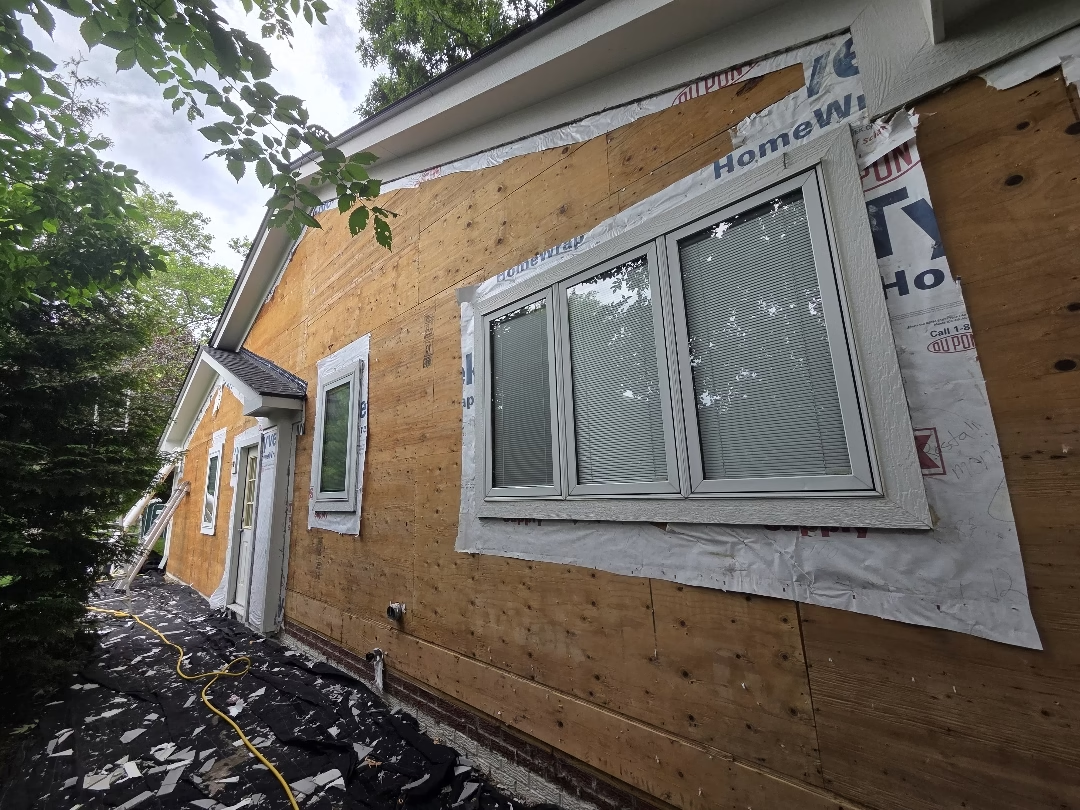
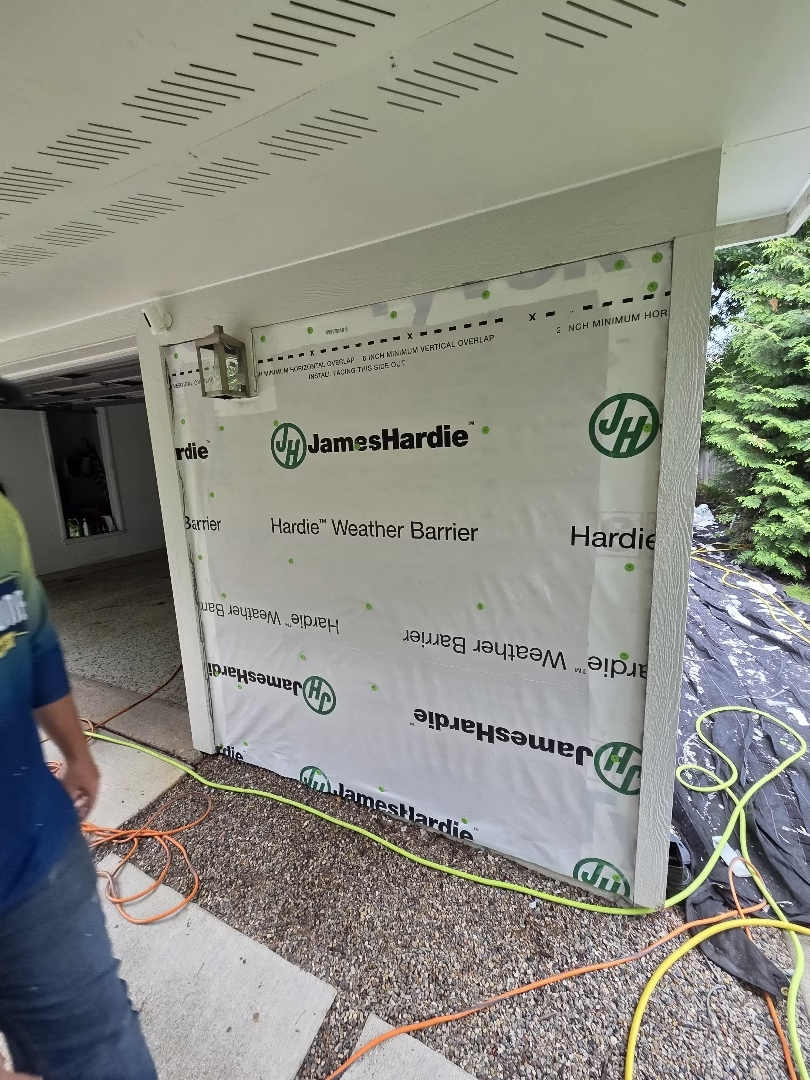
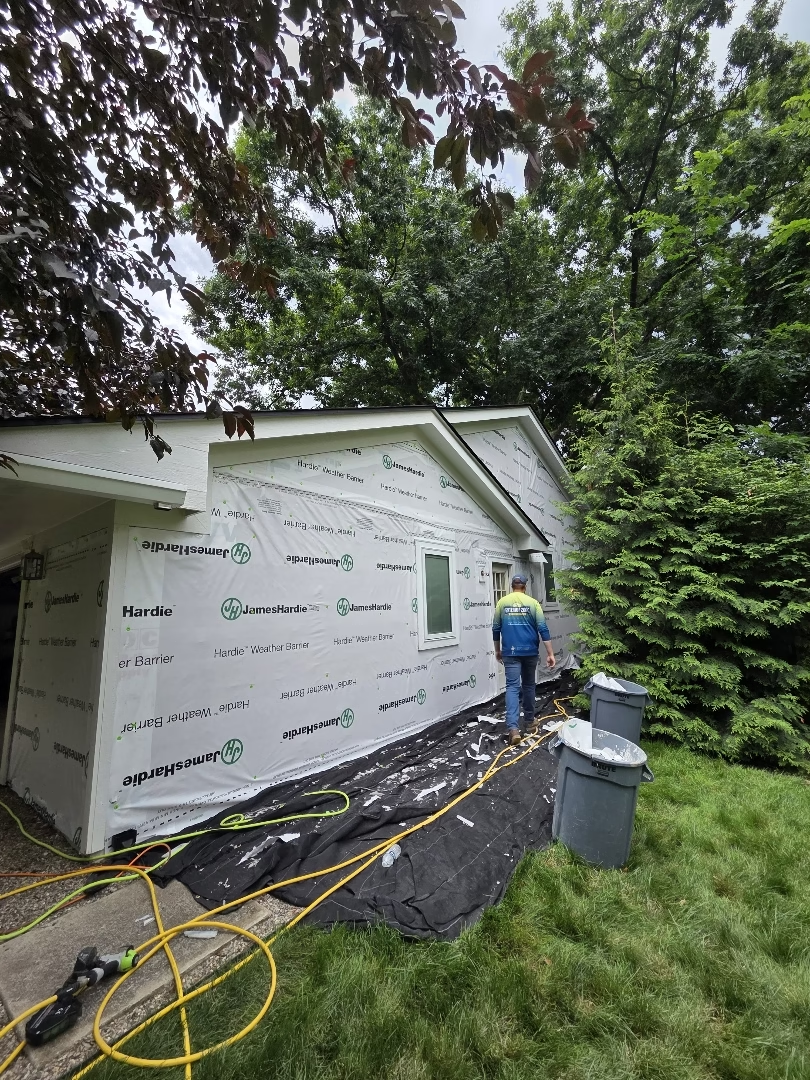
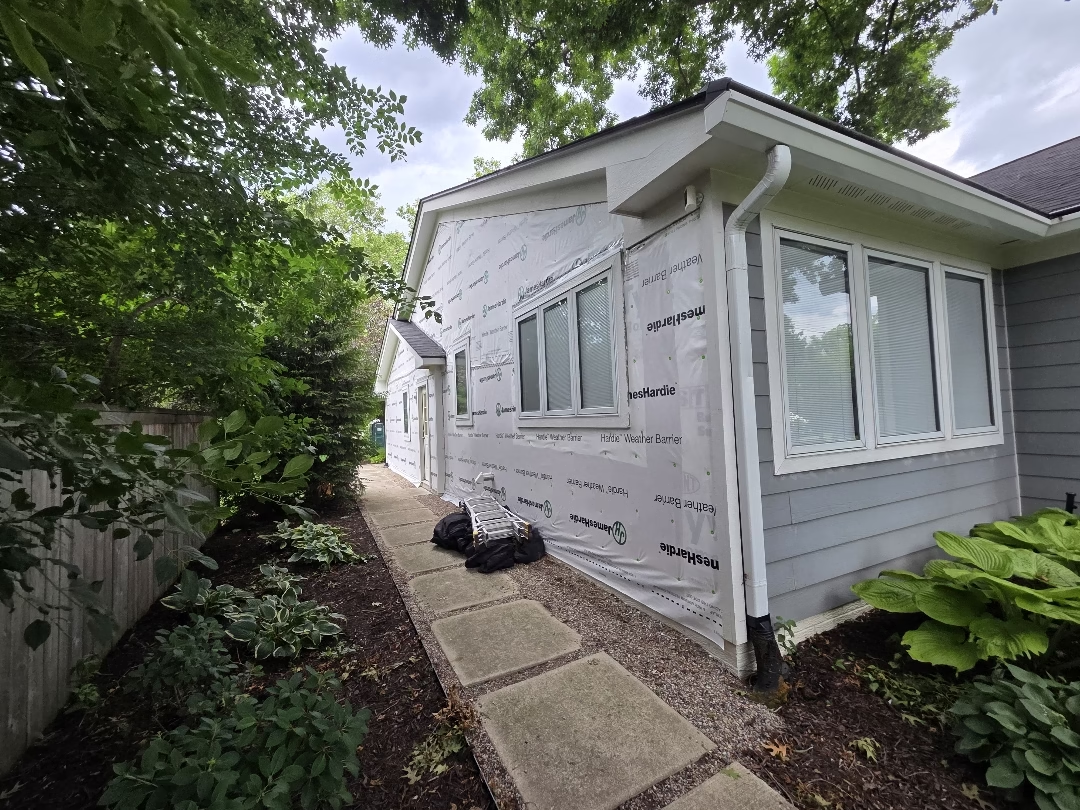
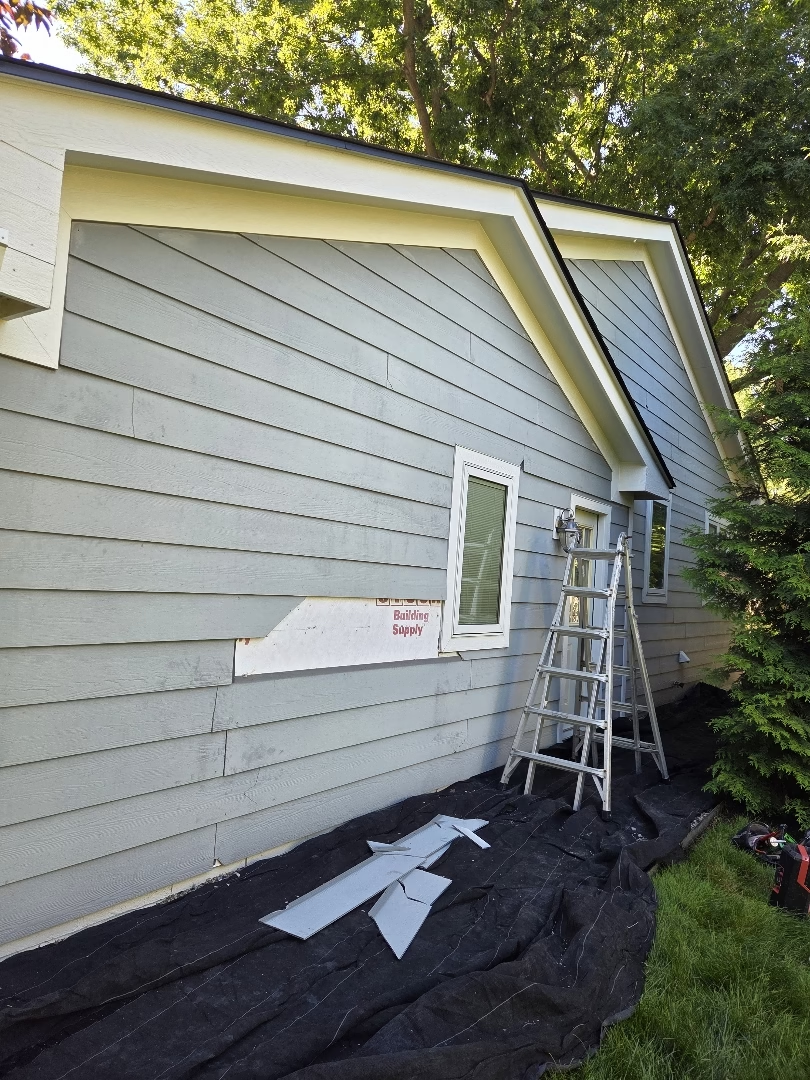
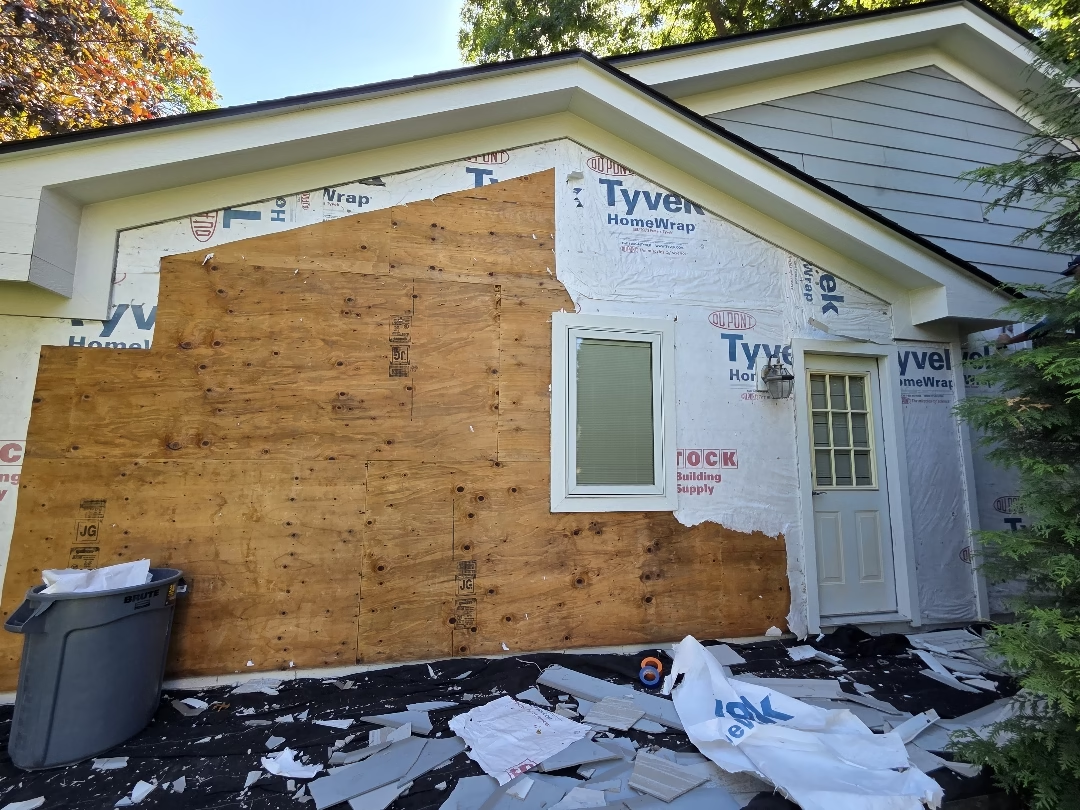
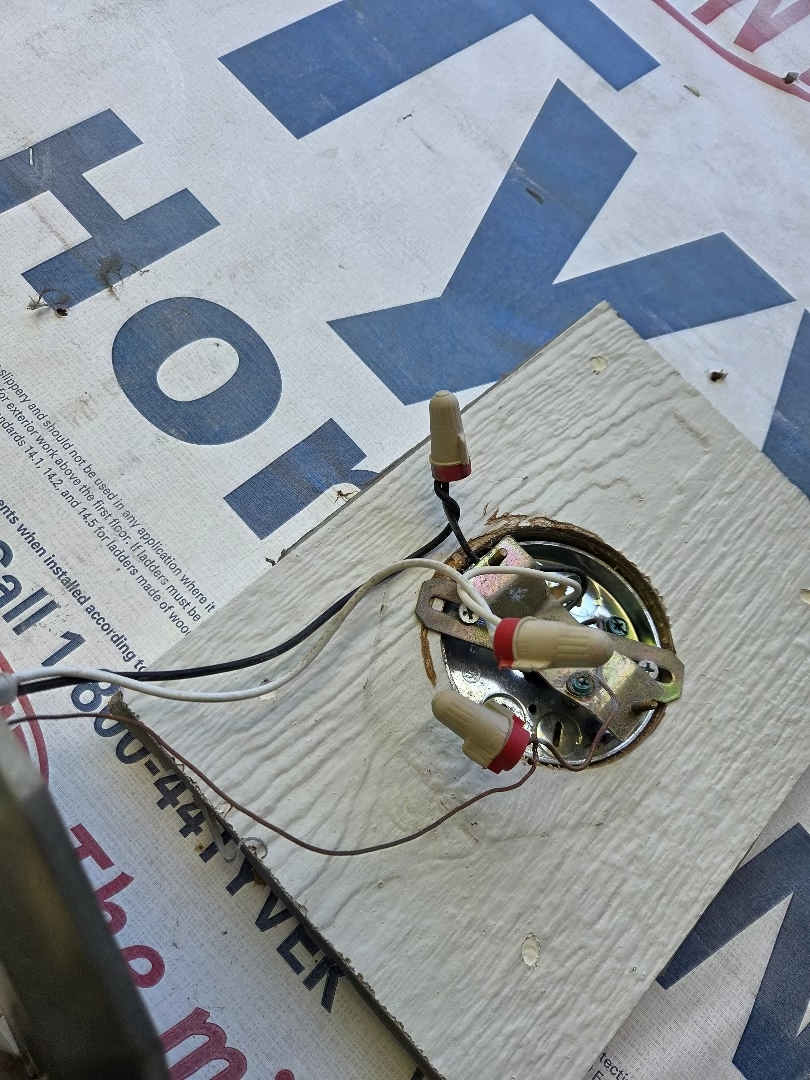
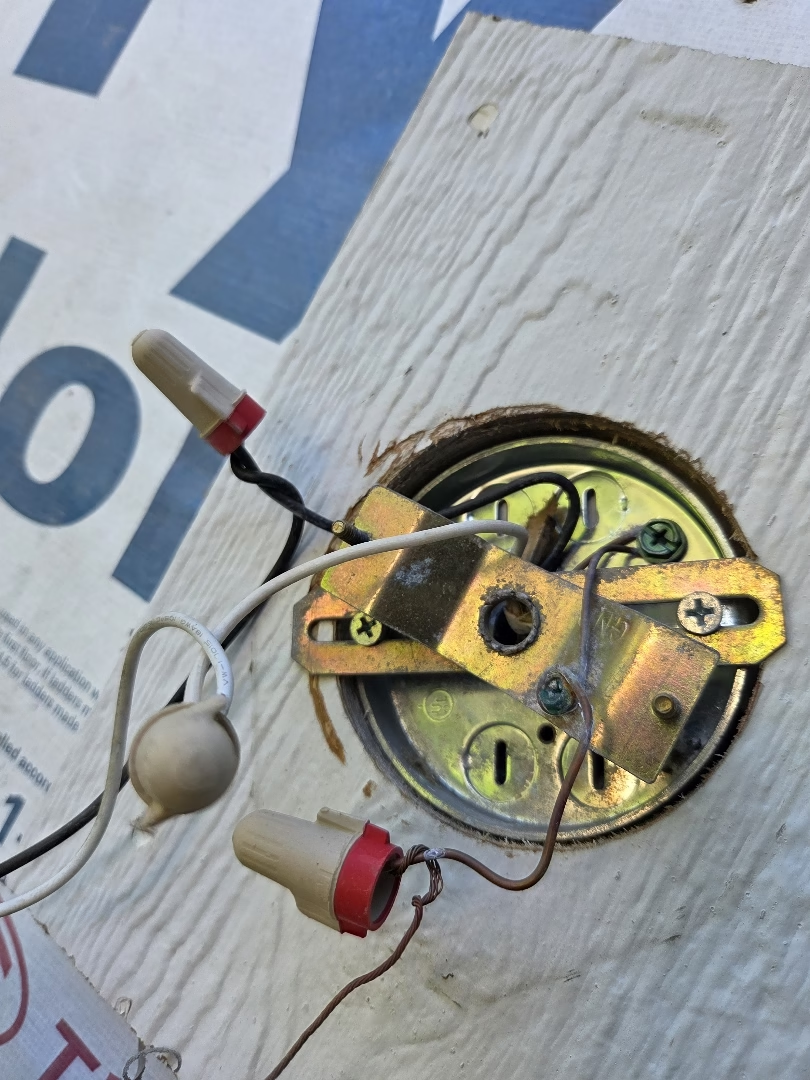
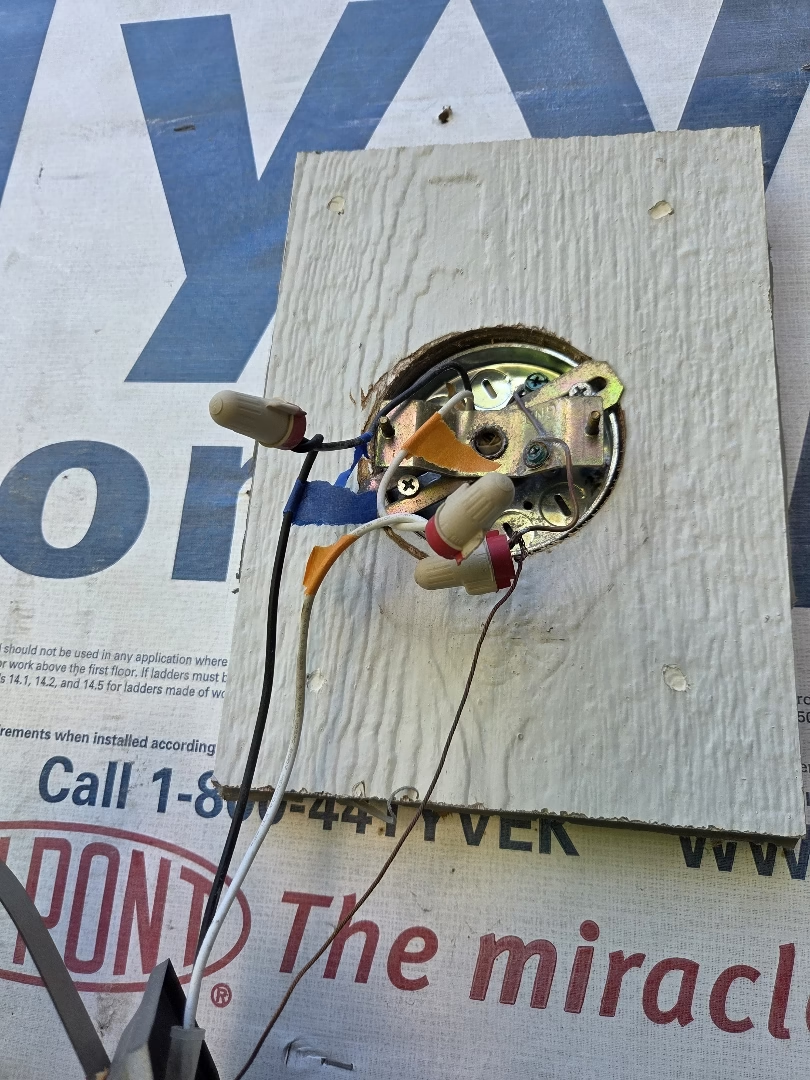
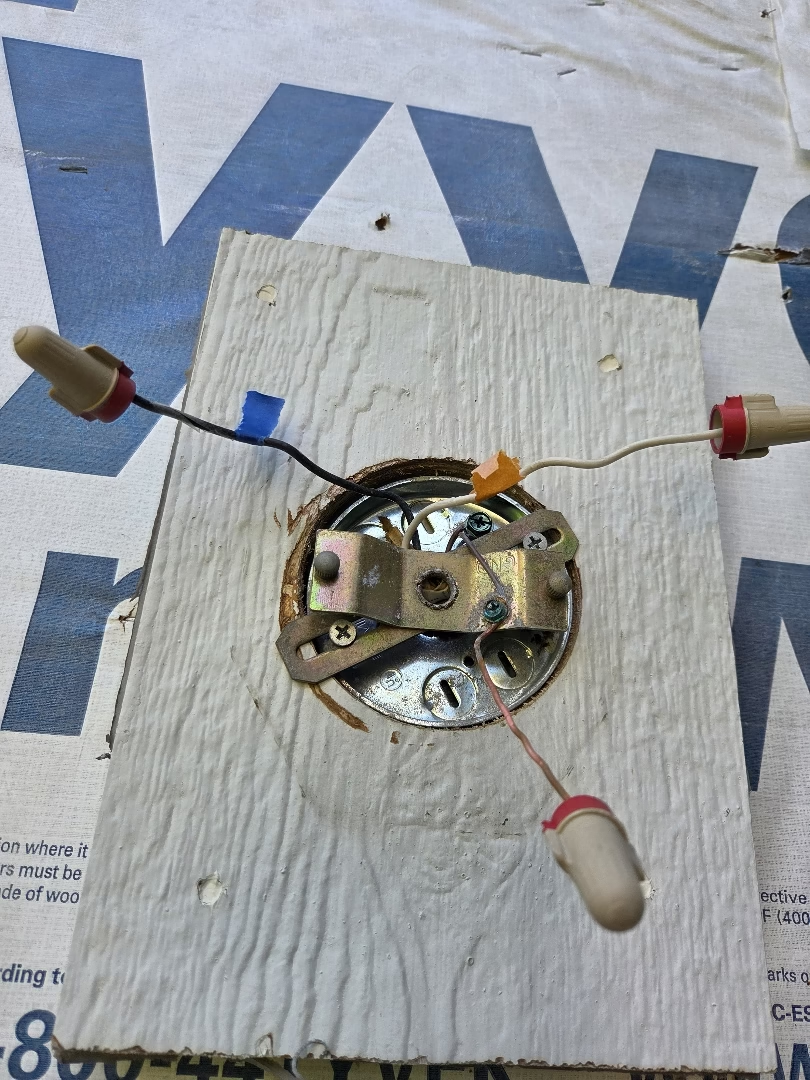
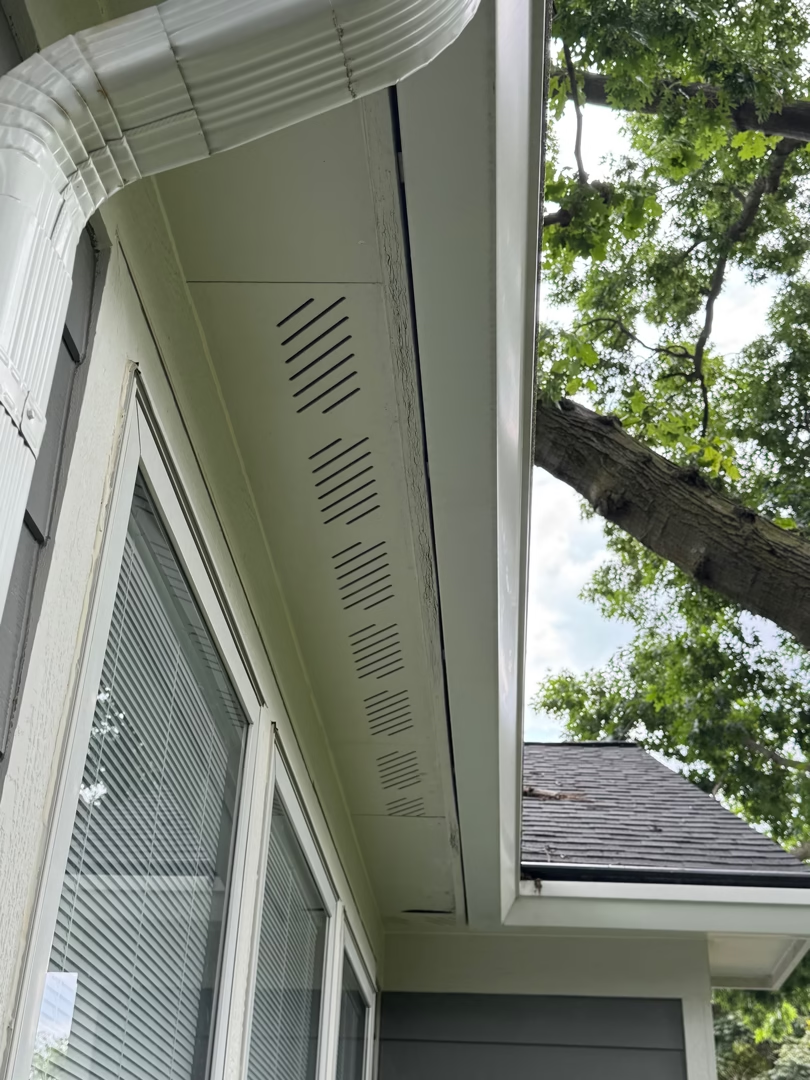
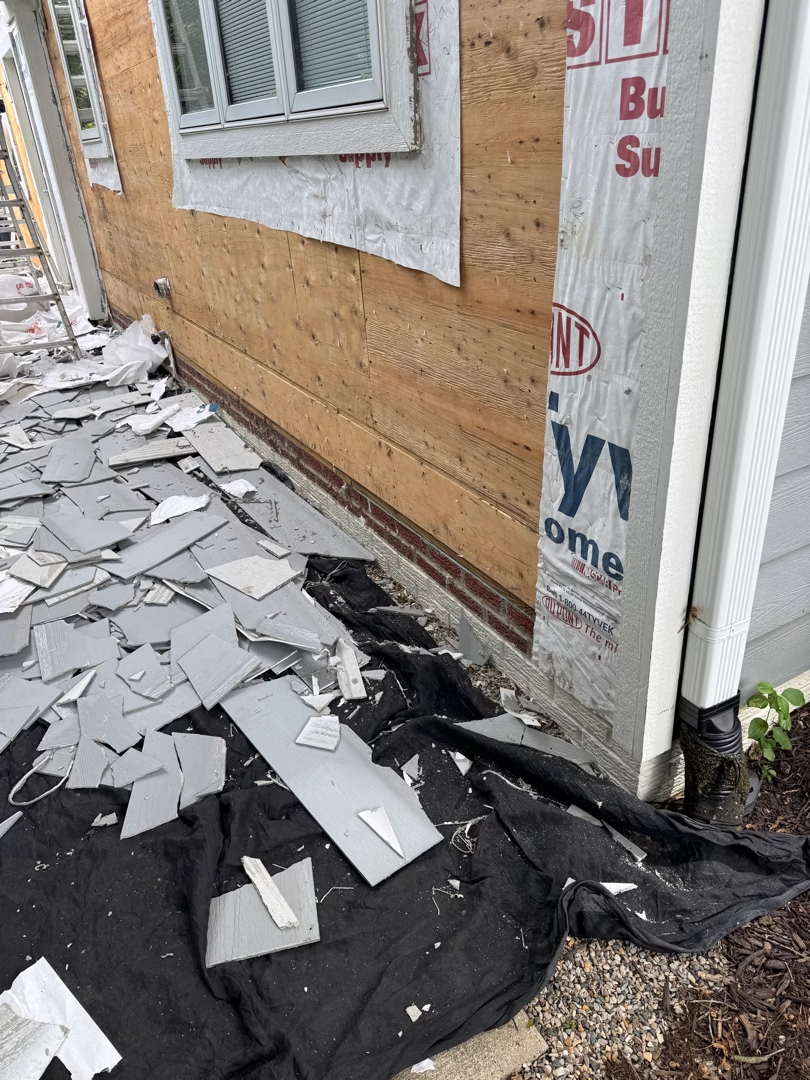
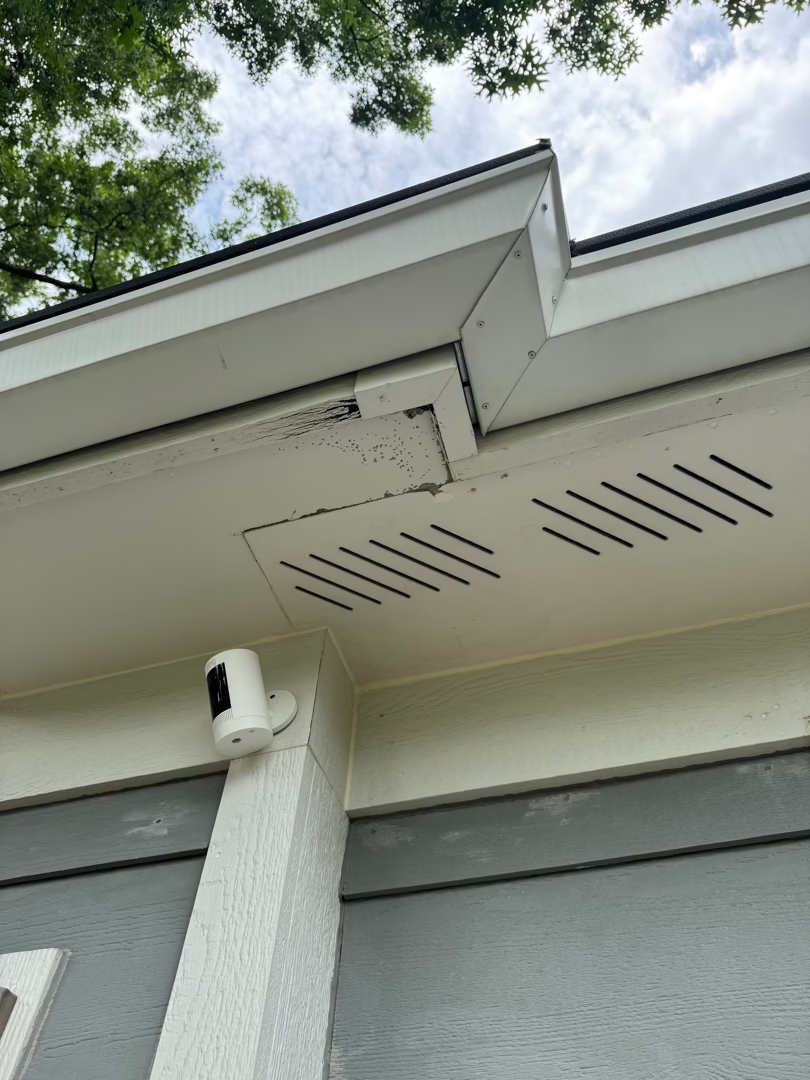
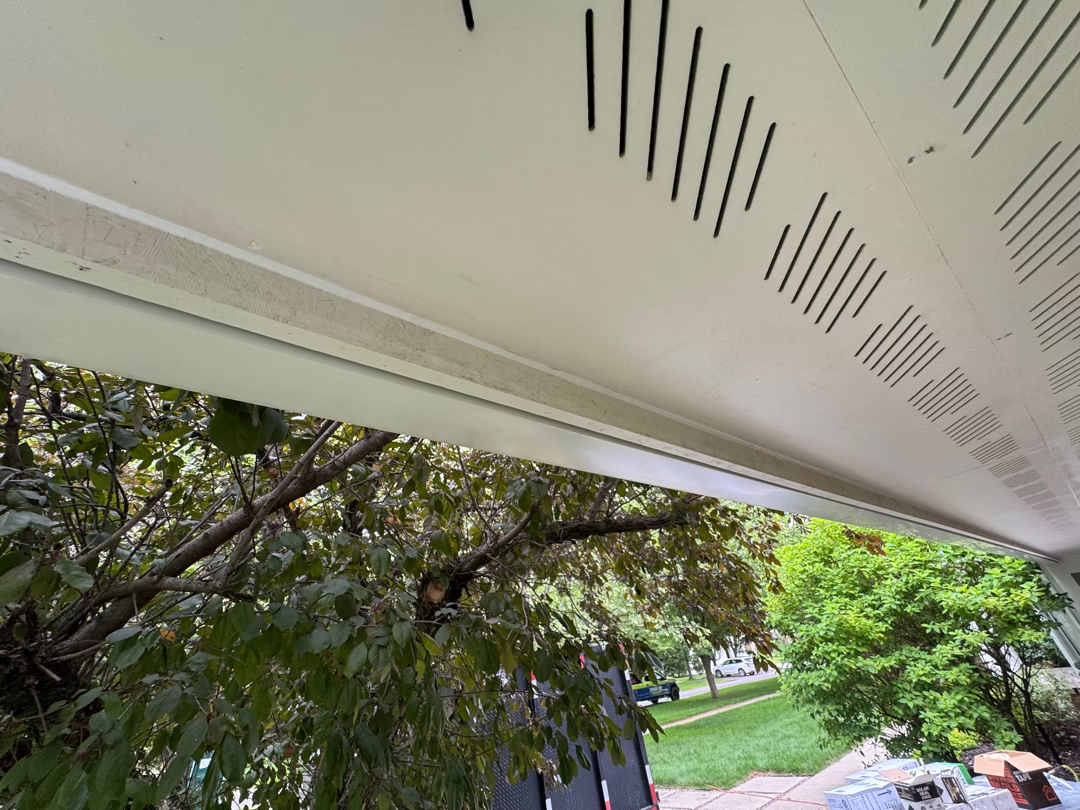
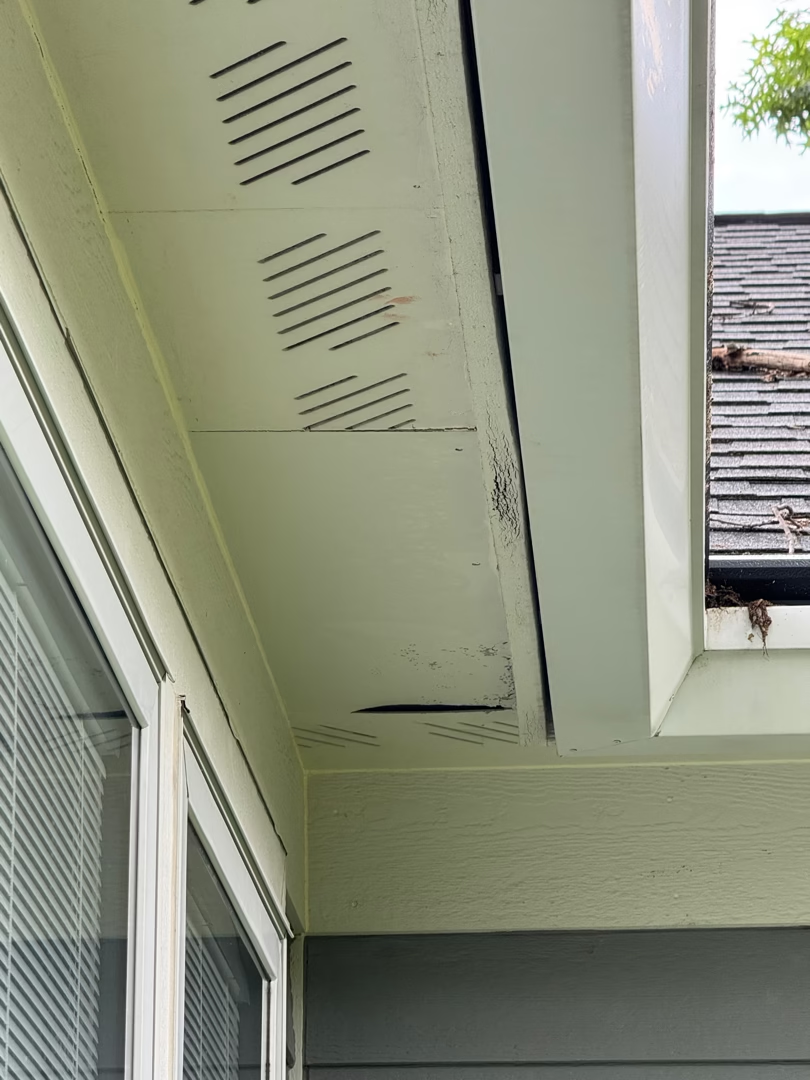
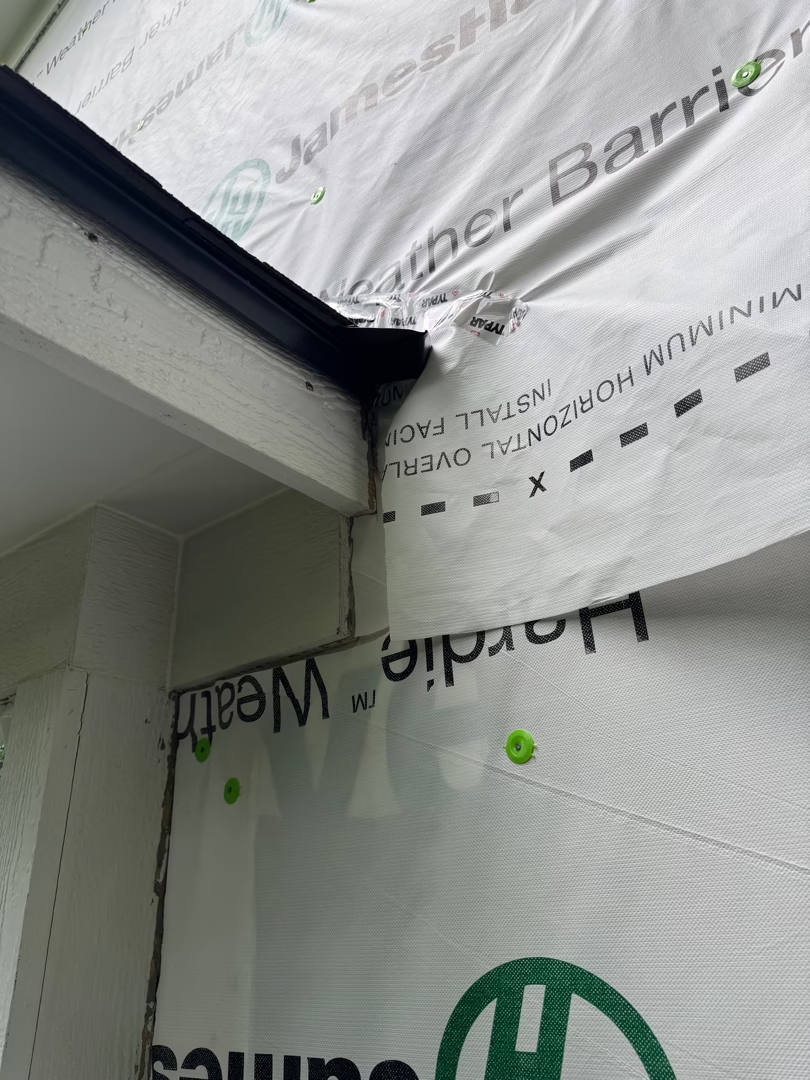
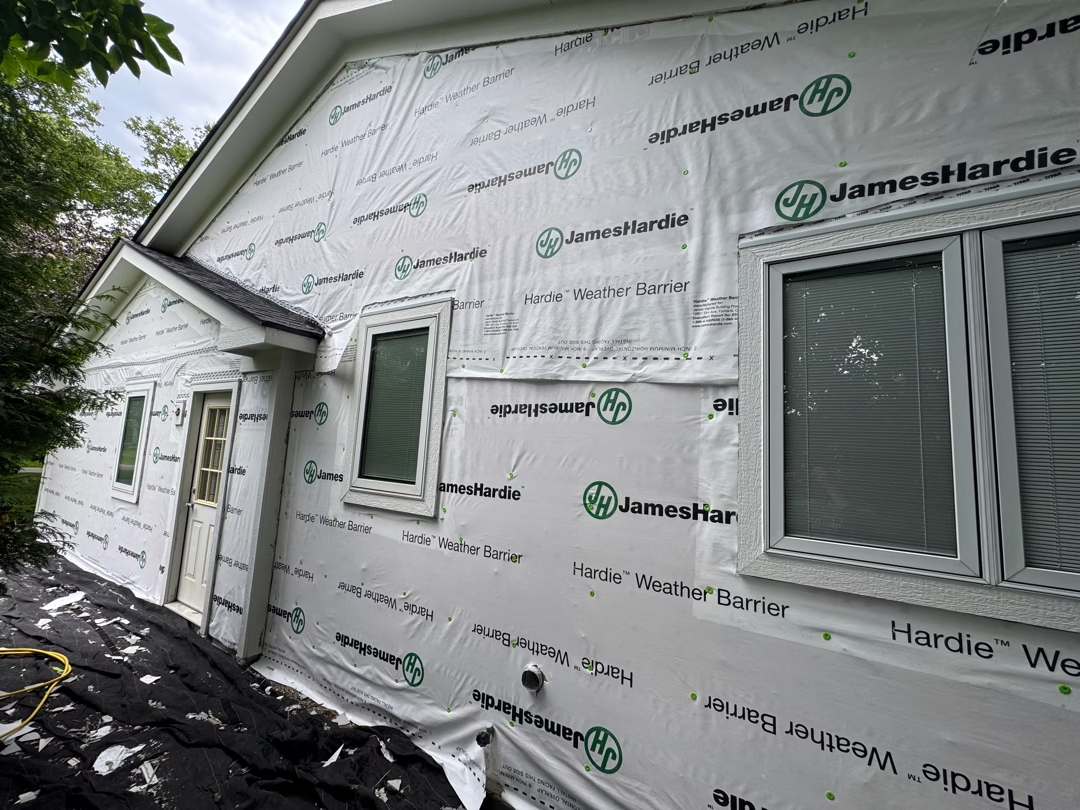
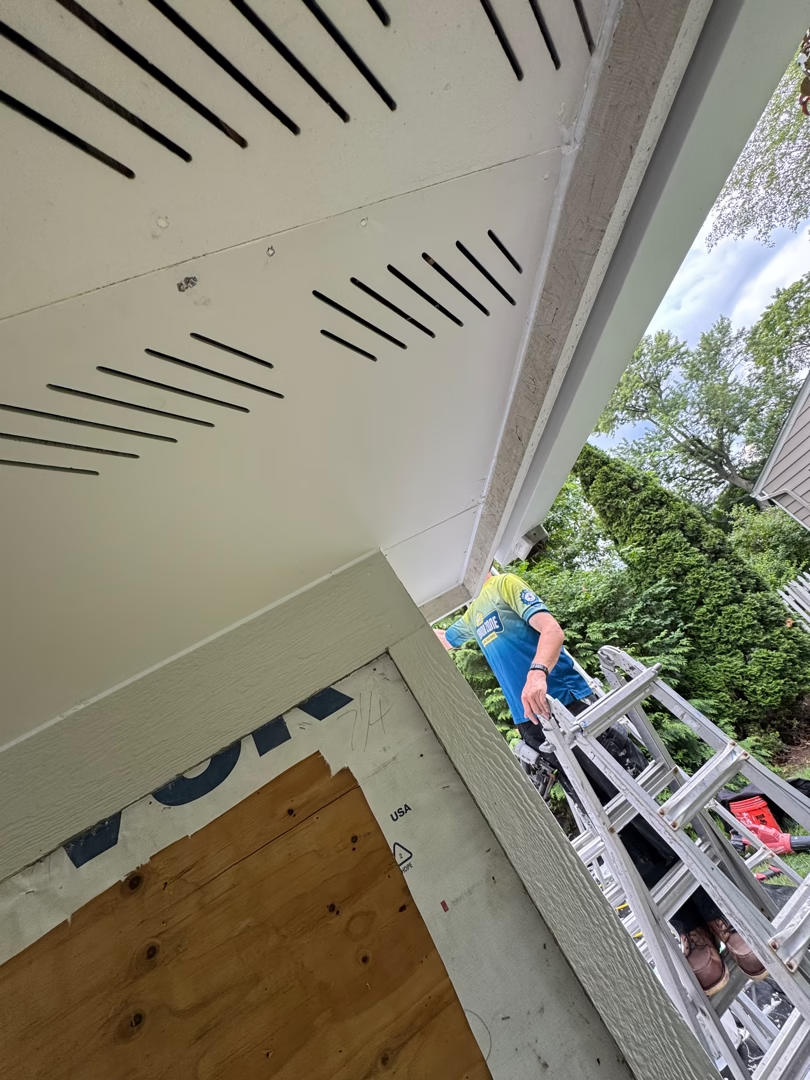
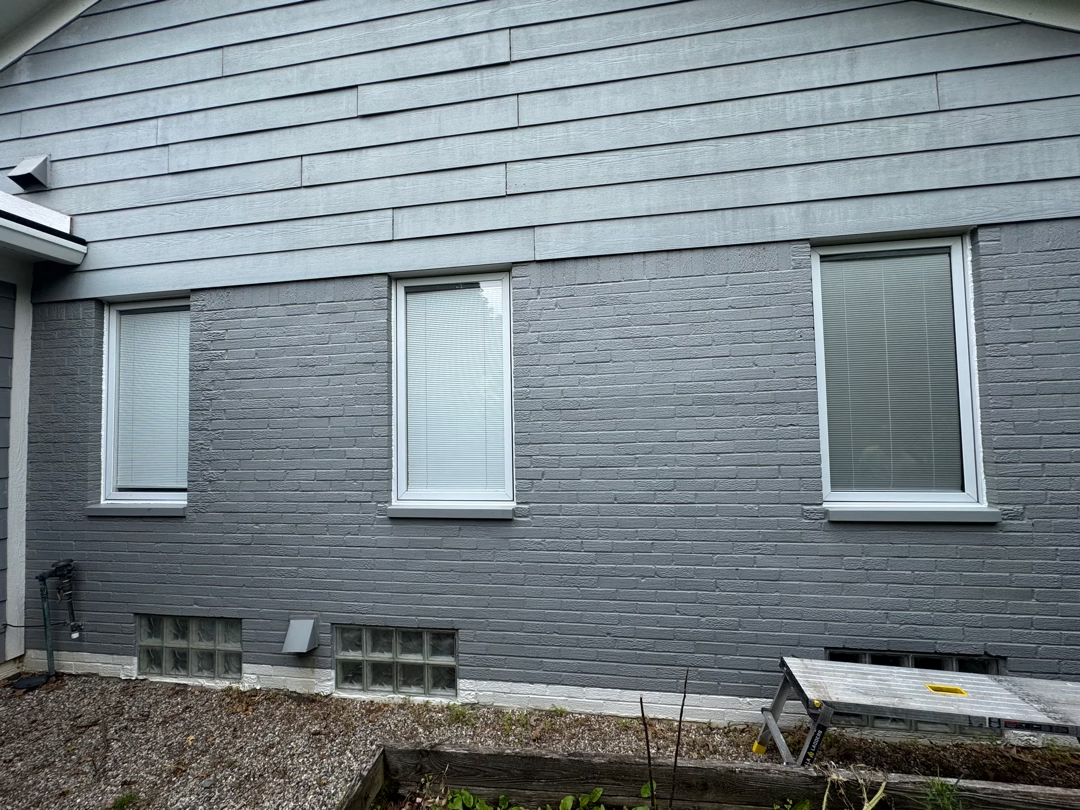
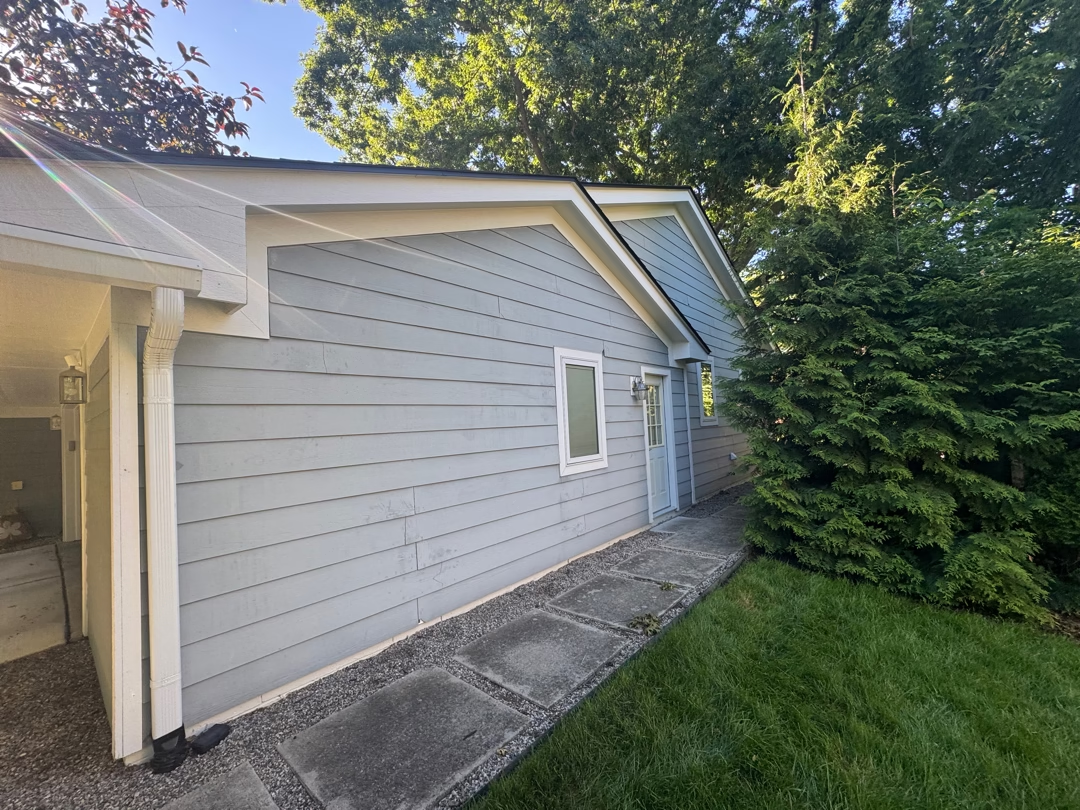
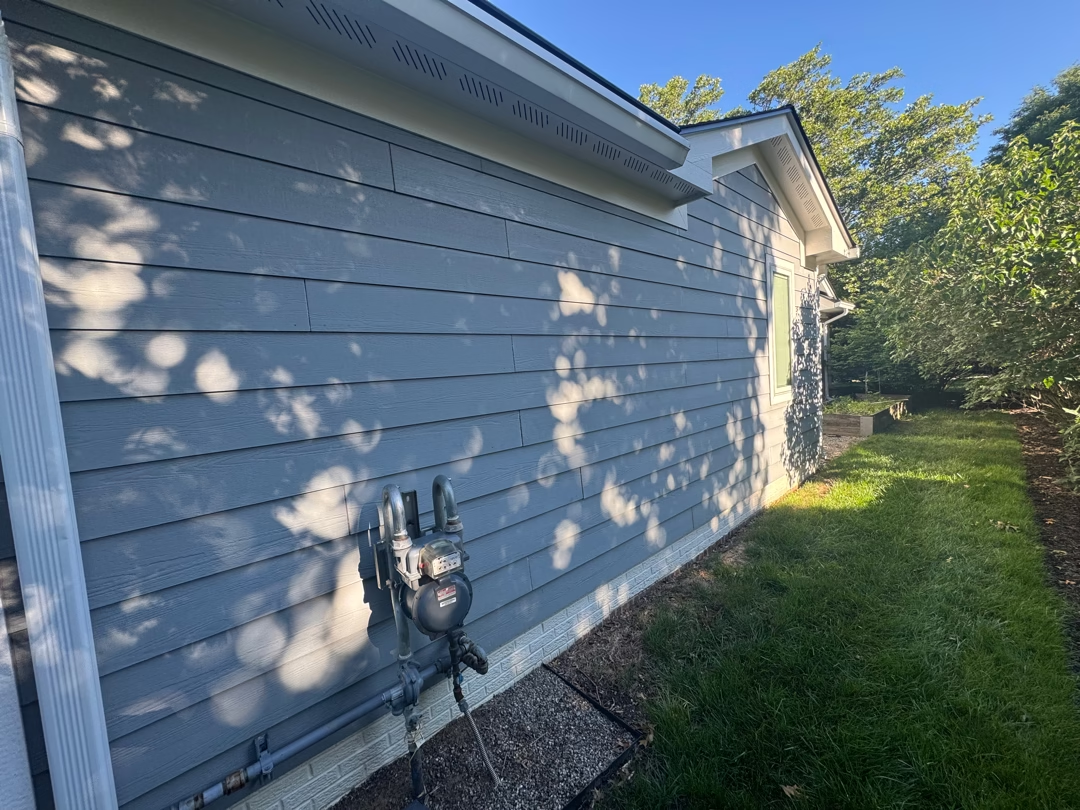
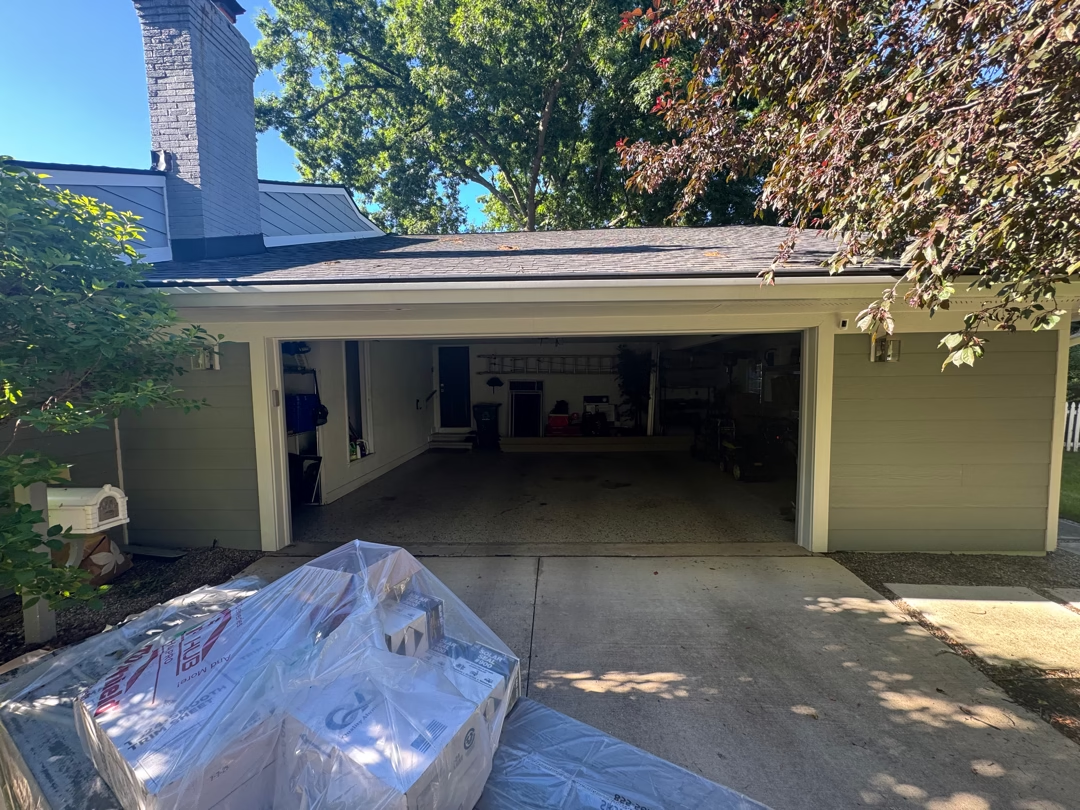
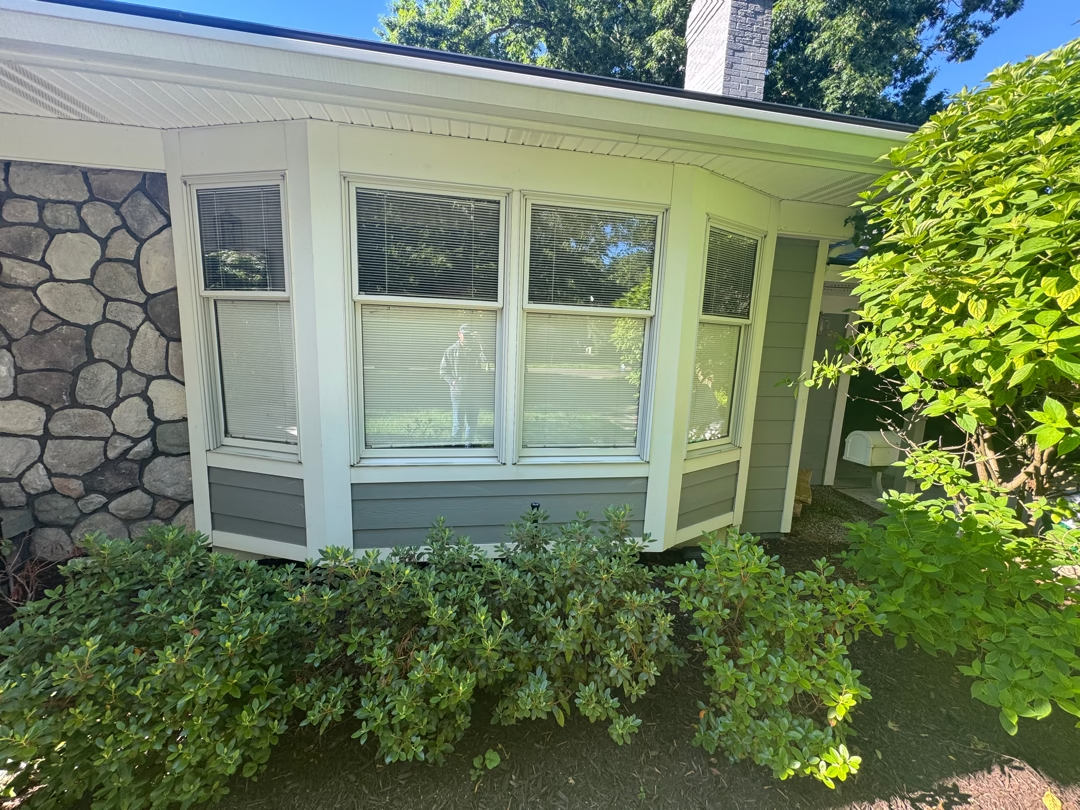
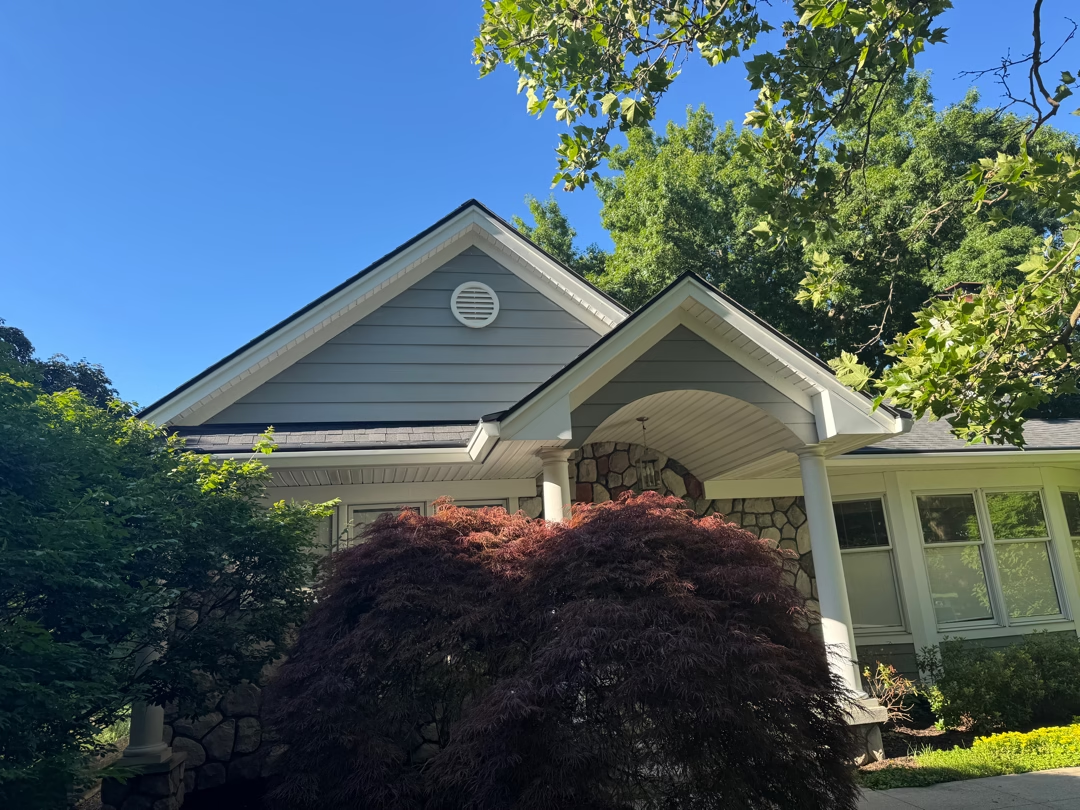
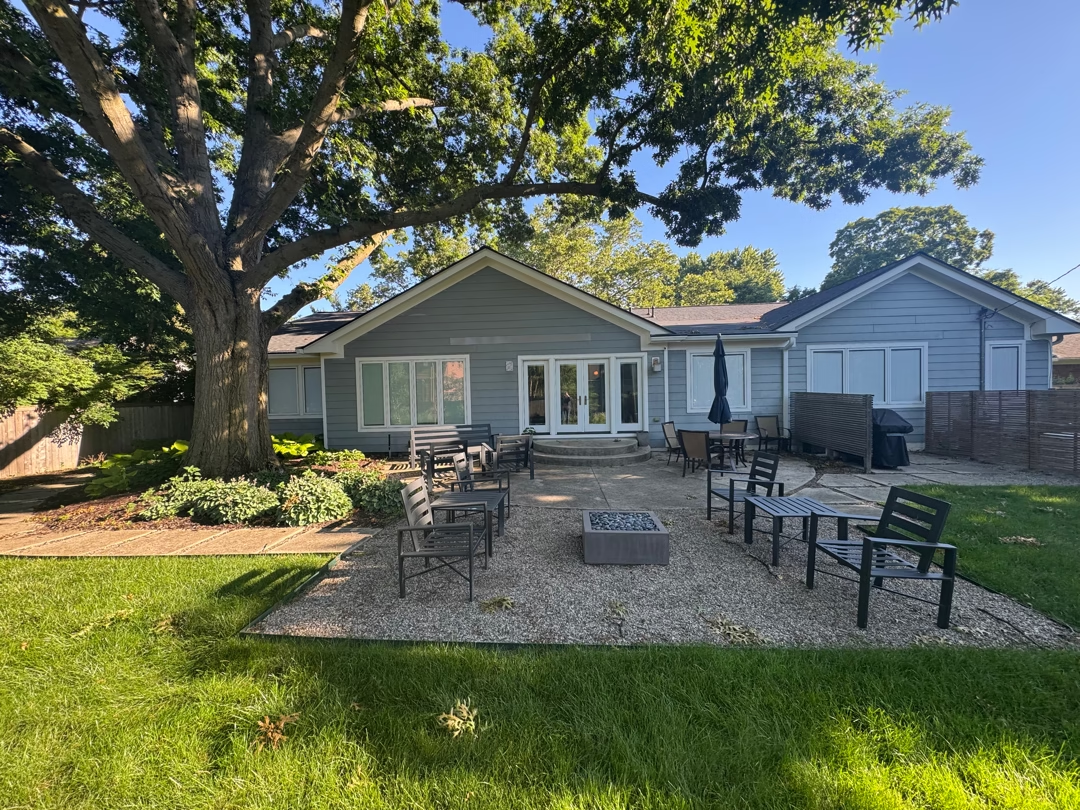
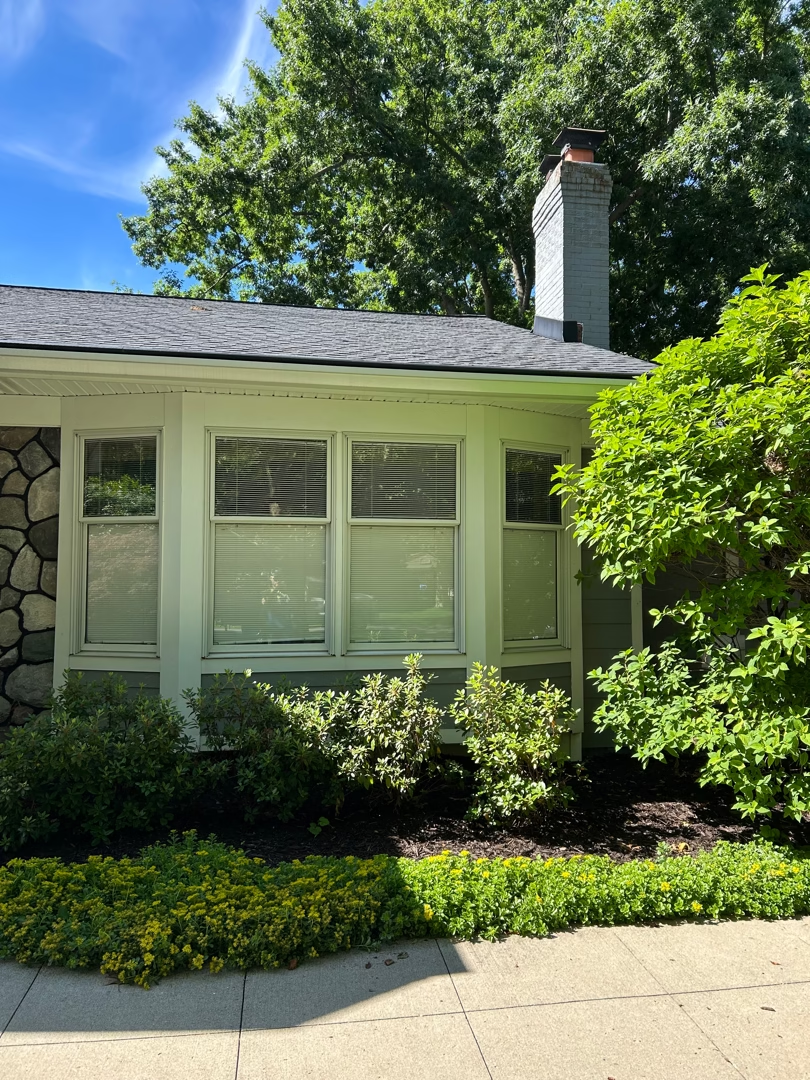
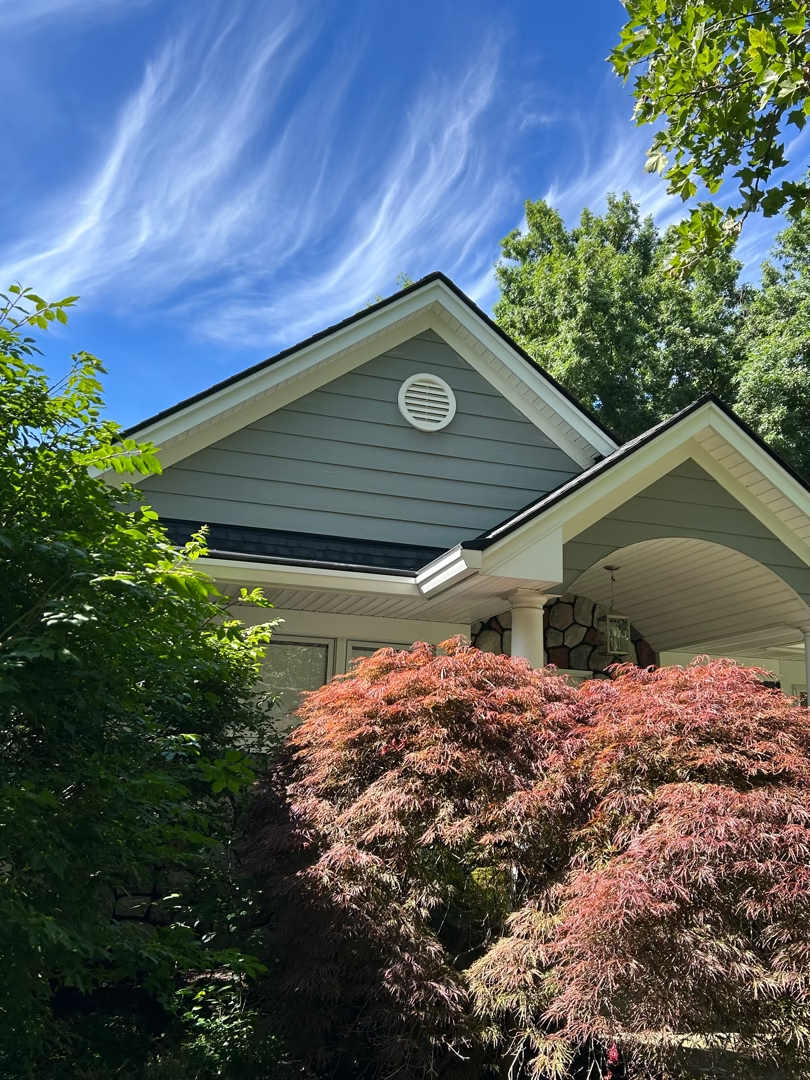
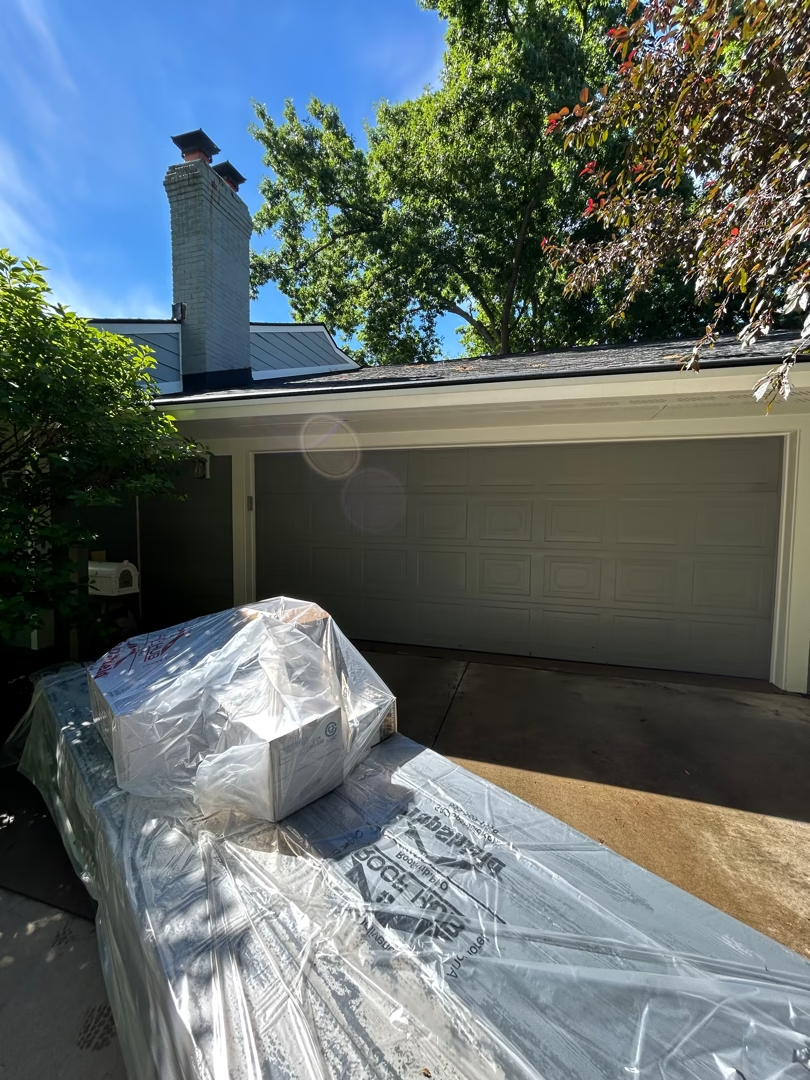
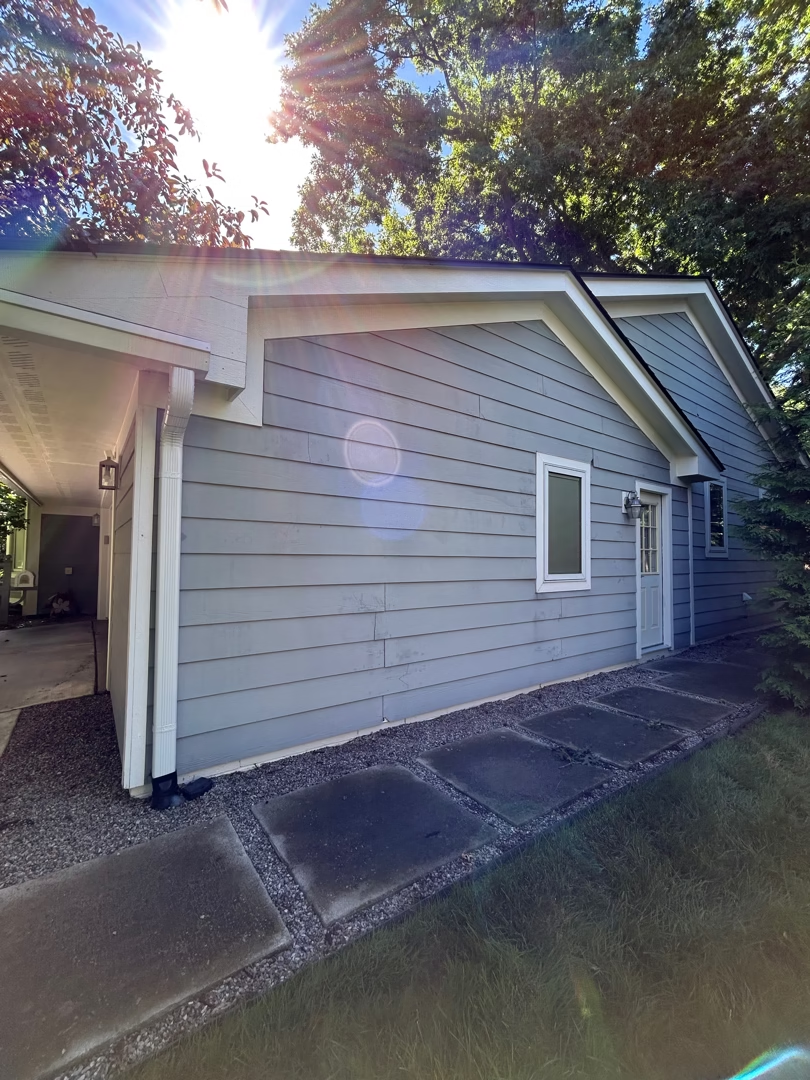
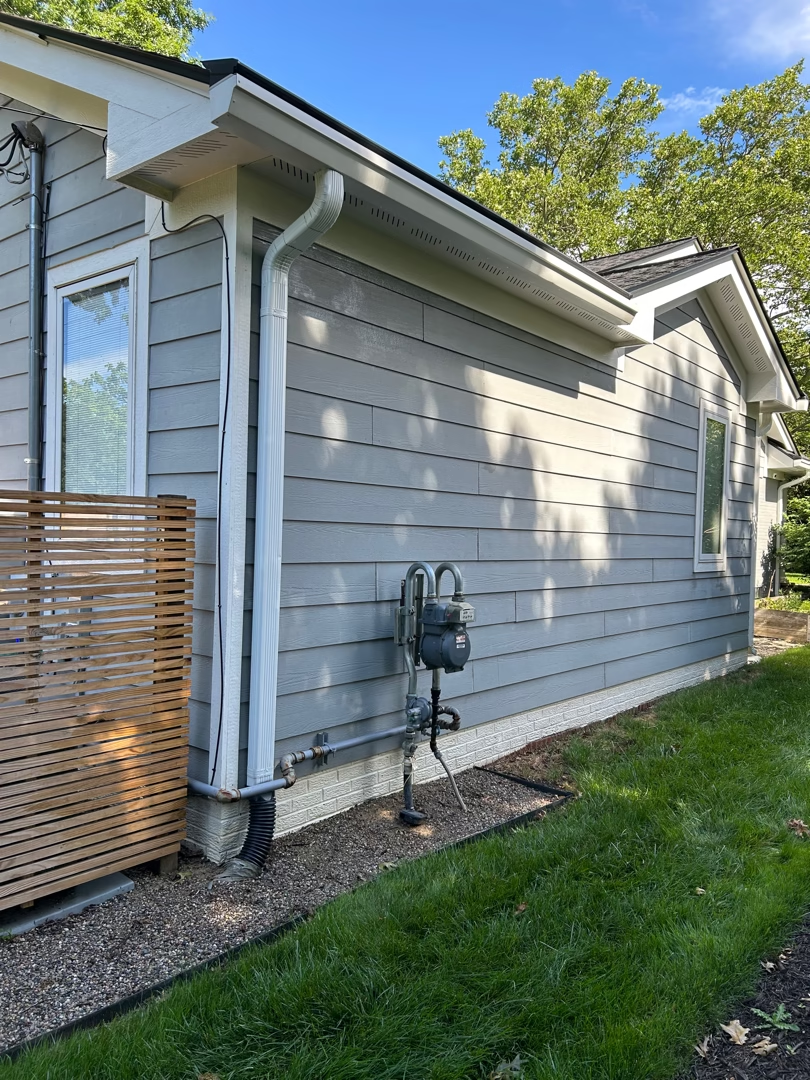
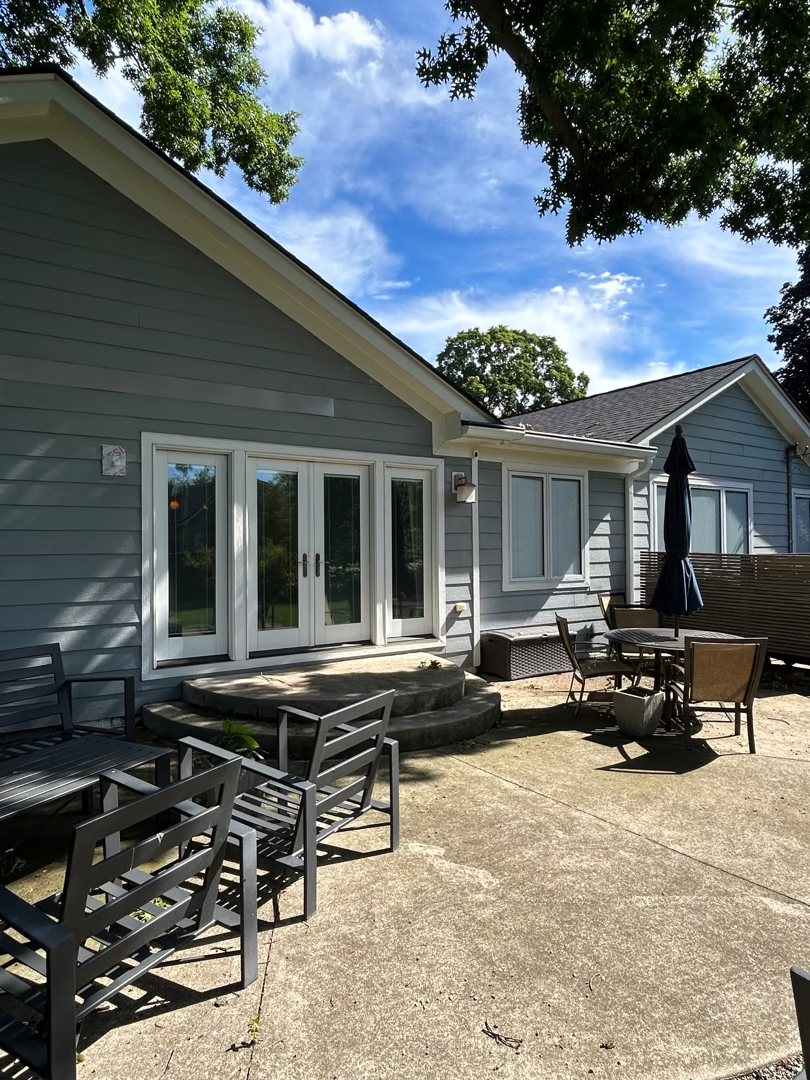
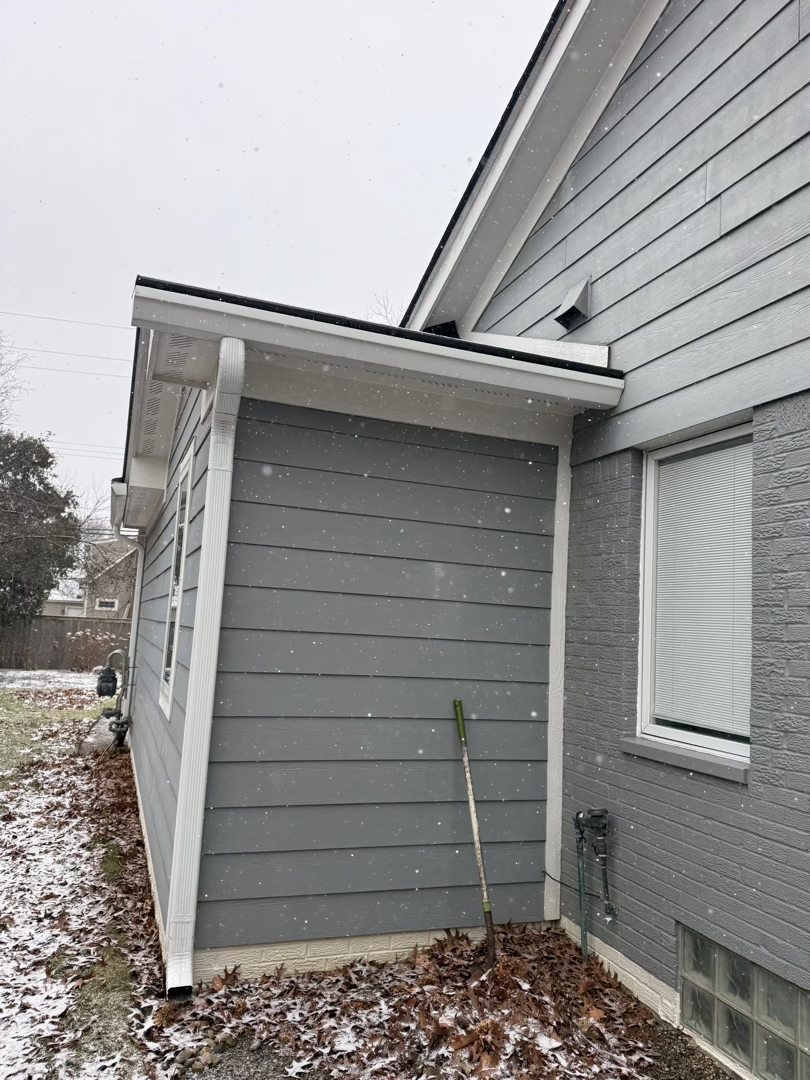
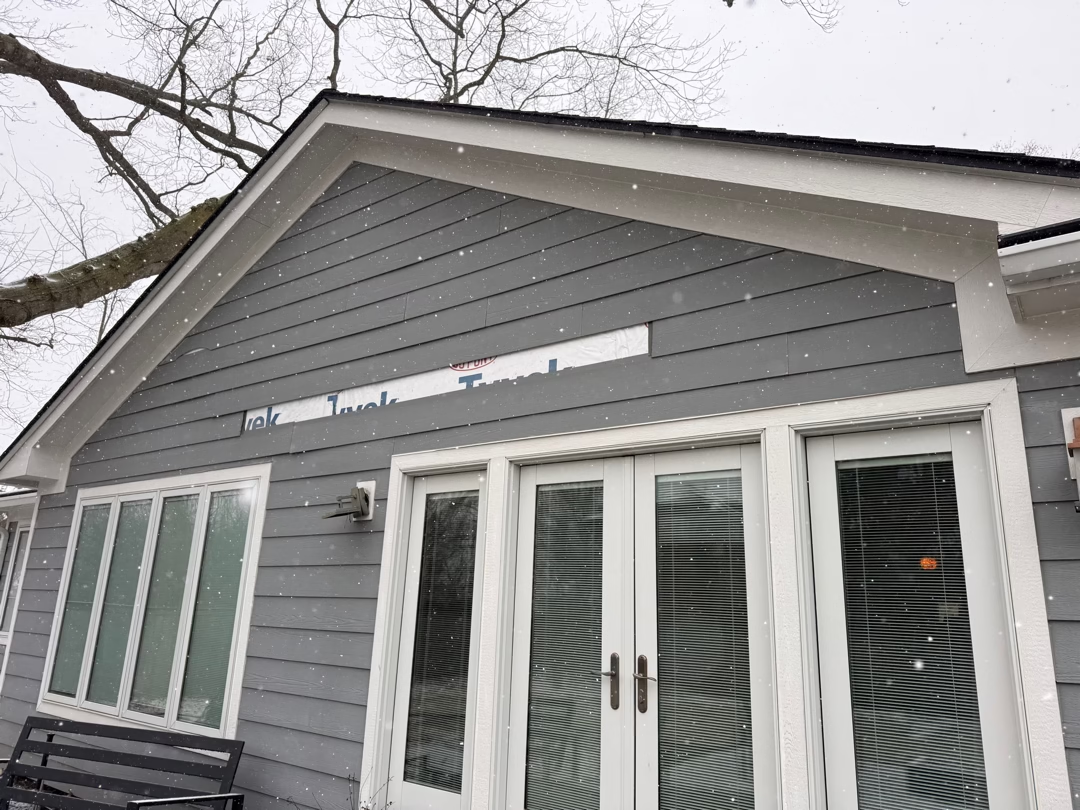
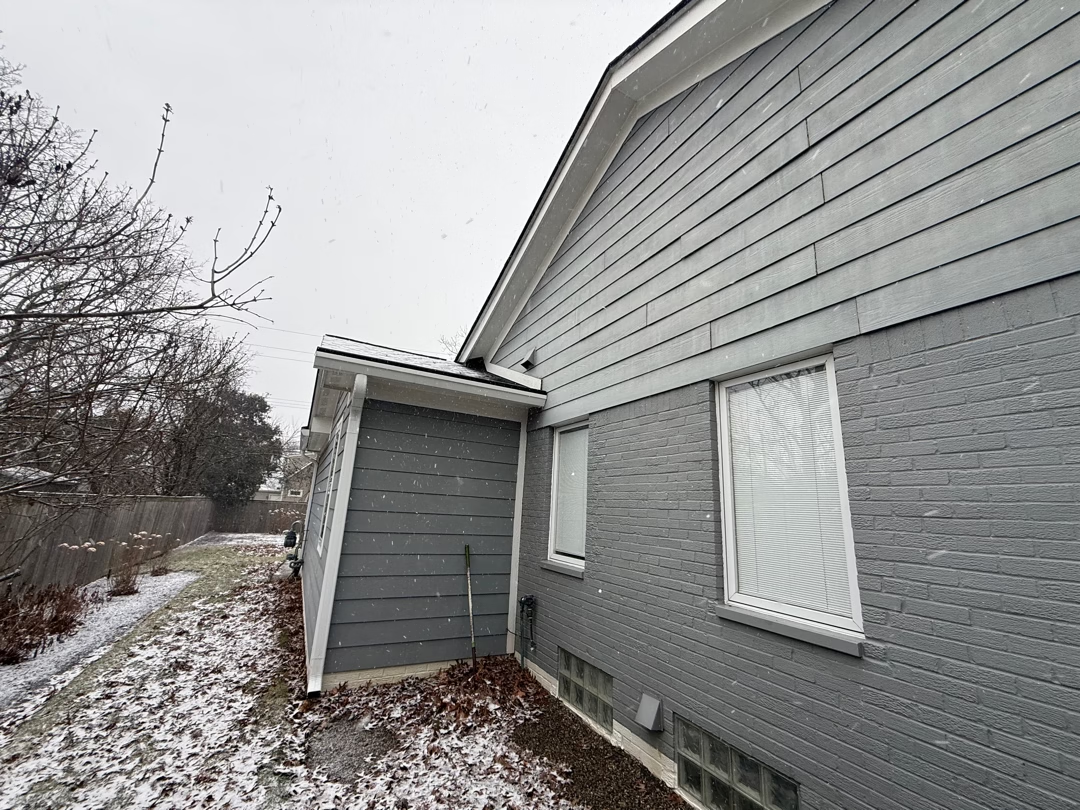
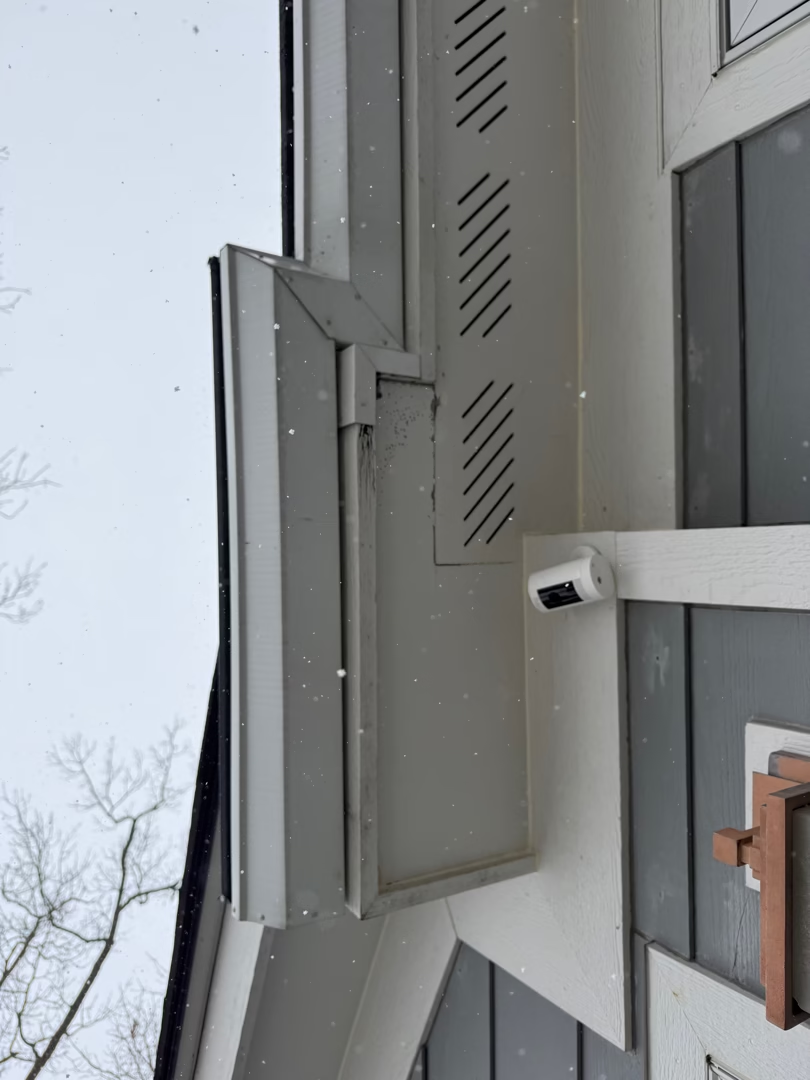
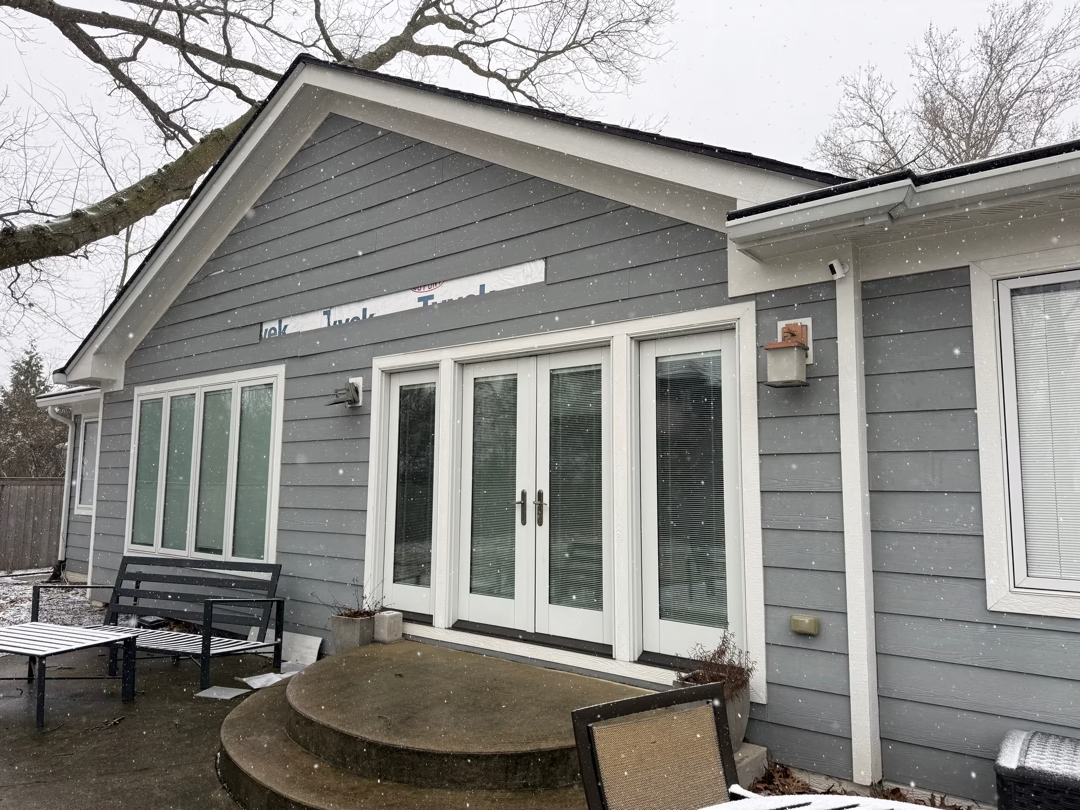
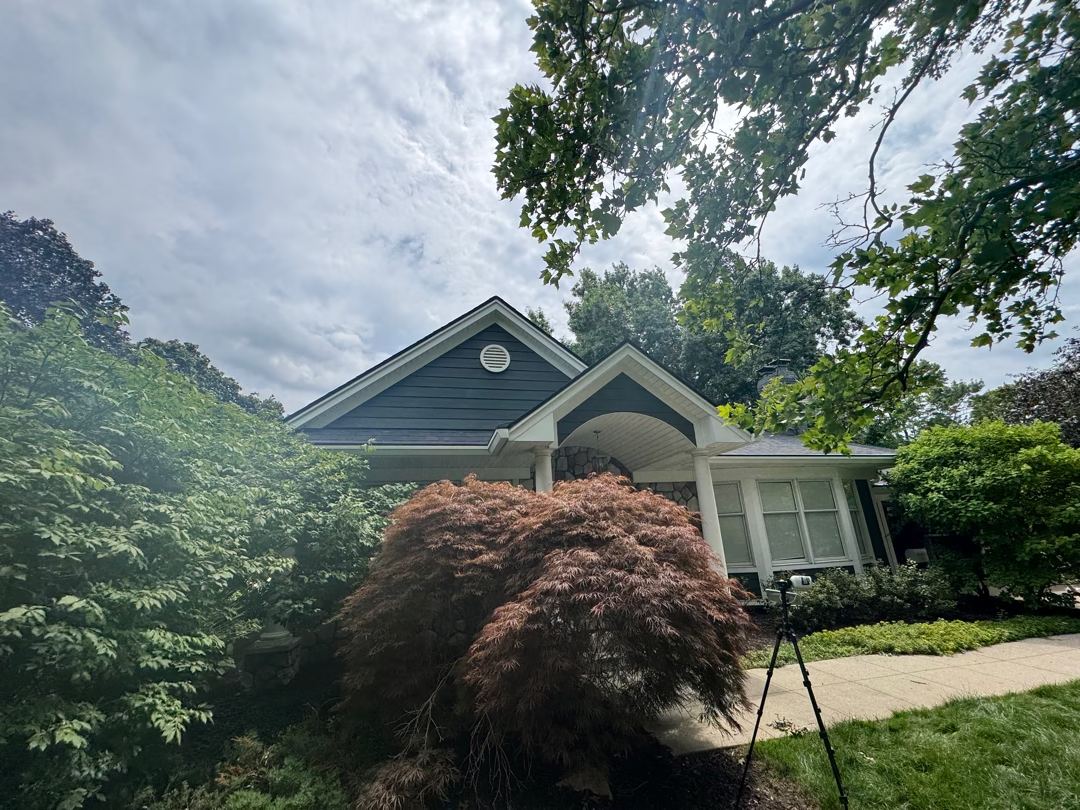
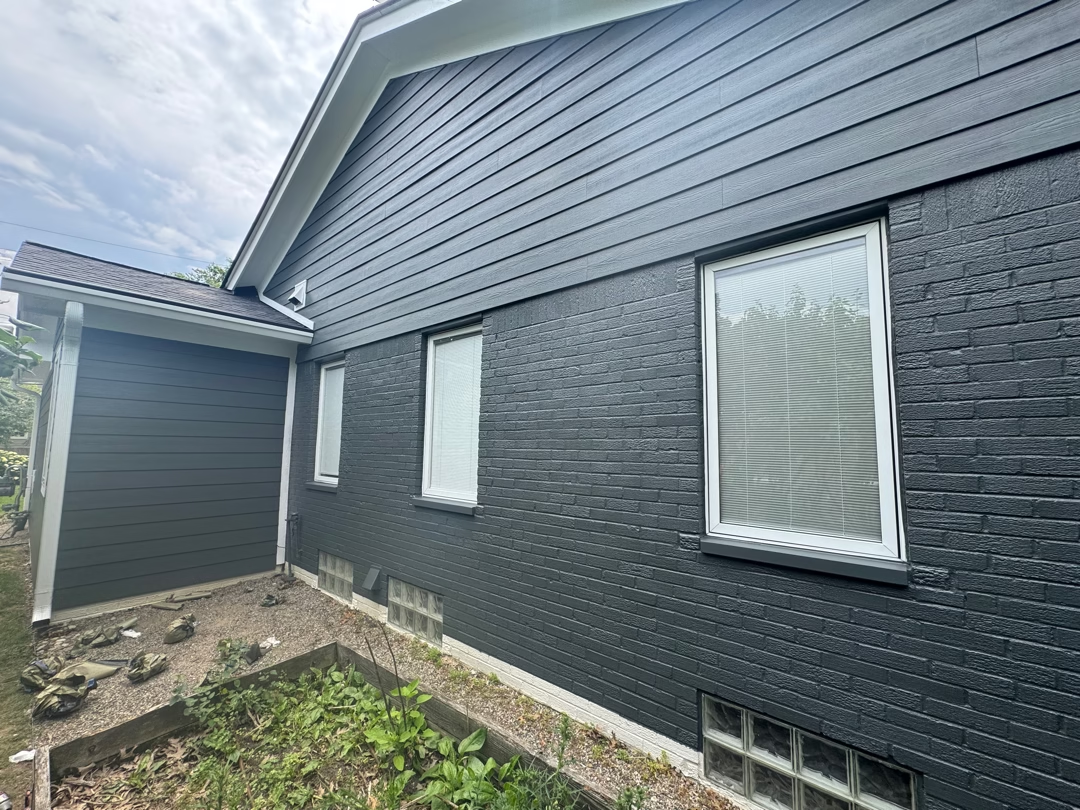
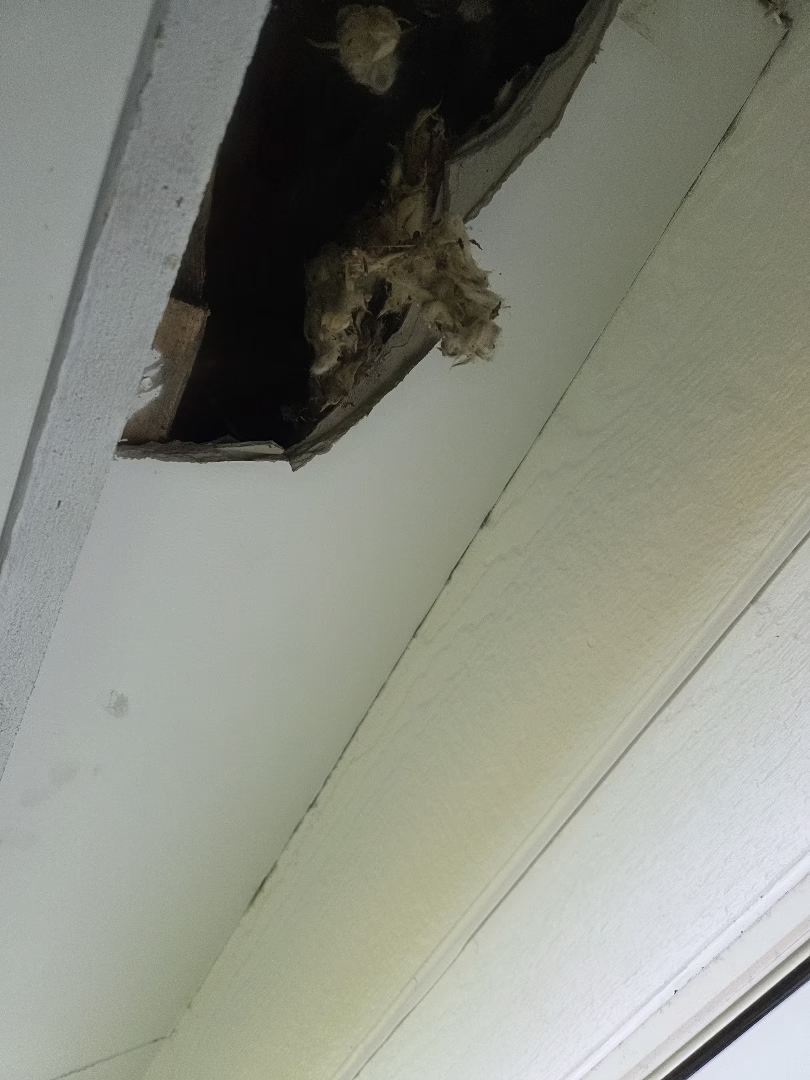
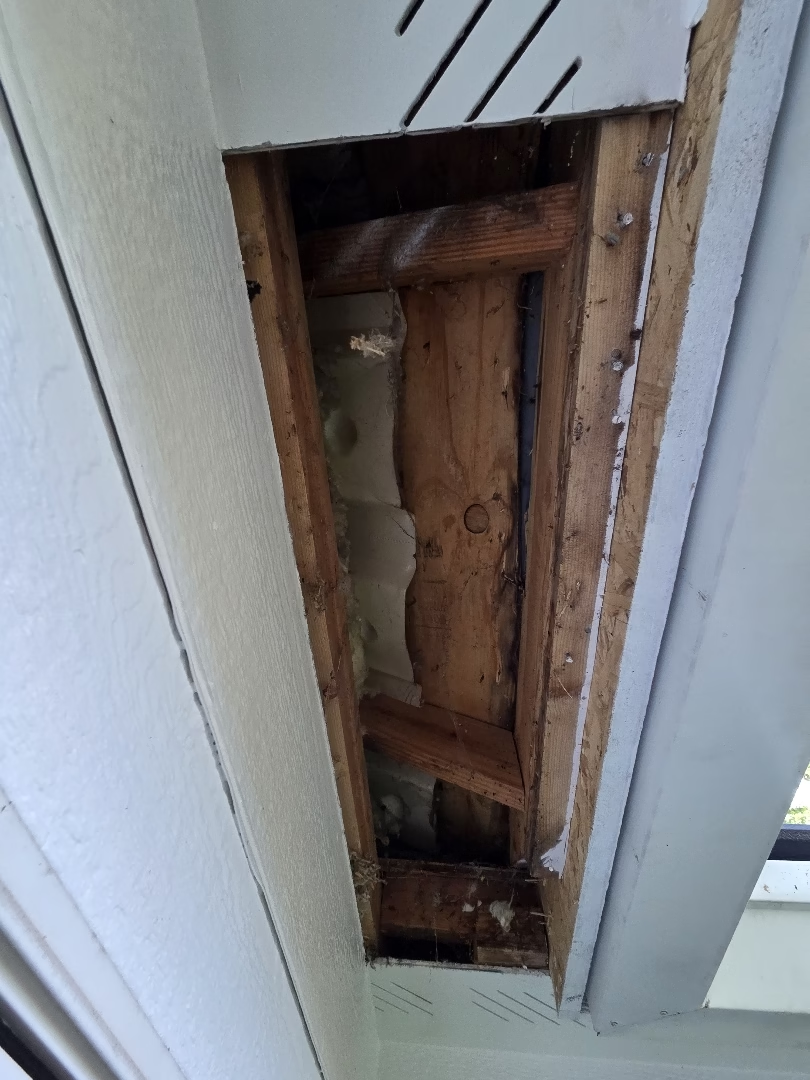
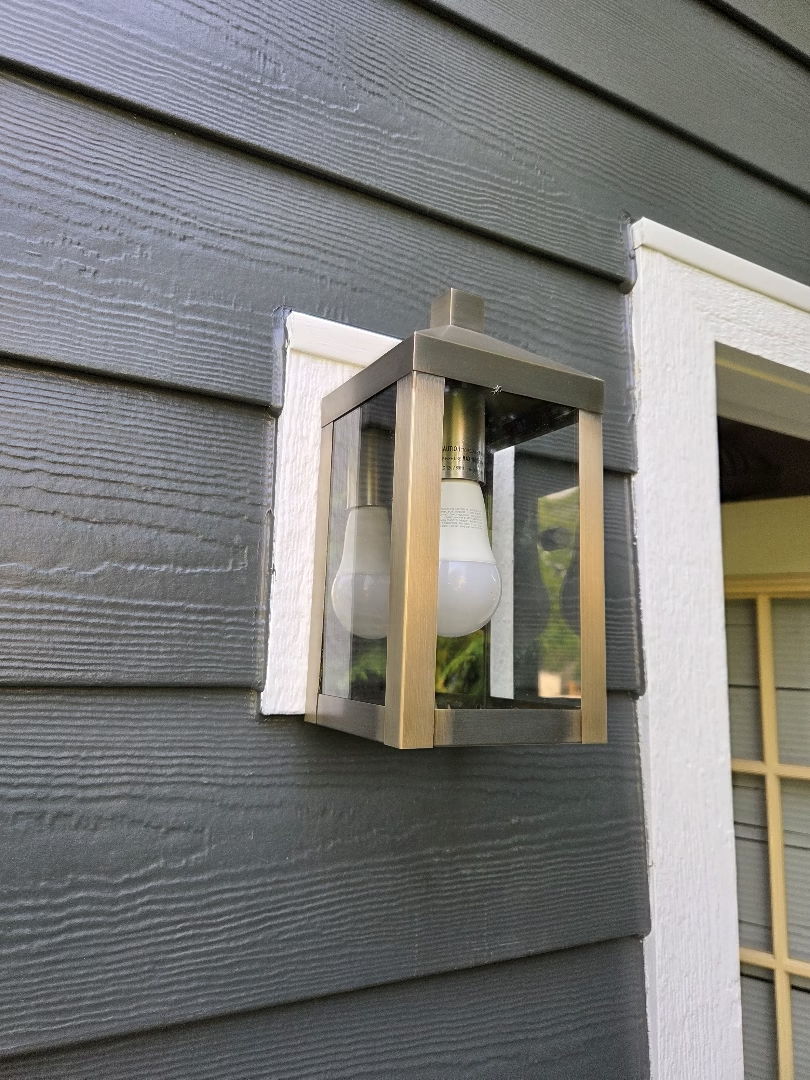
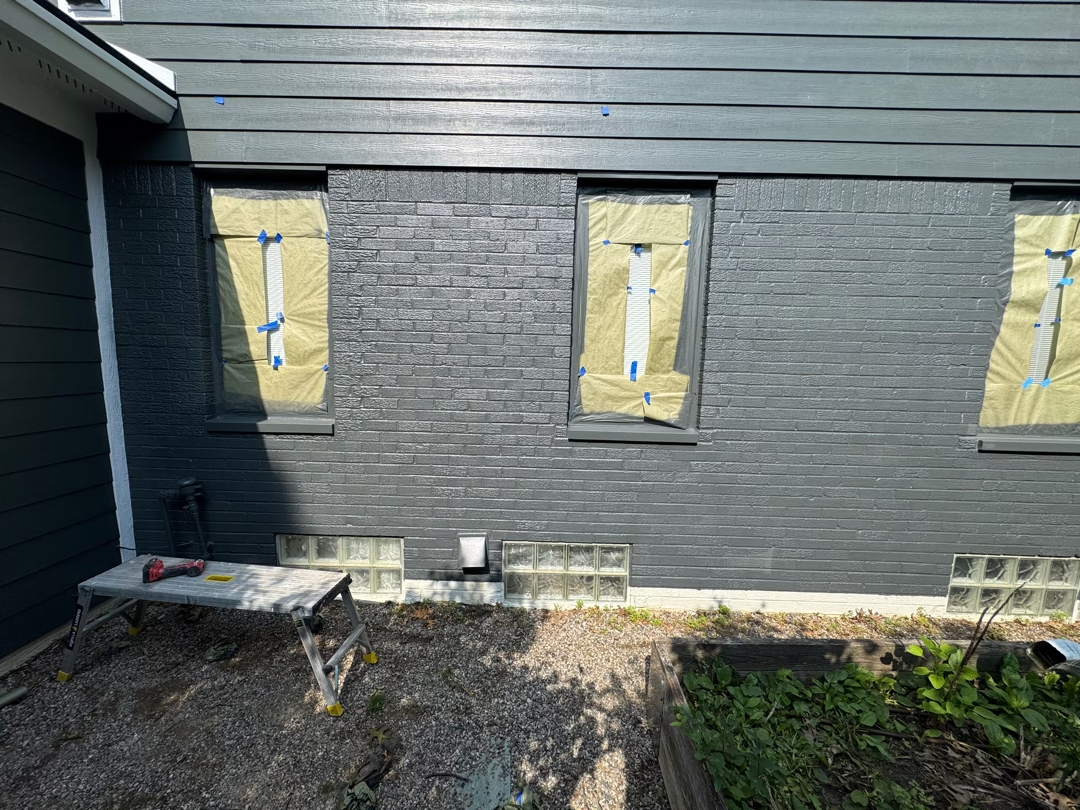
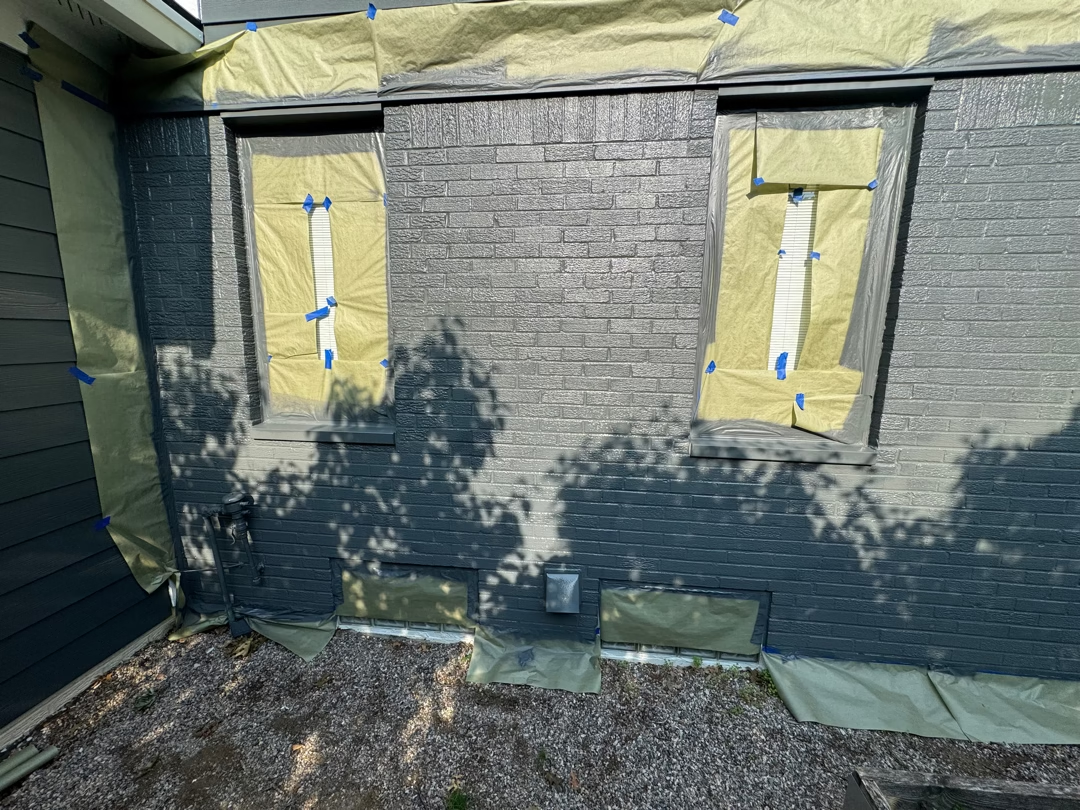
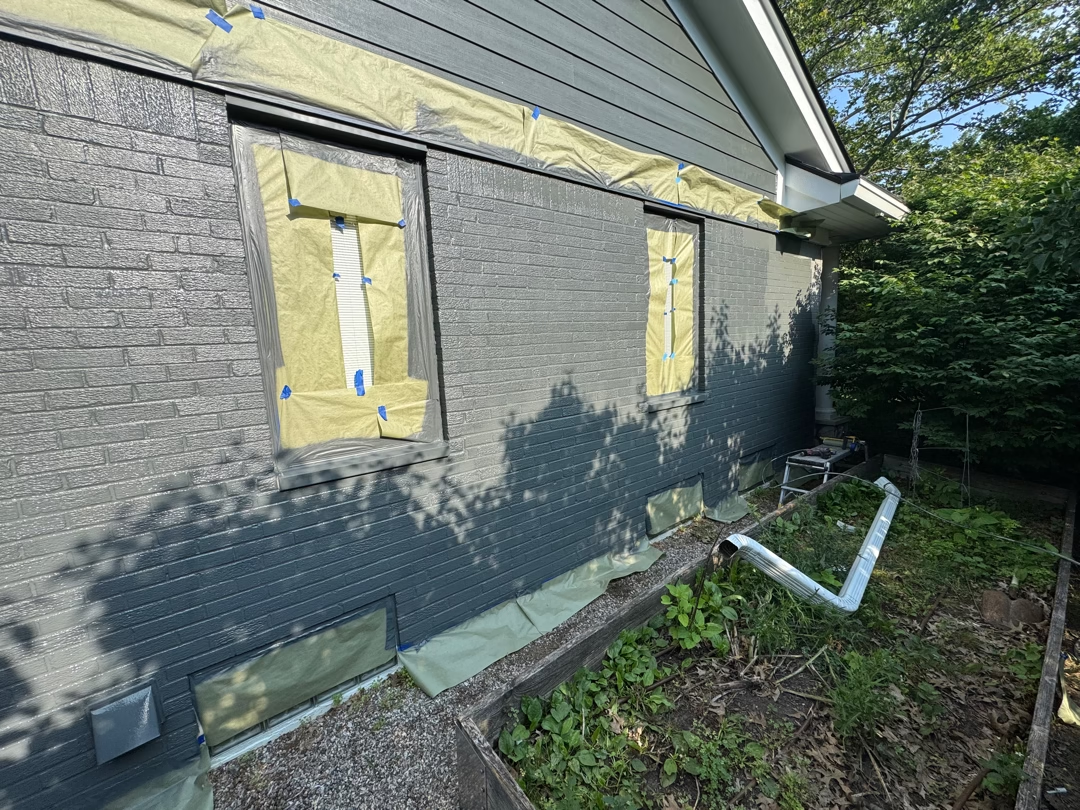
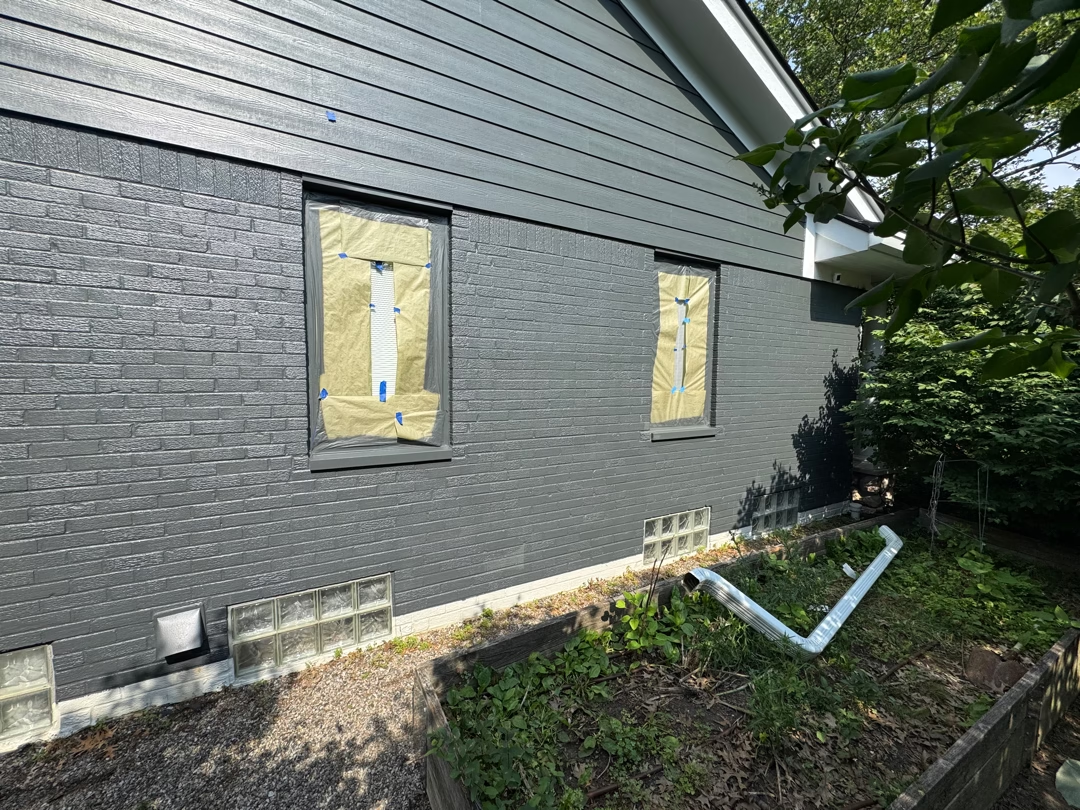
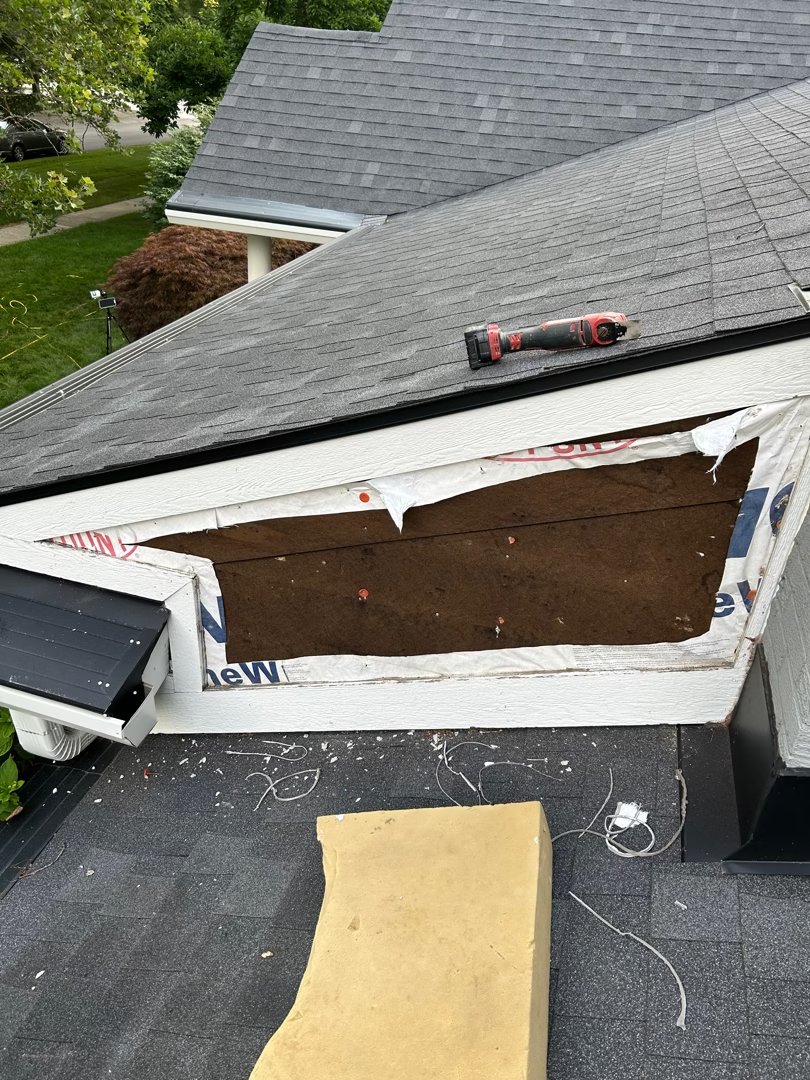
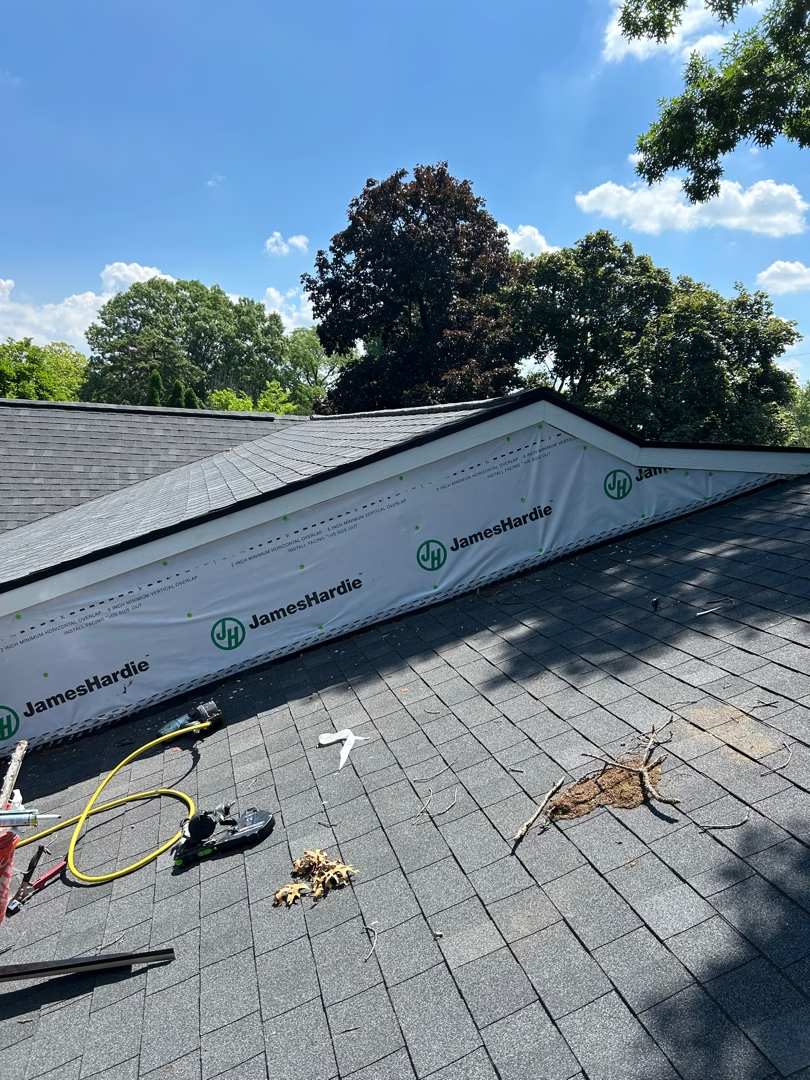
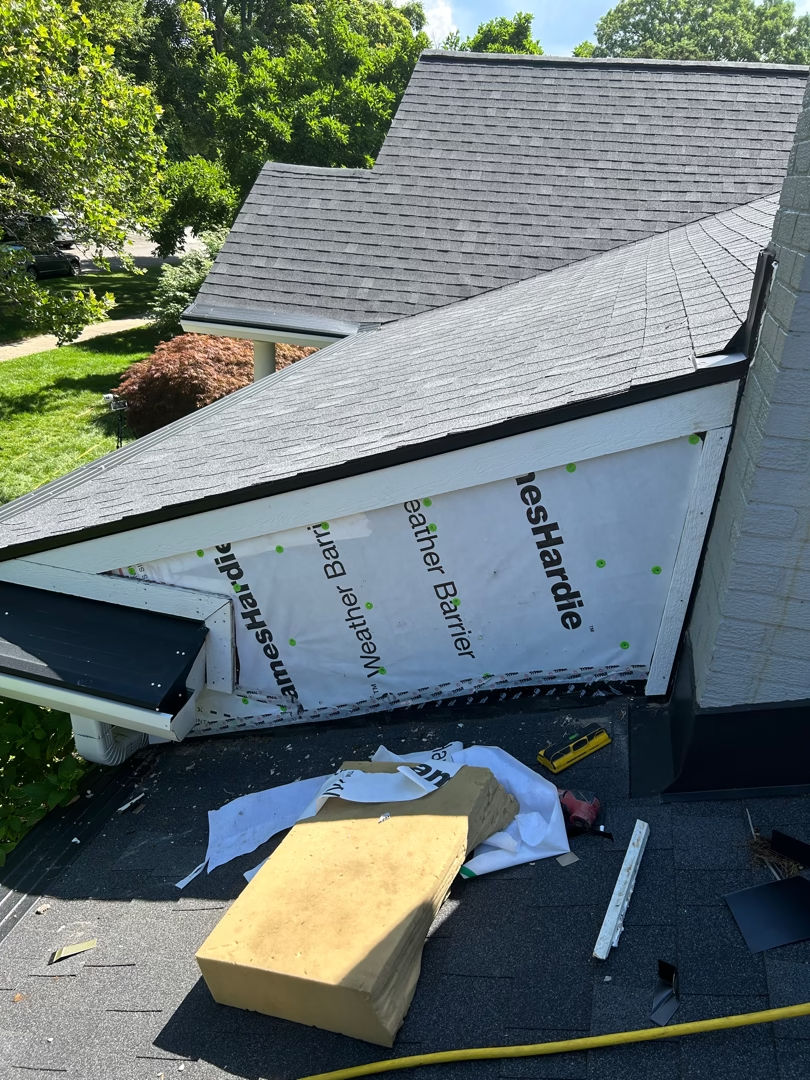
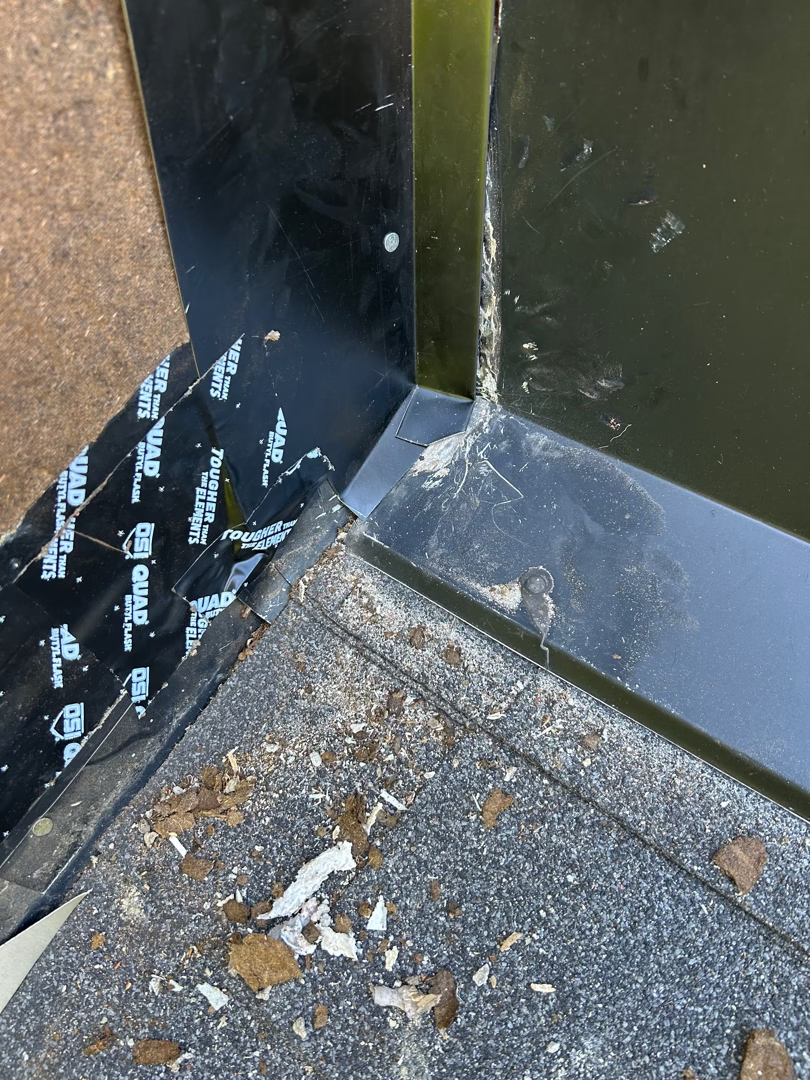
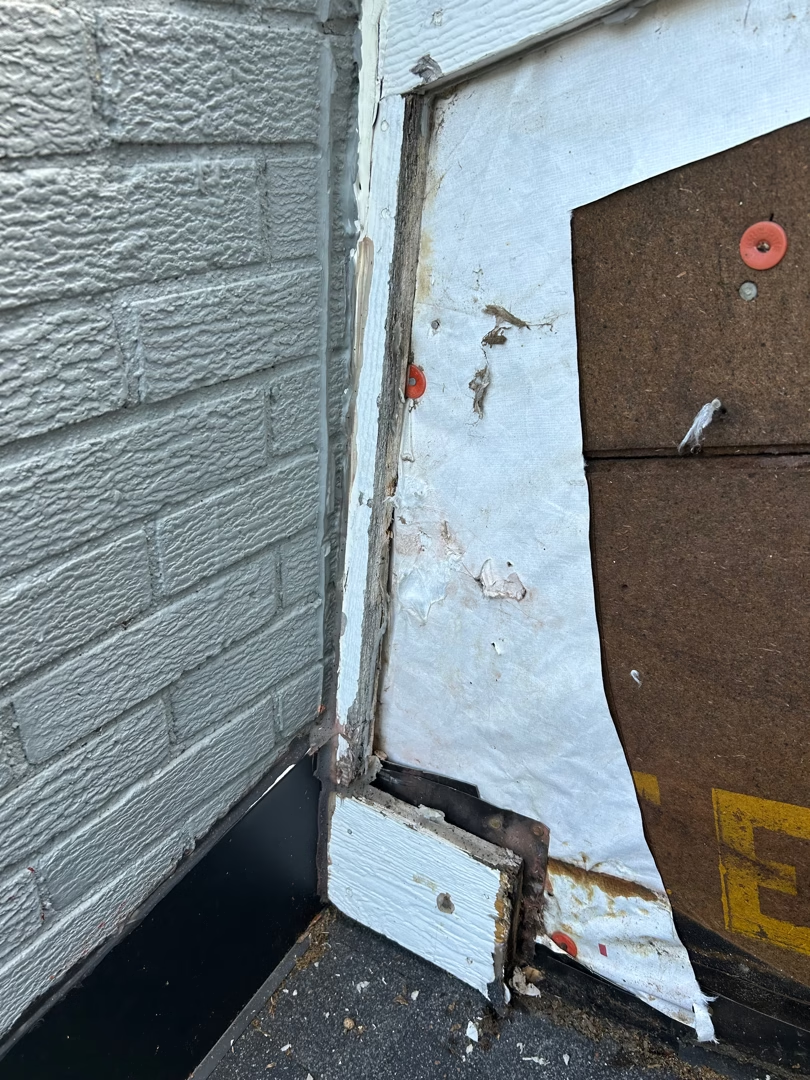
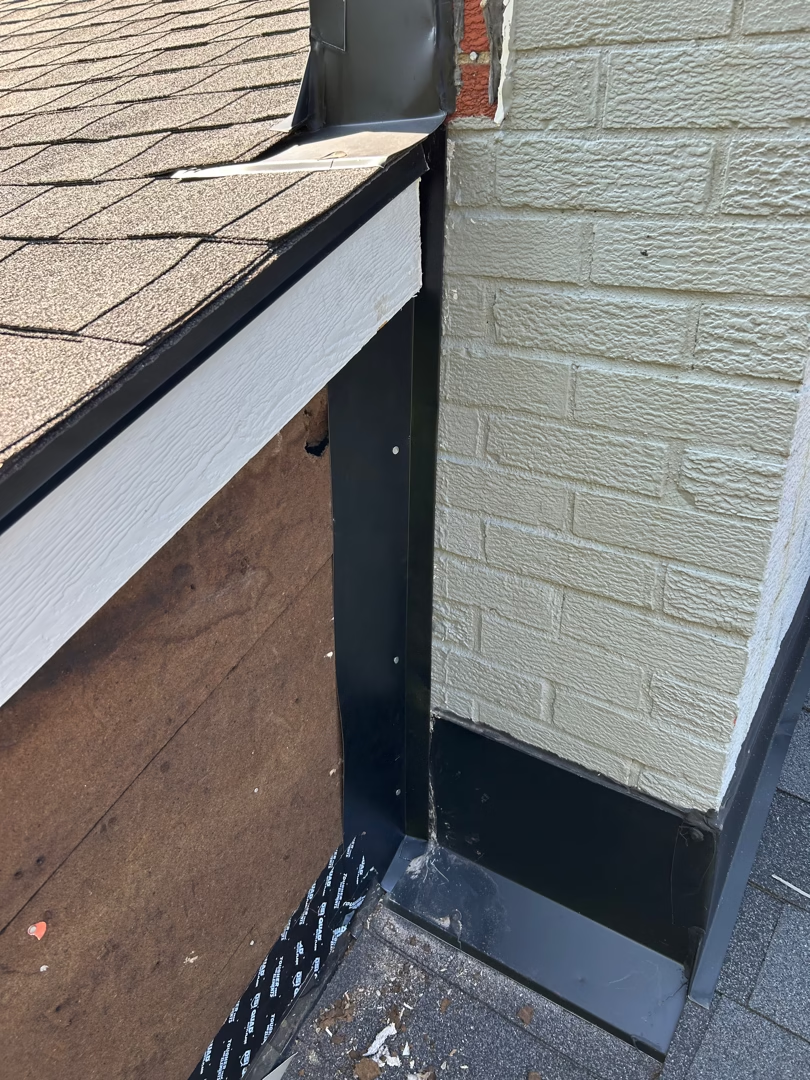
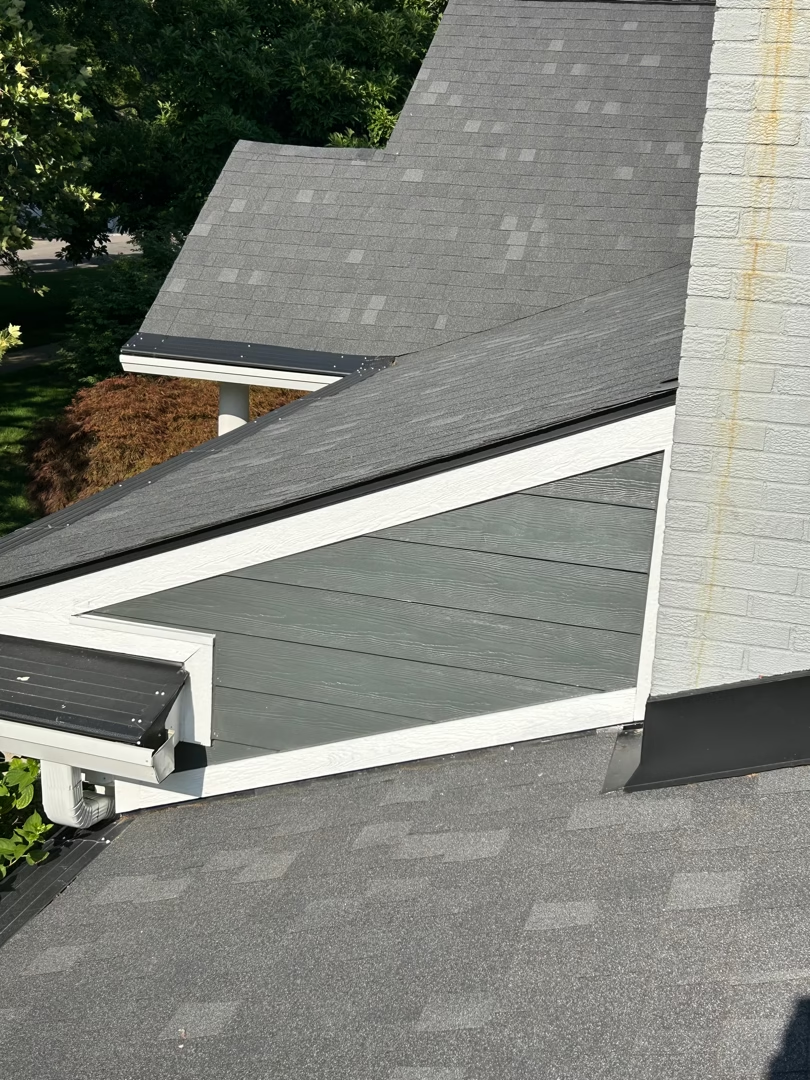
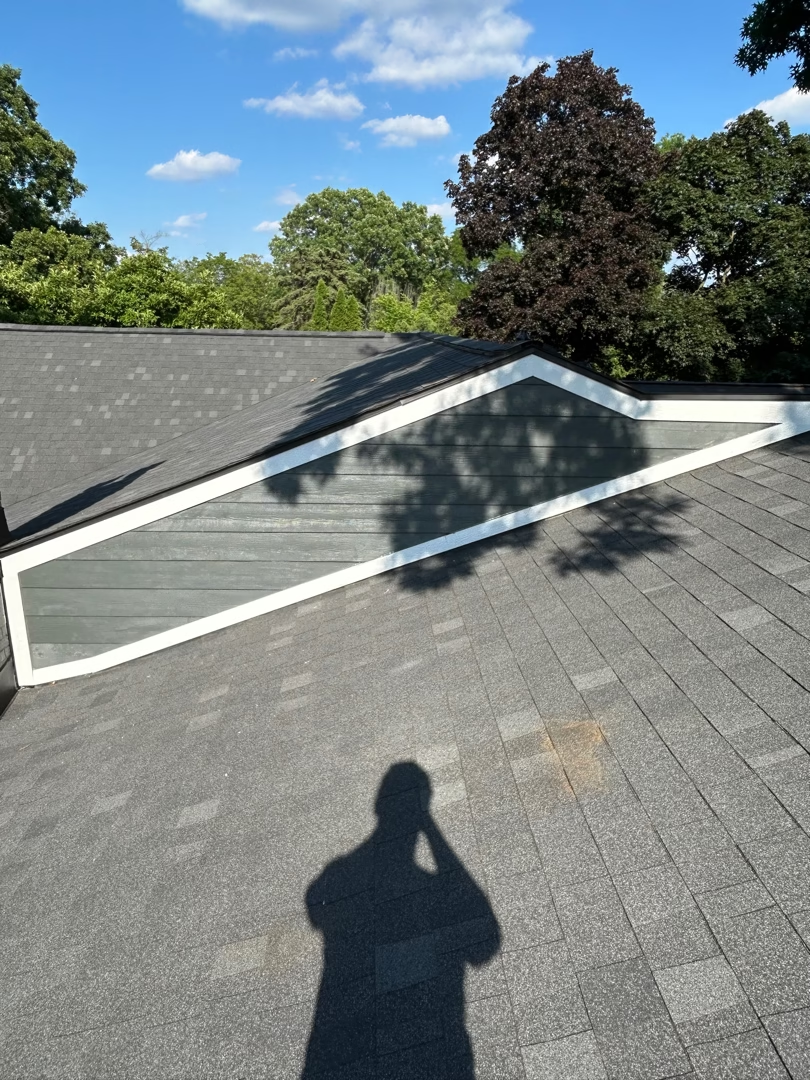
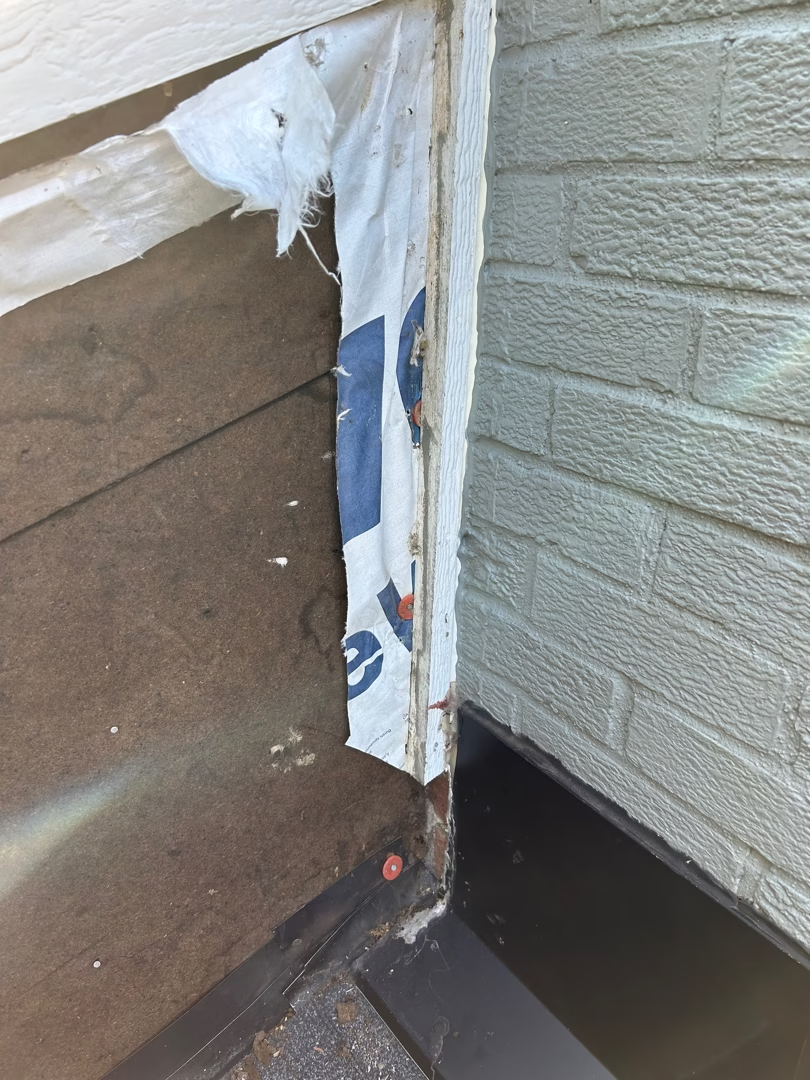
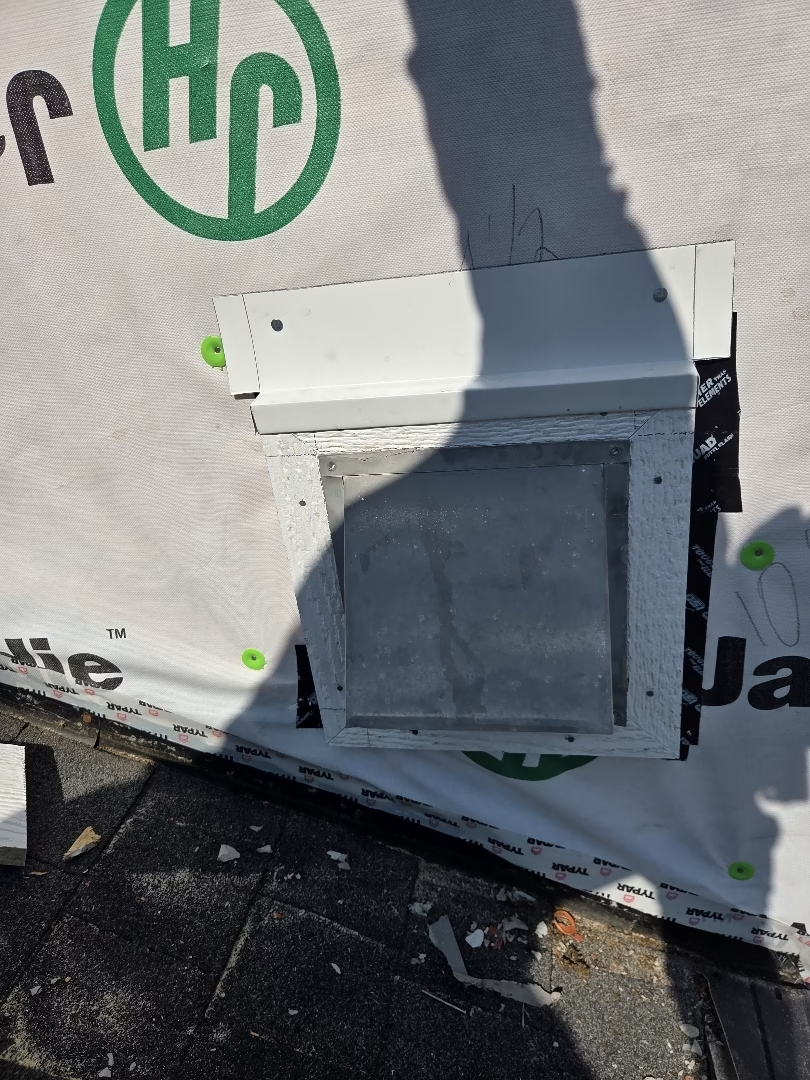
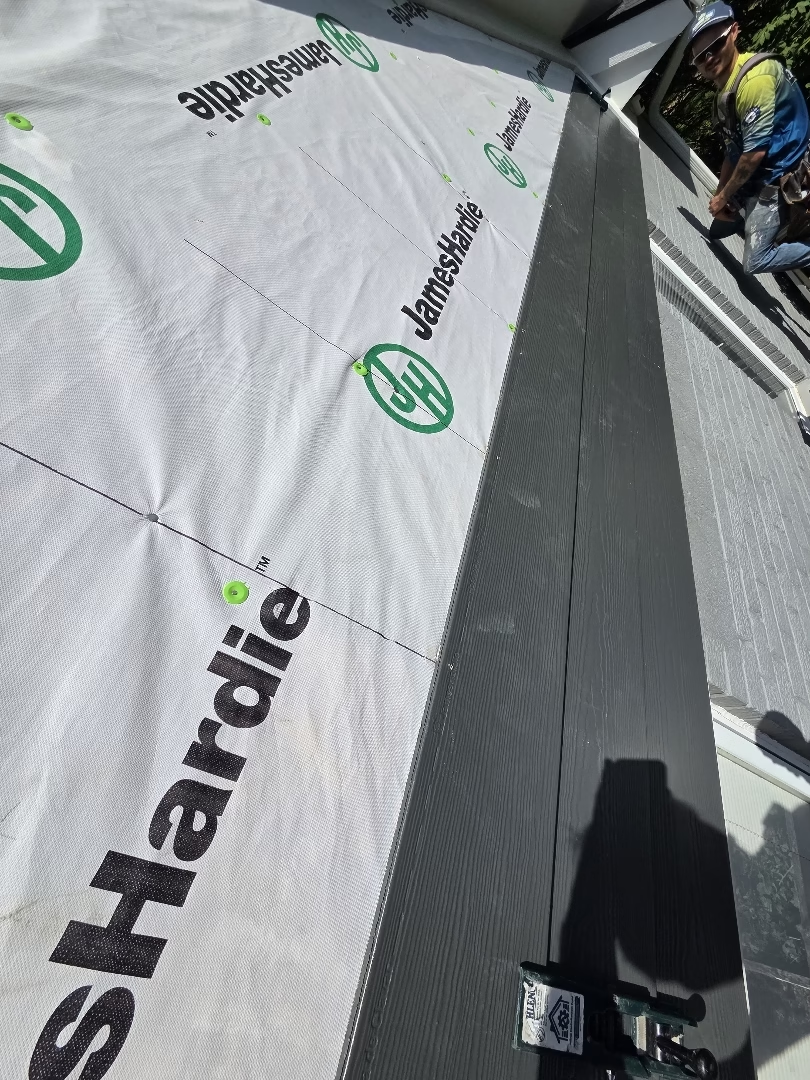
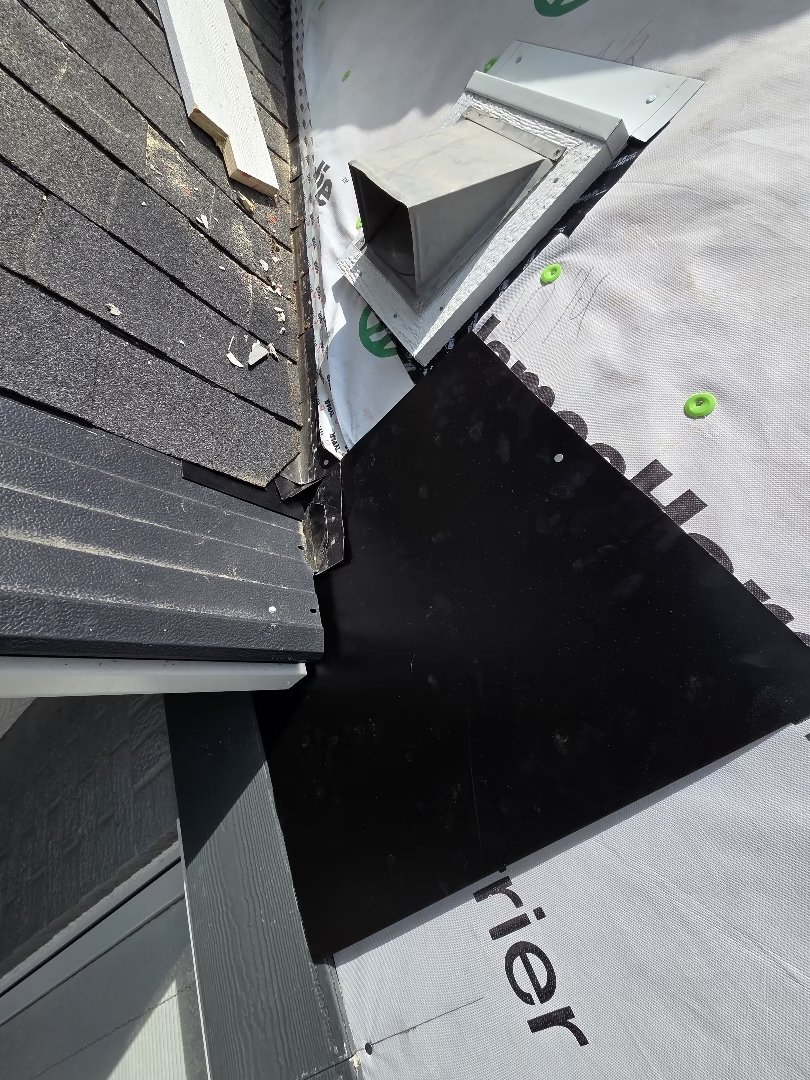
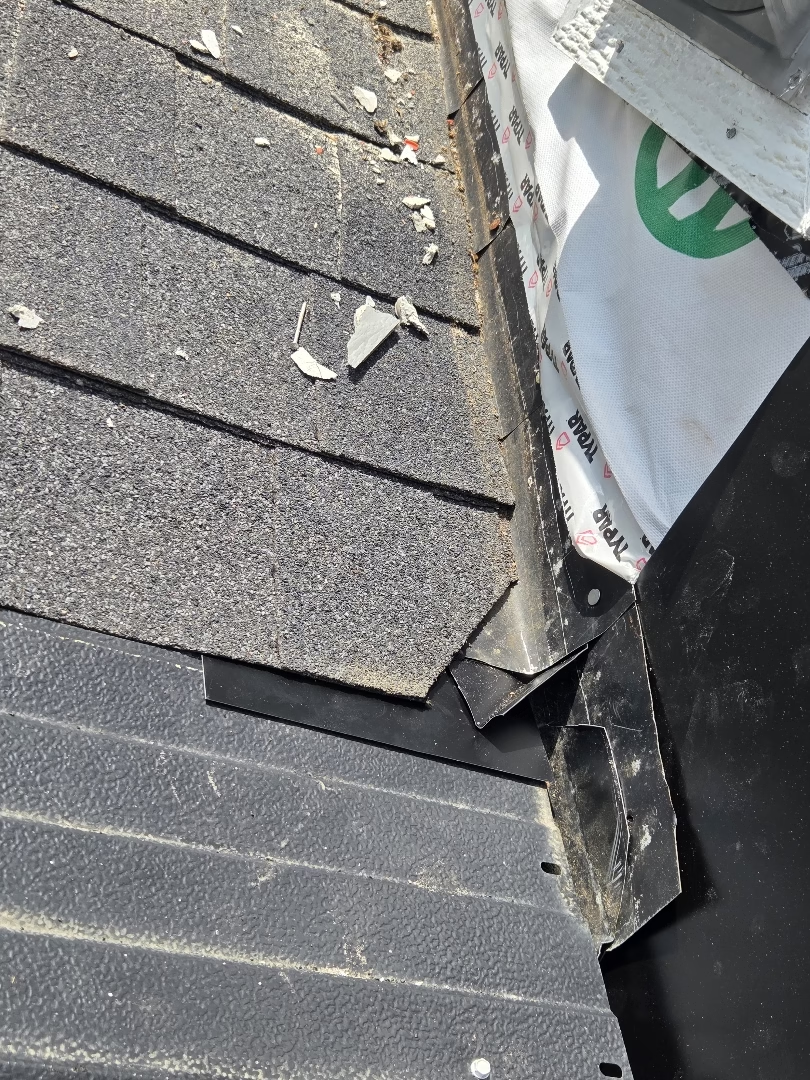
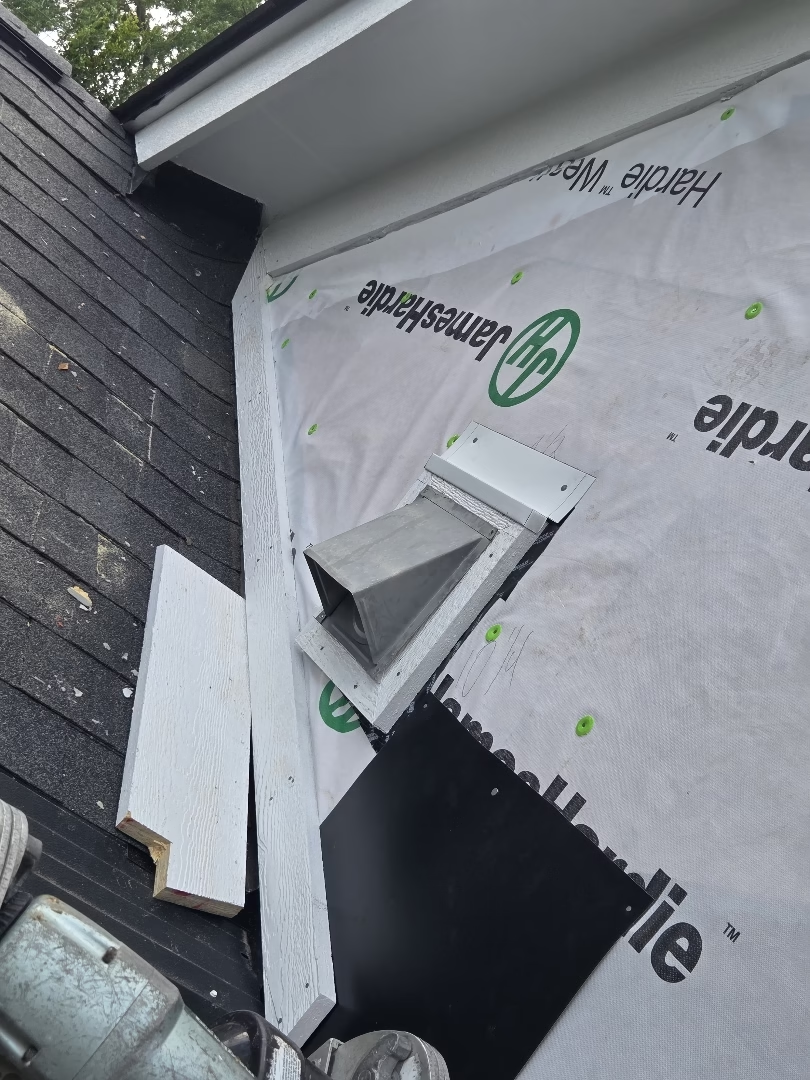
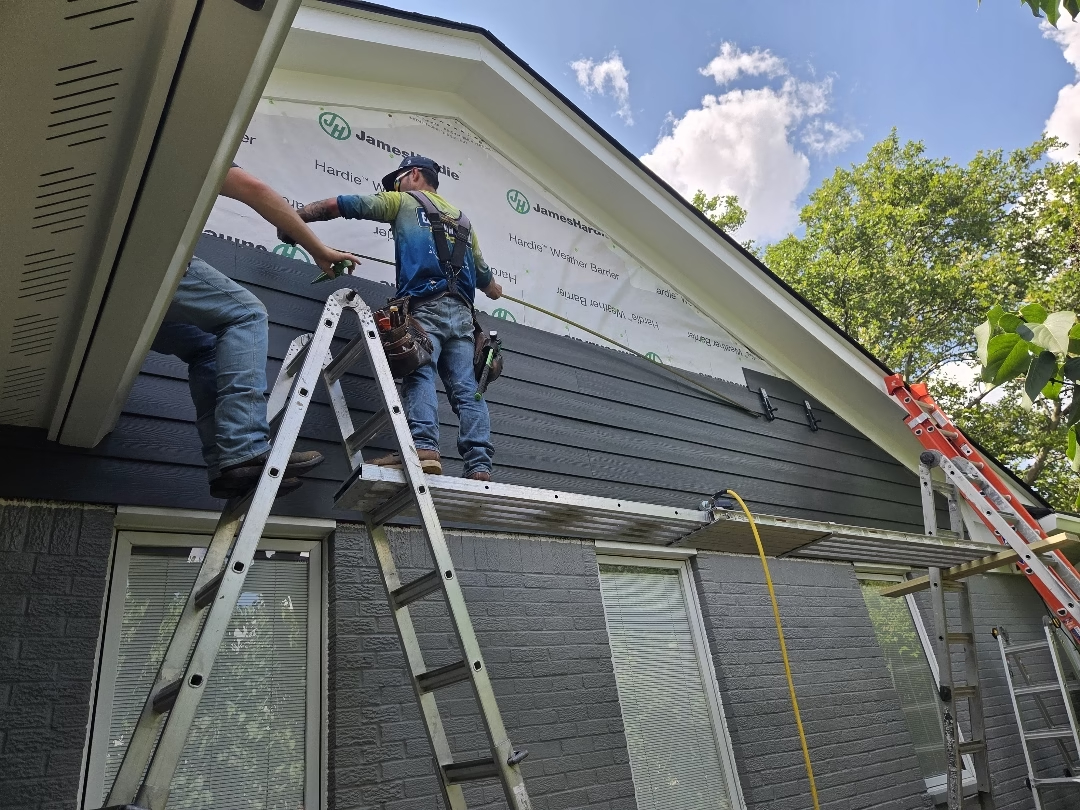
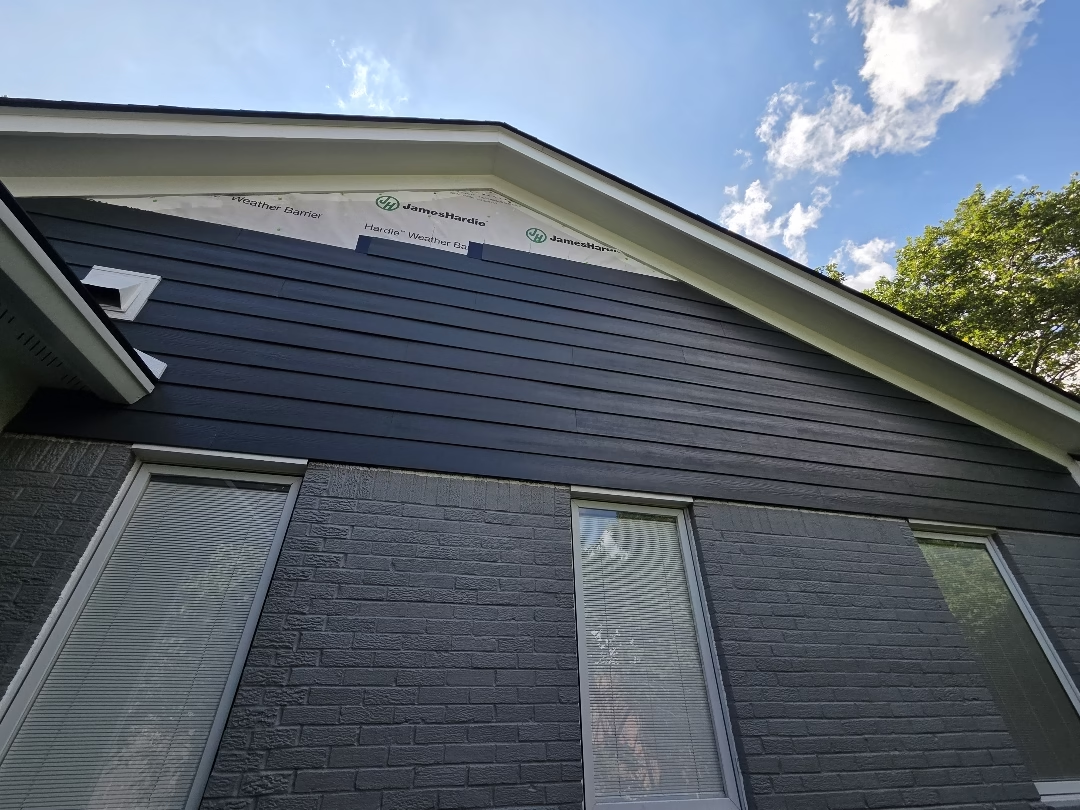
During Installation: Existing siding removed in controlled sections, damaged trim and wall materials exposed, HardieWrap installed, openings flashed, bug guard and Z-flashing added, and each wall prepared for the new siding.
Trim, Fascia, and Soffit Repairs
The project originally included substantial trim replacement, but more deterioration became visible once the siding came off.
Approximately 400 linear feet of LP SmartSide textured trim was ultimately used around:
- Windows and doors
- Outside corners
- Roofline transitions
- Frieze areas
- The front bay
- Fascia repair areas
Rotted rear fascia was removed after sections of gutter were carefully taken down. New fascia was installed, sealed, and painted before the gutter system was reattached.
The damaged soffit above the garage was secured, repaired, sealed, and painted. A broken soffit section discovered during the final phase was also replaced.
James Hardie Siding Installation
New James Hardie HardiePlank lap siding was installed across the home.
Material details included:
- 8¼-inch Cedarmill lap siding
- Seven-inch exposure
- Iron Gray finish
- Color-matched sealant and touch-up materials
- White trim and flashing accents
Each elevation was completed through a repeating process of removal, preparation, flashing, trim installation, siding installation, sealing, cleaning, and touch-up. This kept the work controlled and prevented unfinished walls from being left exposed.
Painting and Exterior Coordination
The existing trim and architectural elements were refinished to make the completed exterior feel intentional rather than pieced together.
- White was used on:
- Fascia
- Soffit
- Frieze
- Window and door trim
- Corner trim
- Garage door framing
- Front bay trim
Iron Gray was carried onto:
- Previously painted brick
- The chimney
- The side garage entry door
- The garage door
Benjamin Moore Regal Select High Build was used on wood and masonry surfaces, while Benjamin Moore Aura was used on smoother metal and door surfaces. Both were applied in a low-luster finish.
Lights, cameras, utility attachments, and downspouts were carefully removed as needed and reinstalled after the siding and painting work was complete.
The Result
The finished exterior replaced a failing, brittle siding system with a properly prepared and flashed James Hardie installation.
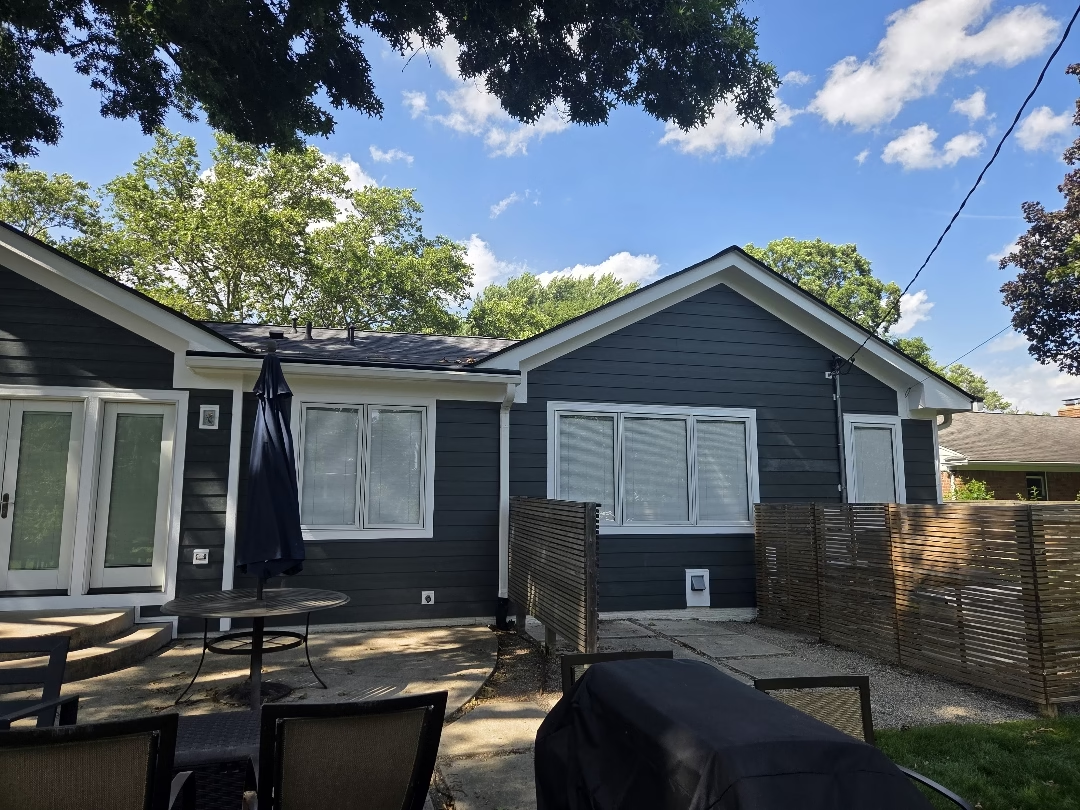
Iron Gray siding gave the home a stronger, more modern appearance, while the white trim preserved its architectural lines and kept the darker color from overwhelming the ranch-style design. Carrying Iron Gray onto the painted brick, chimney, garage door, and side entry door helped pull the entire exterior together.
More importantly, the work behind the finish was addressed:
- Loose and missing siding was eliminated.
- Rotted trim and fascia were replaced instead of painted over.
- Windows, doors, utilities, and transitions received new flashing.
- Bug-guard protection was installed along the base of the walls.
- Damaged soffit was repaired or replaced.
- Gutters, lights, cameras, and downspouts were properly reinstalled.
- Siding was cleaned, sealed, and touched up before the project was closed.
The final walkthrough went smoothly, and the client was very happy with the finished product, the workmanship, and the crew.
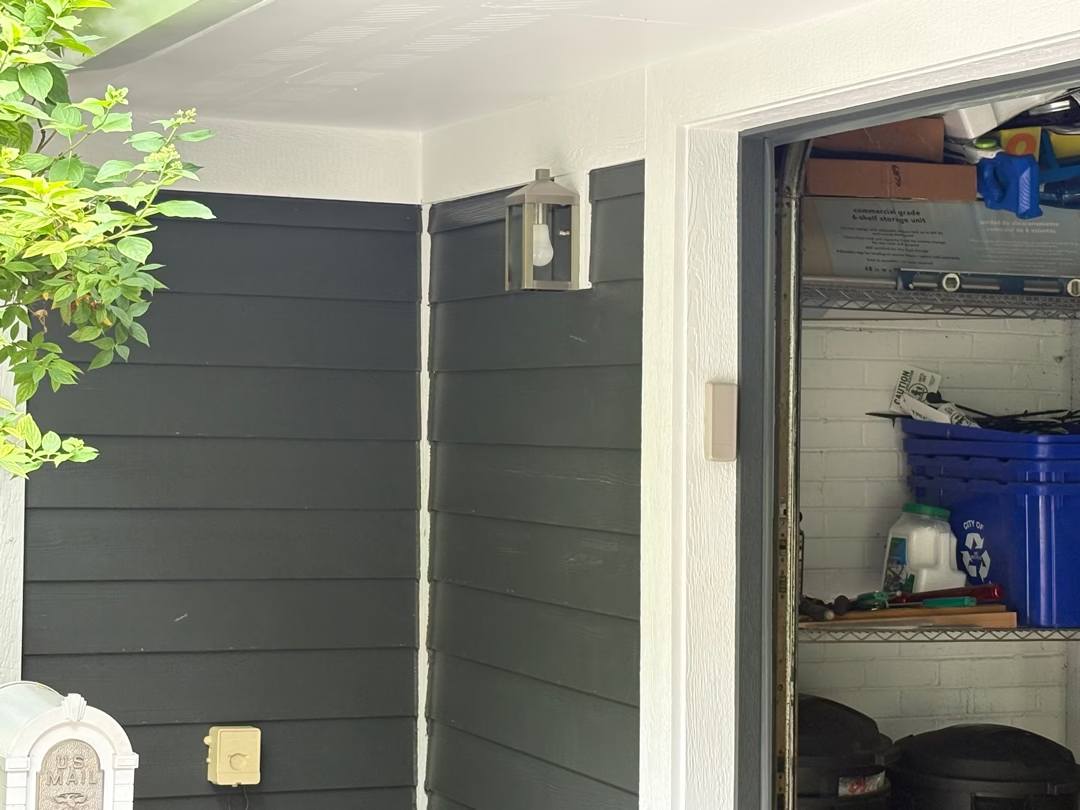
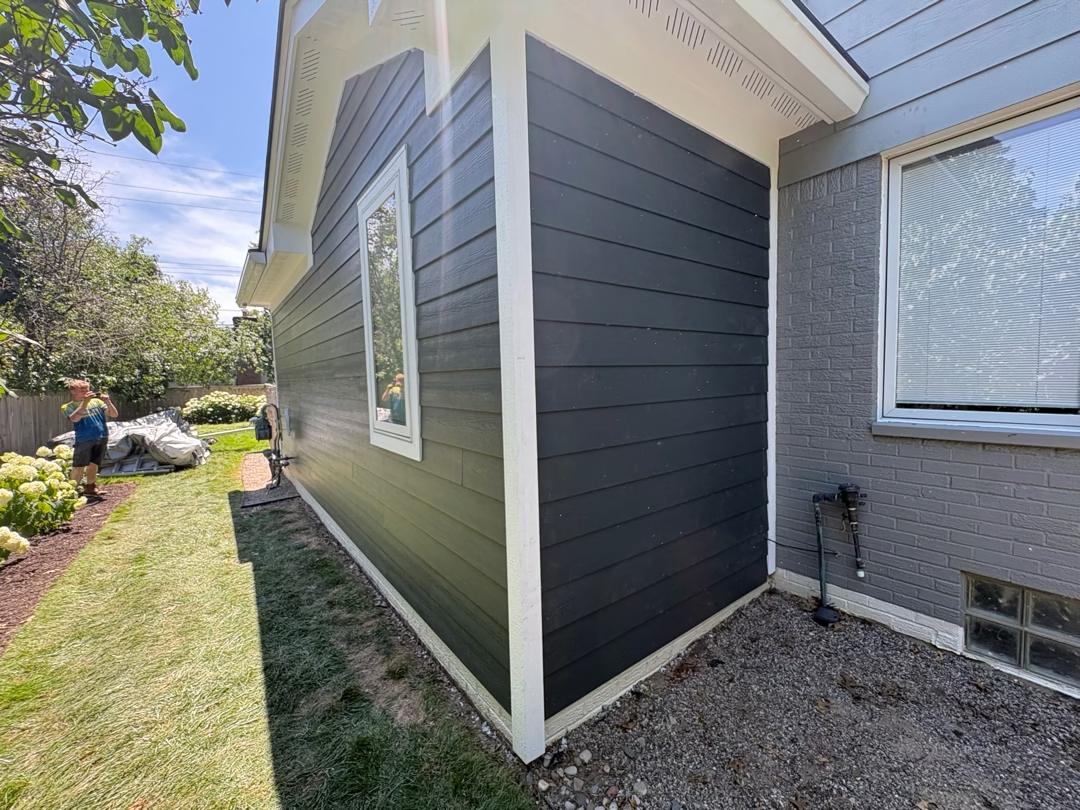
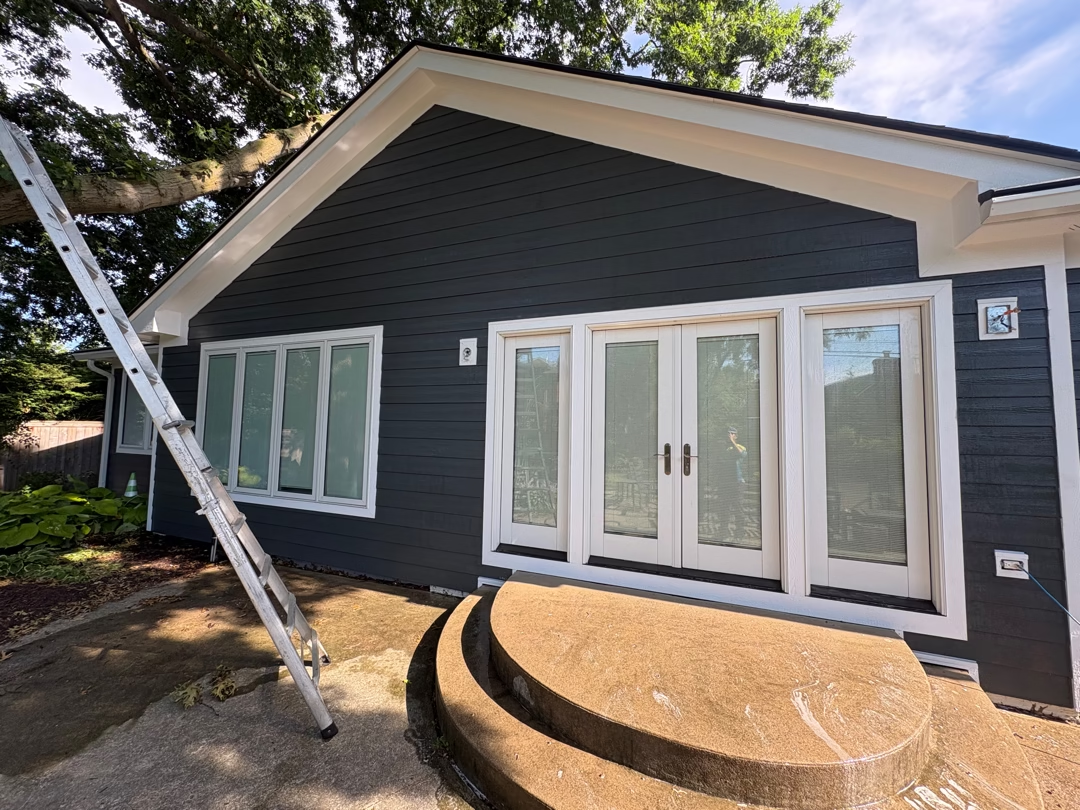
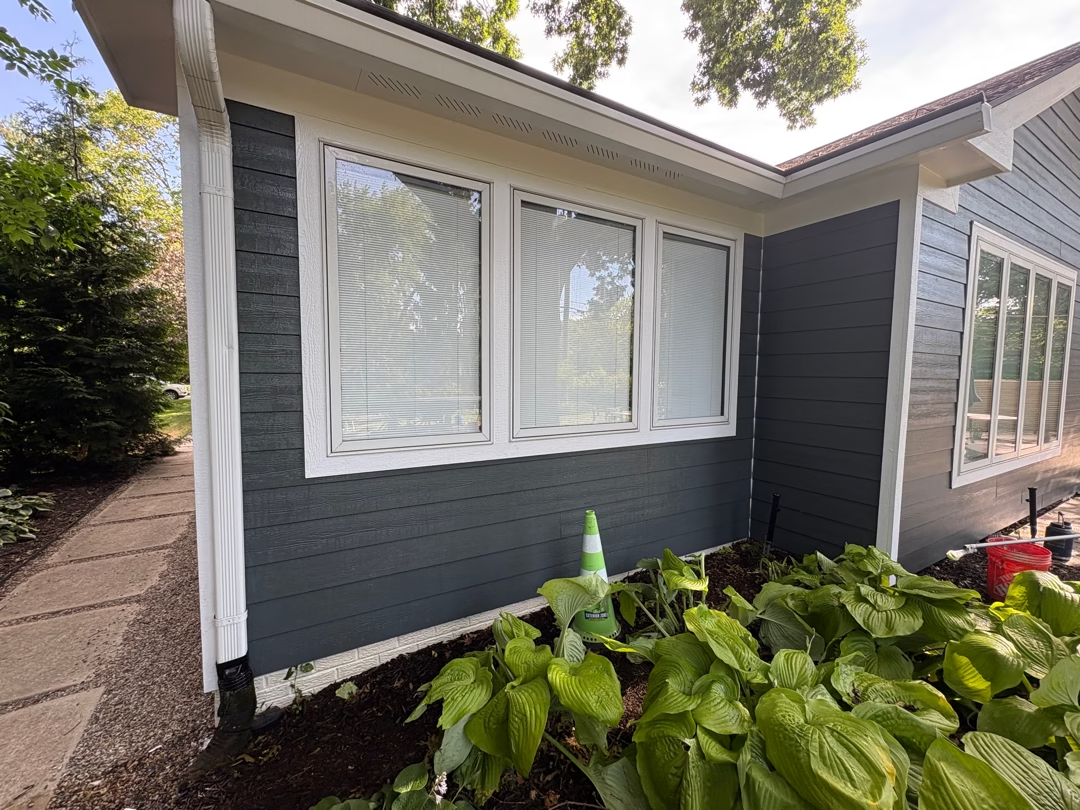
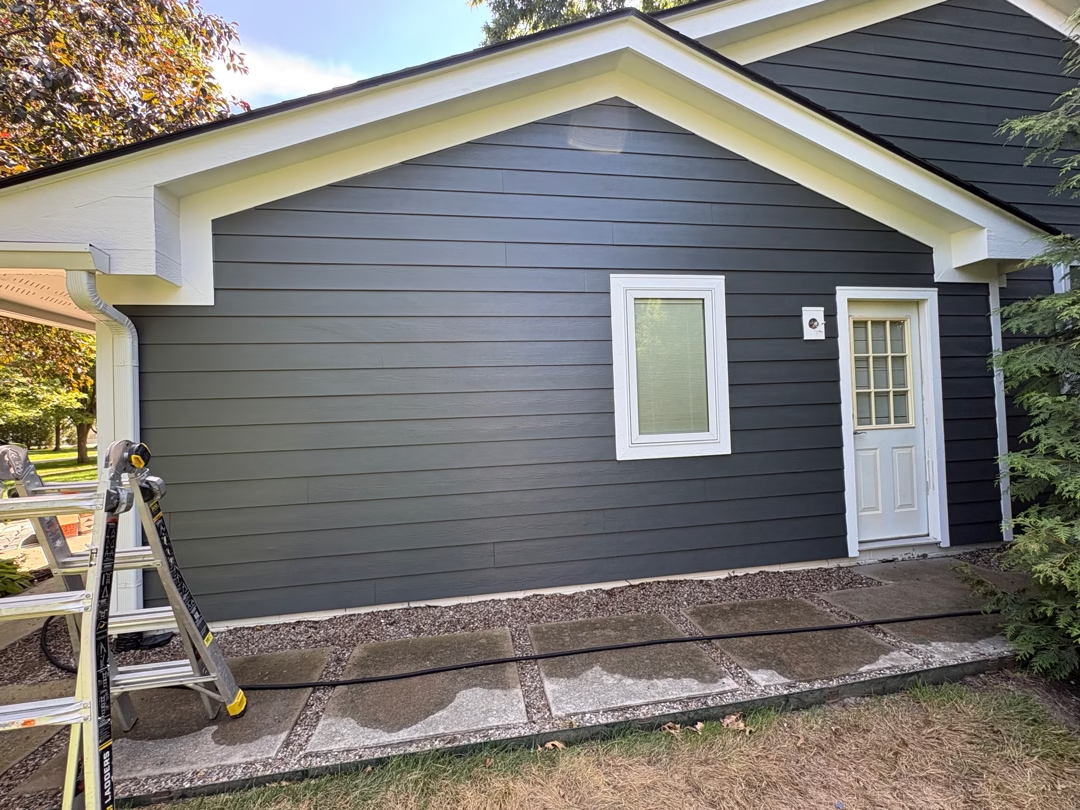
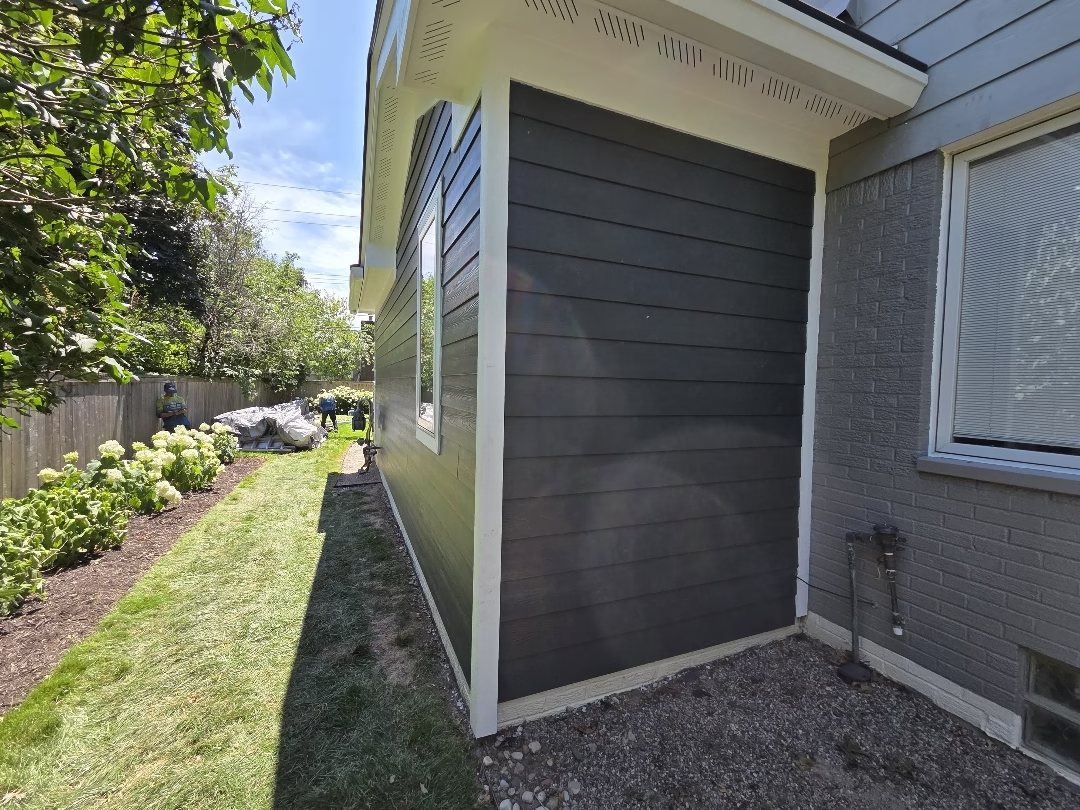
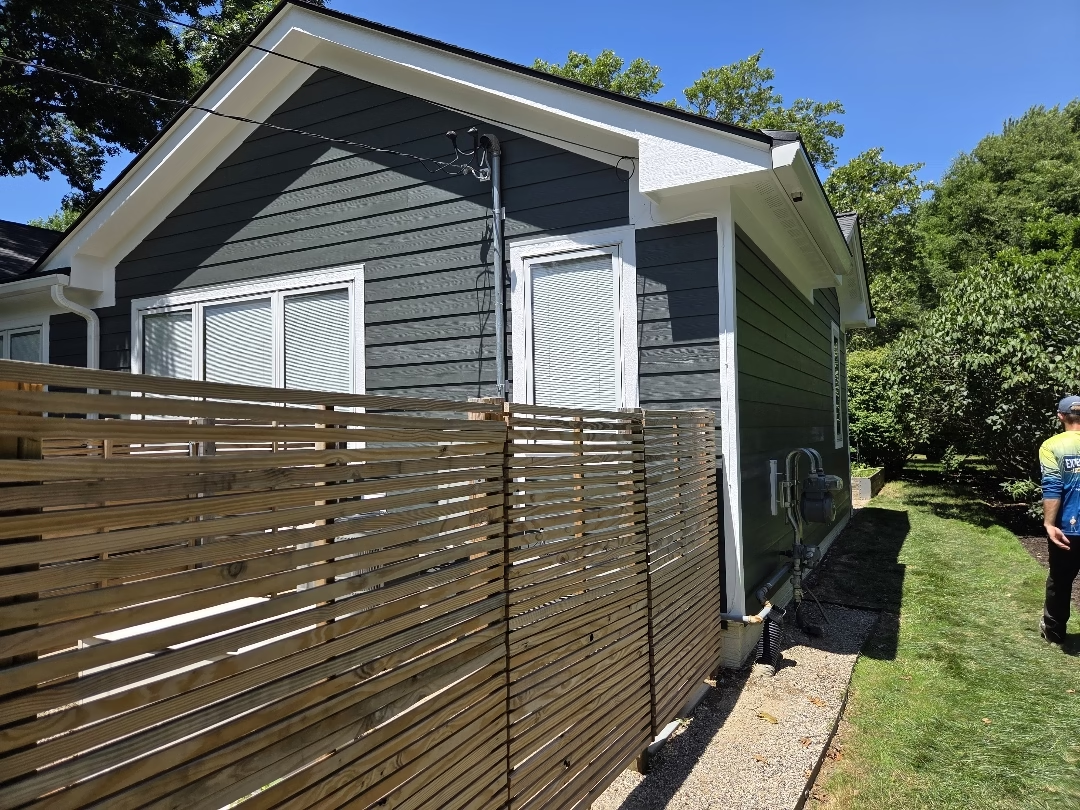
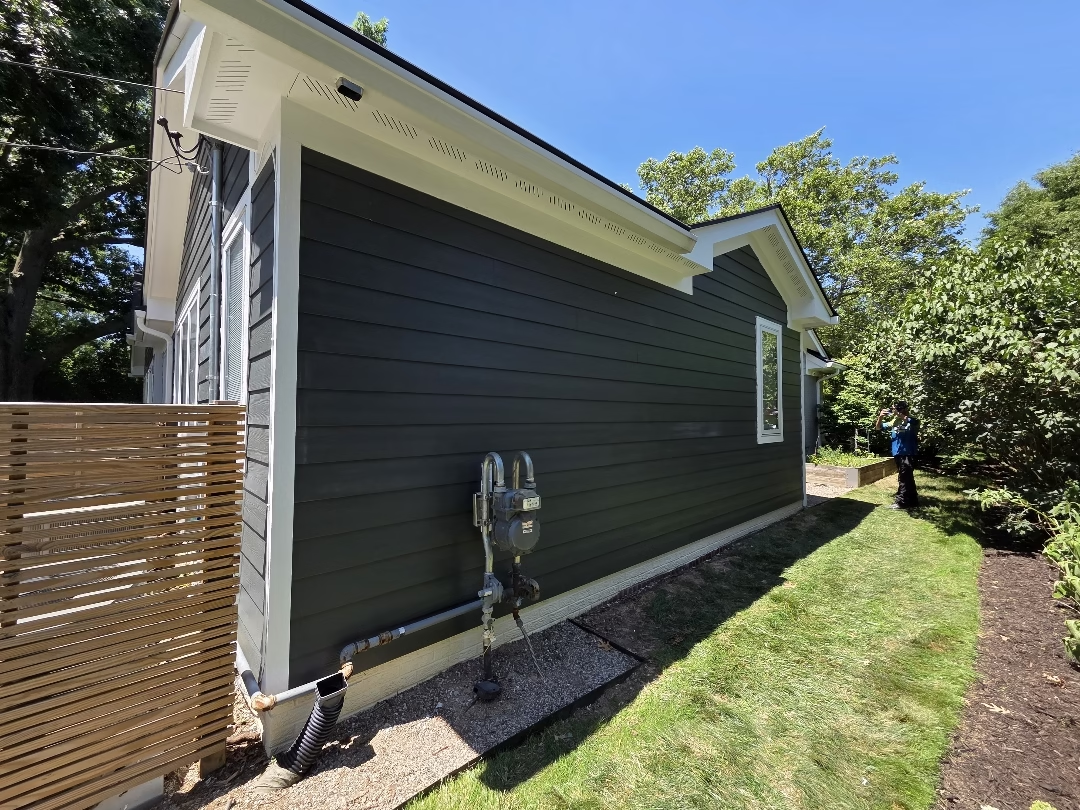
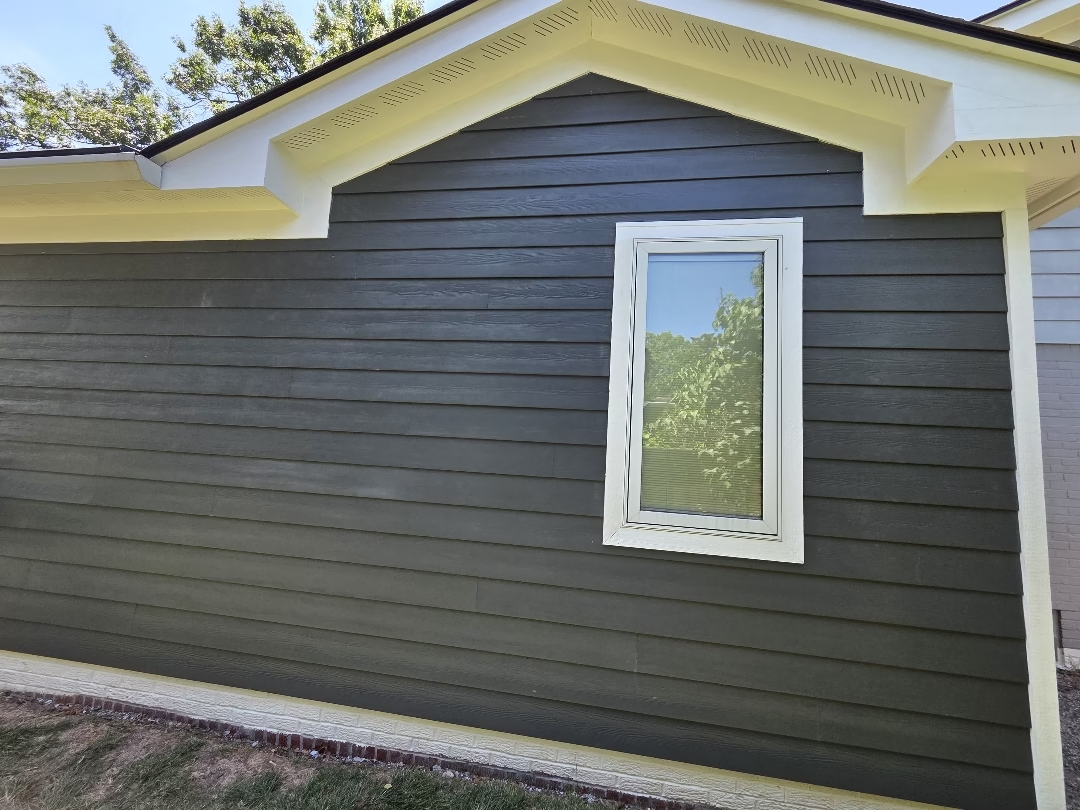
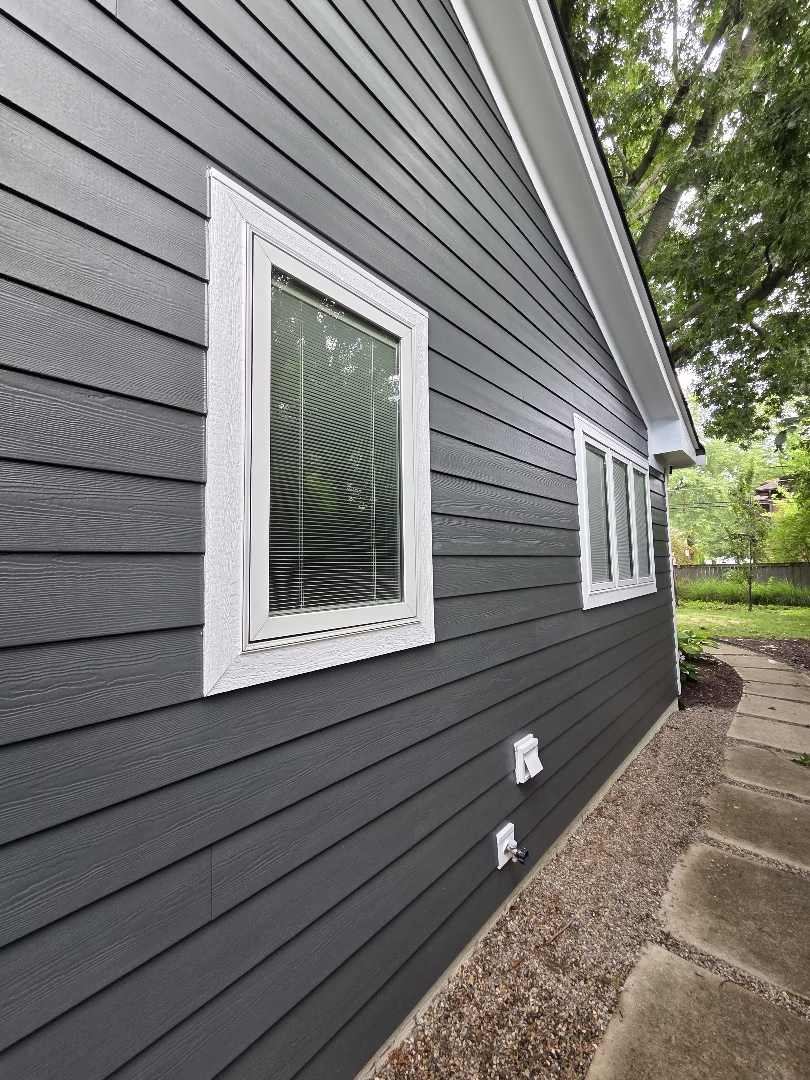
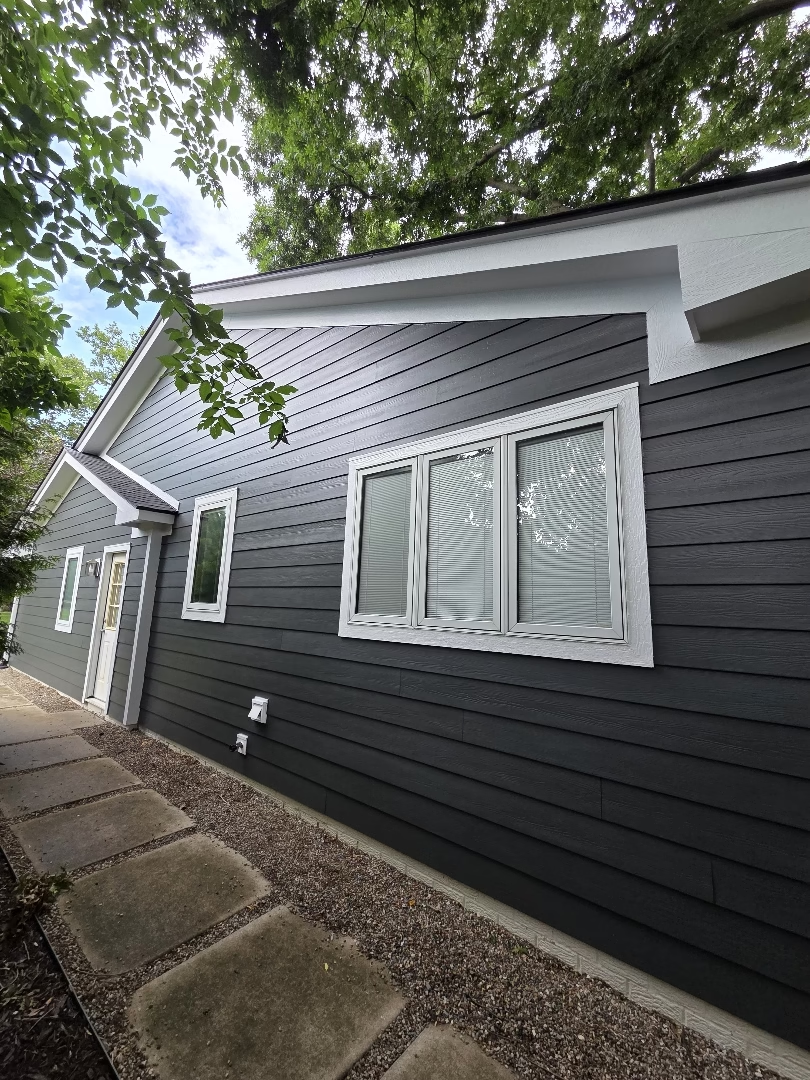
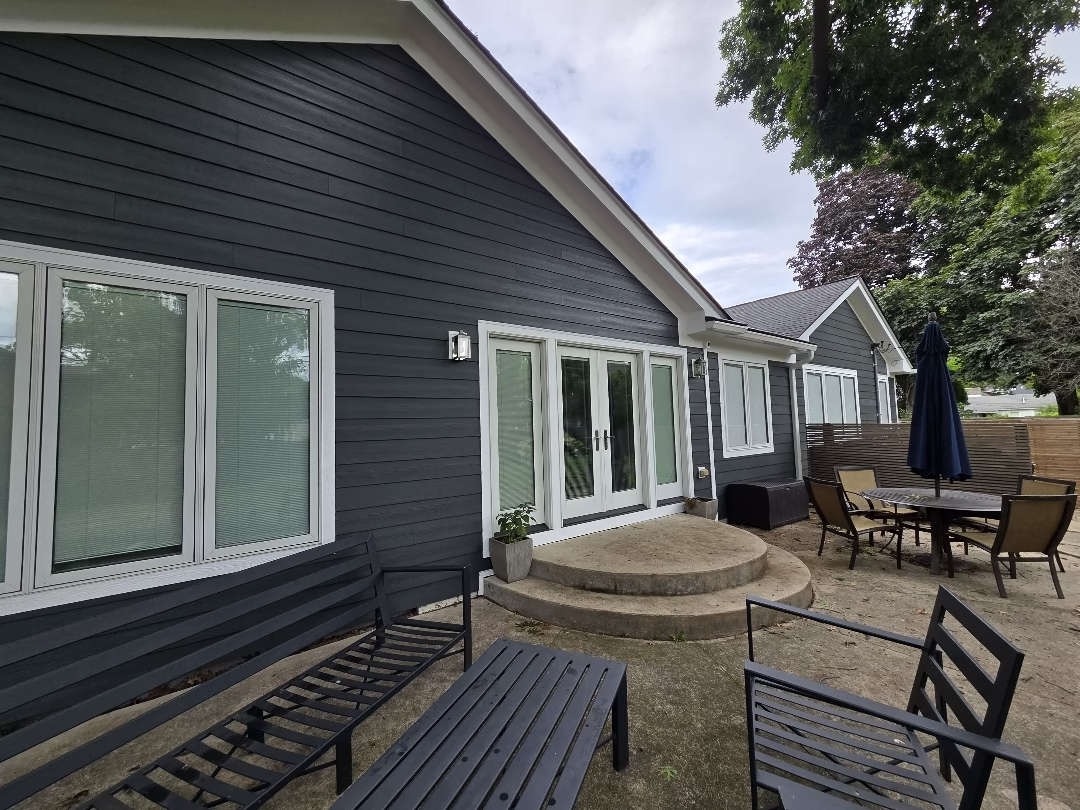
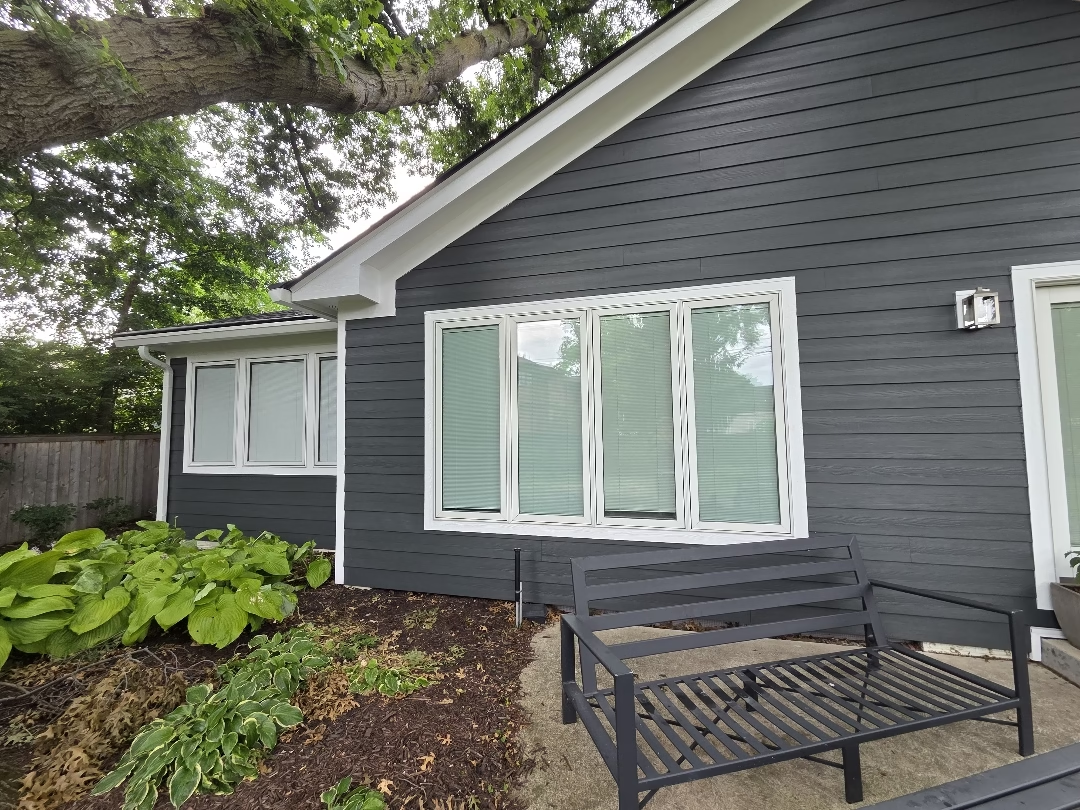
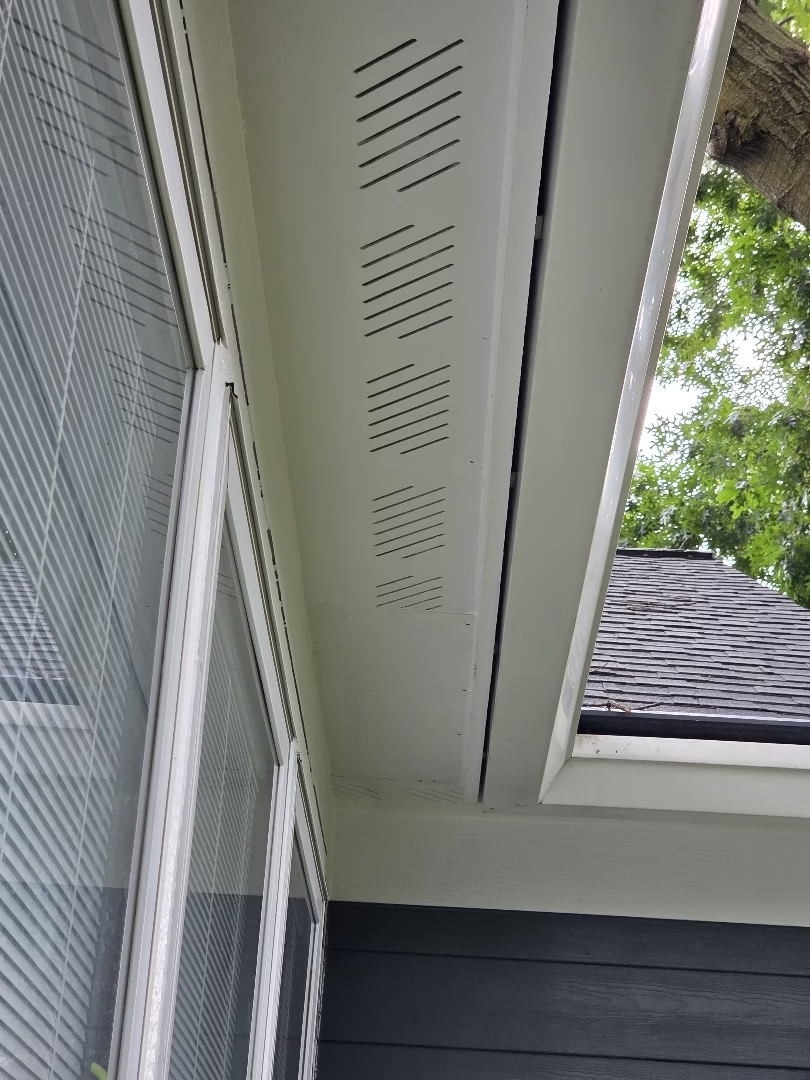
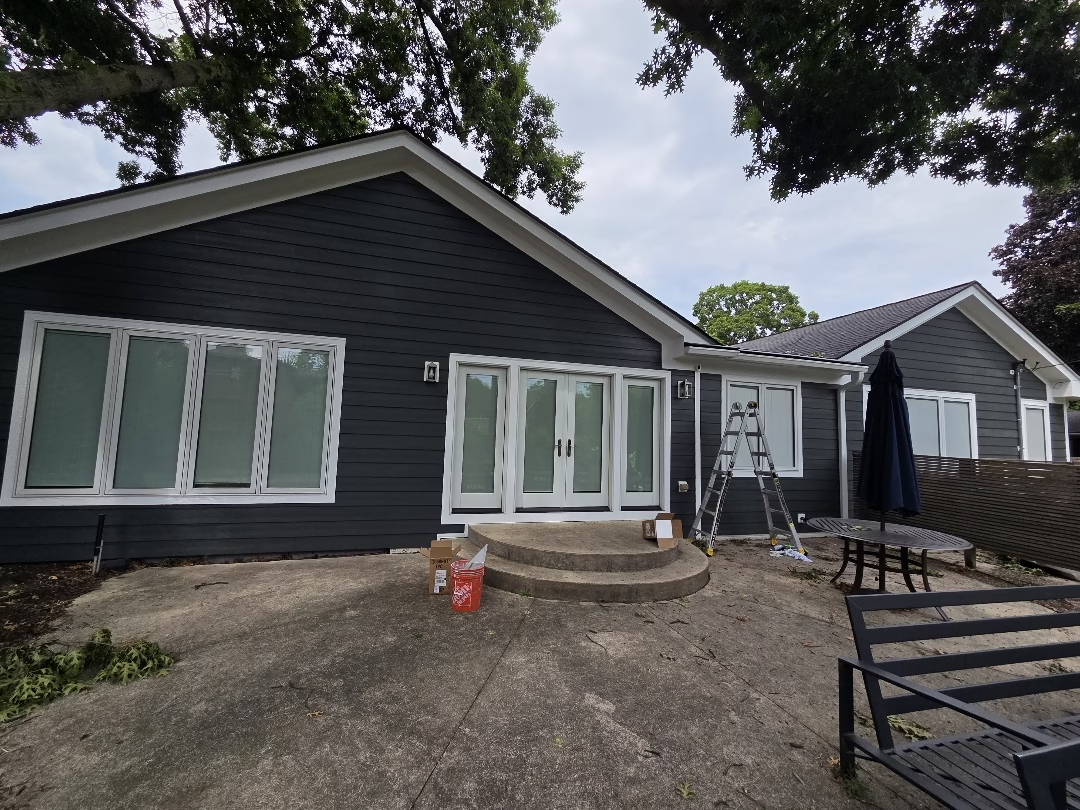
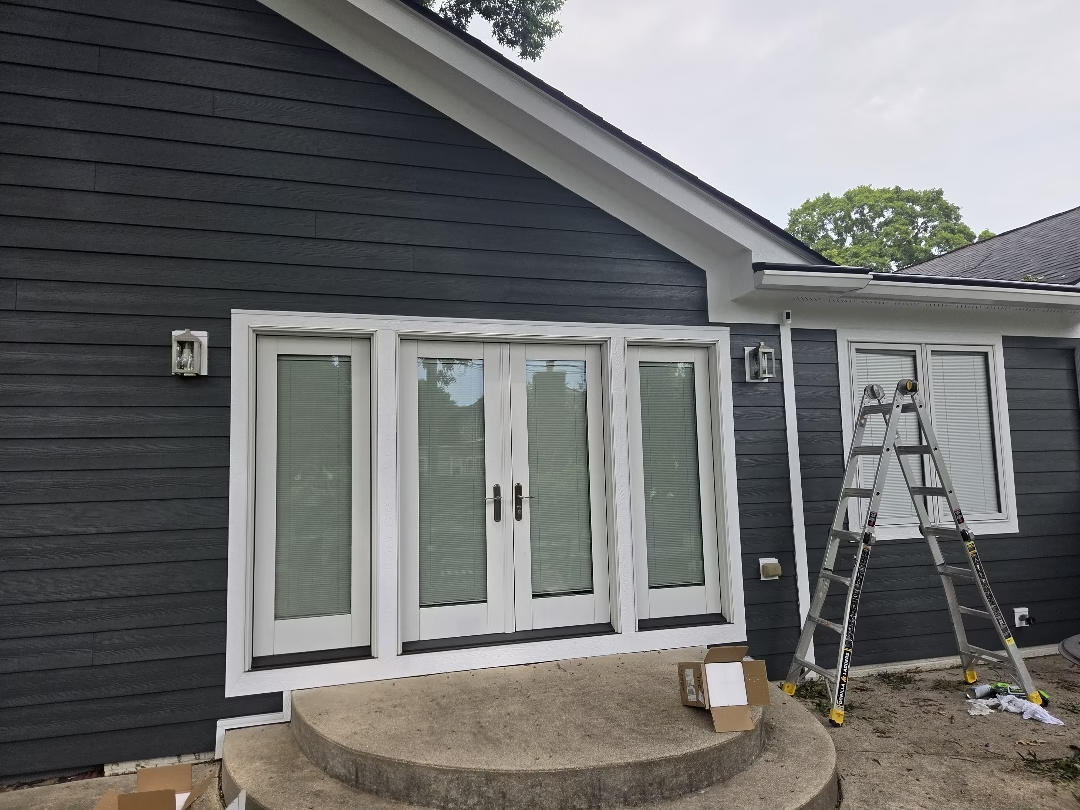
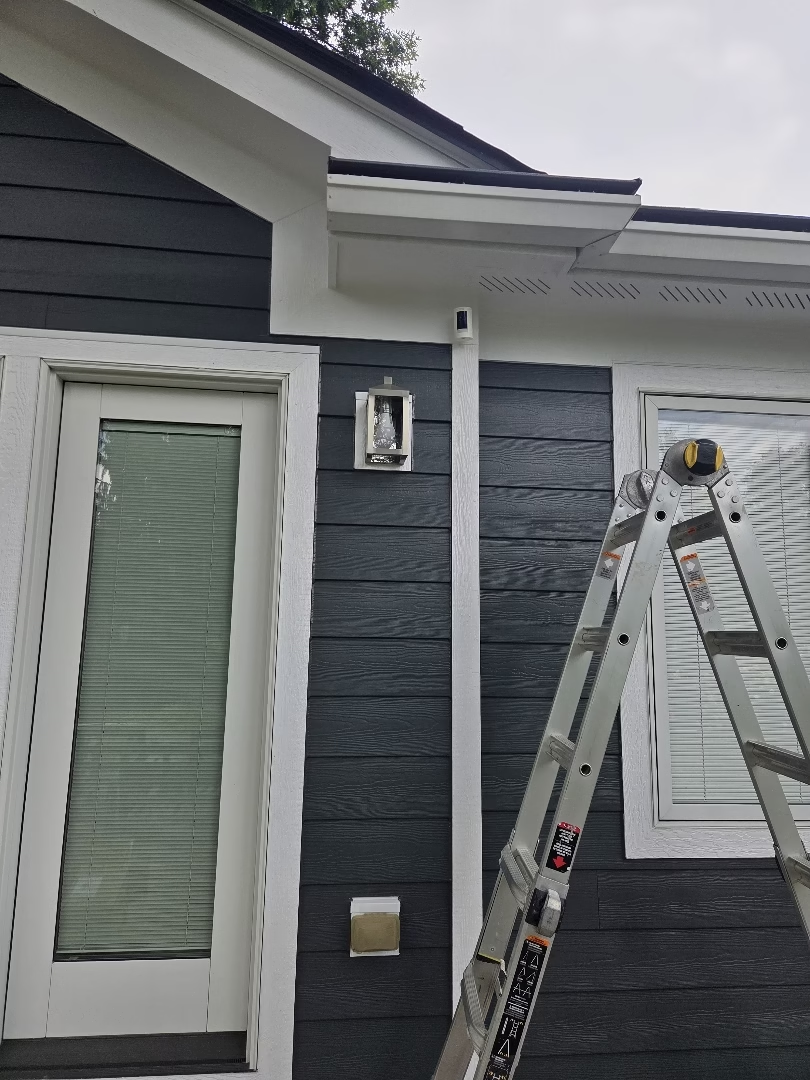
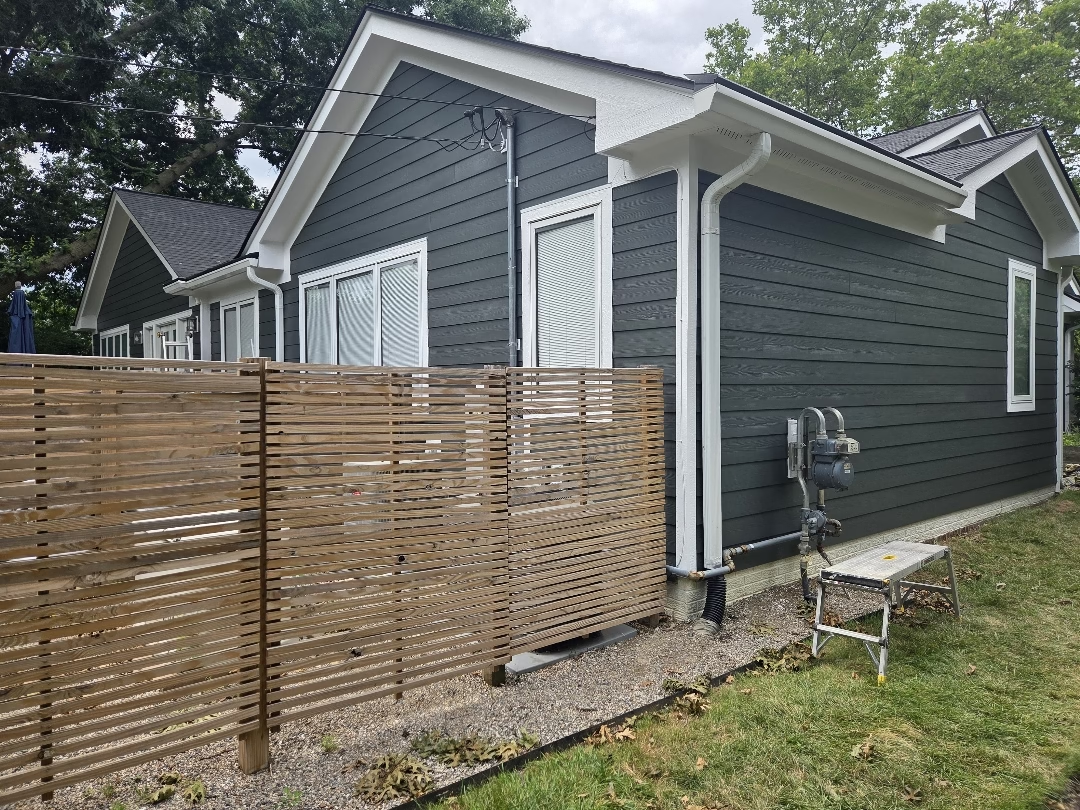
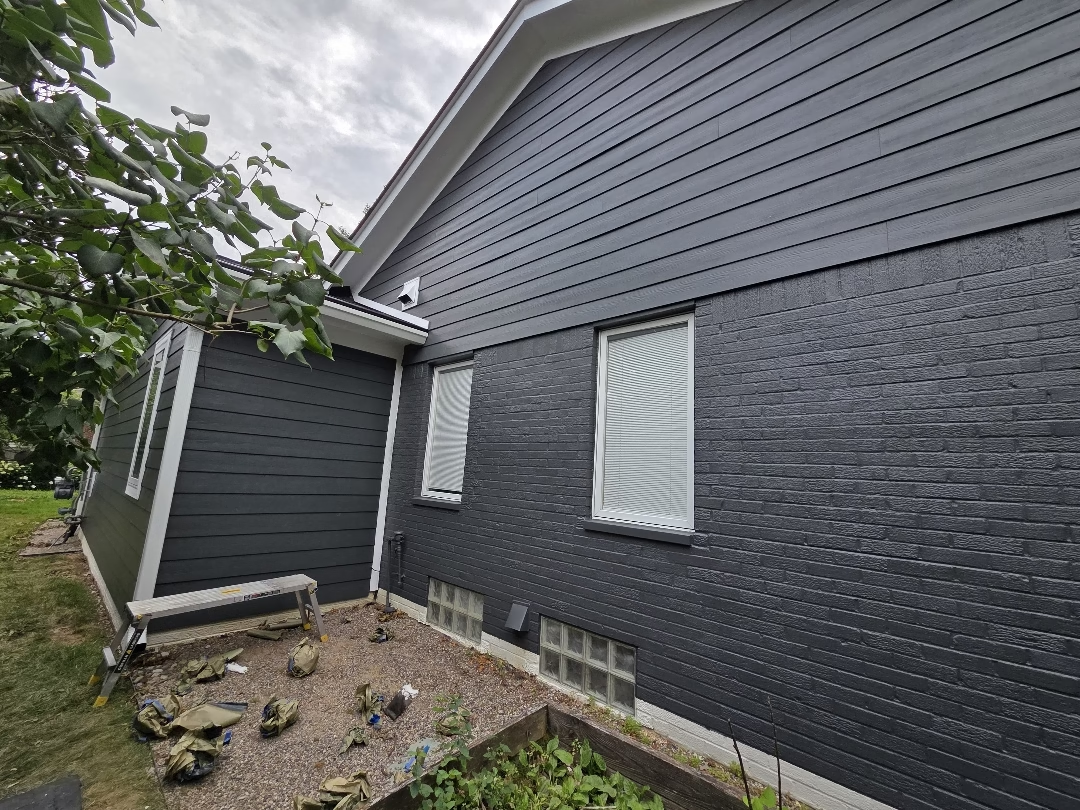
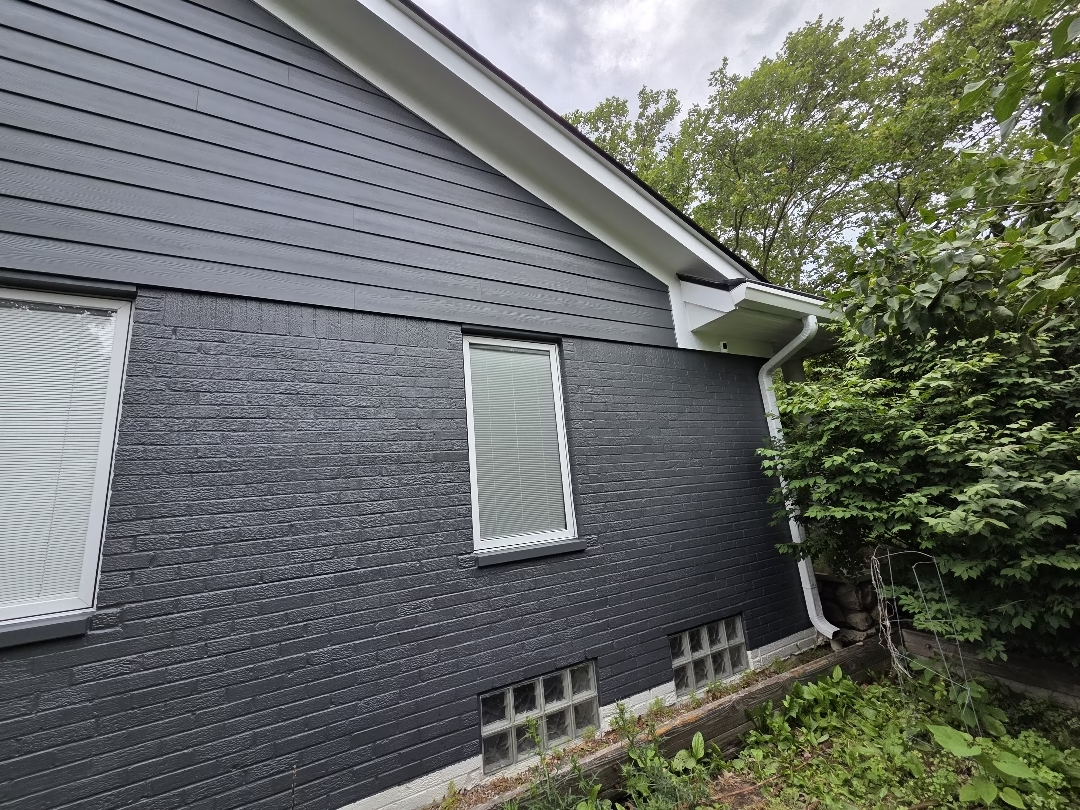
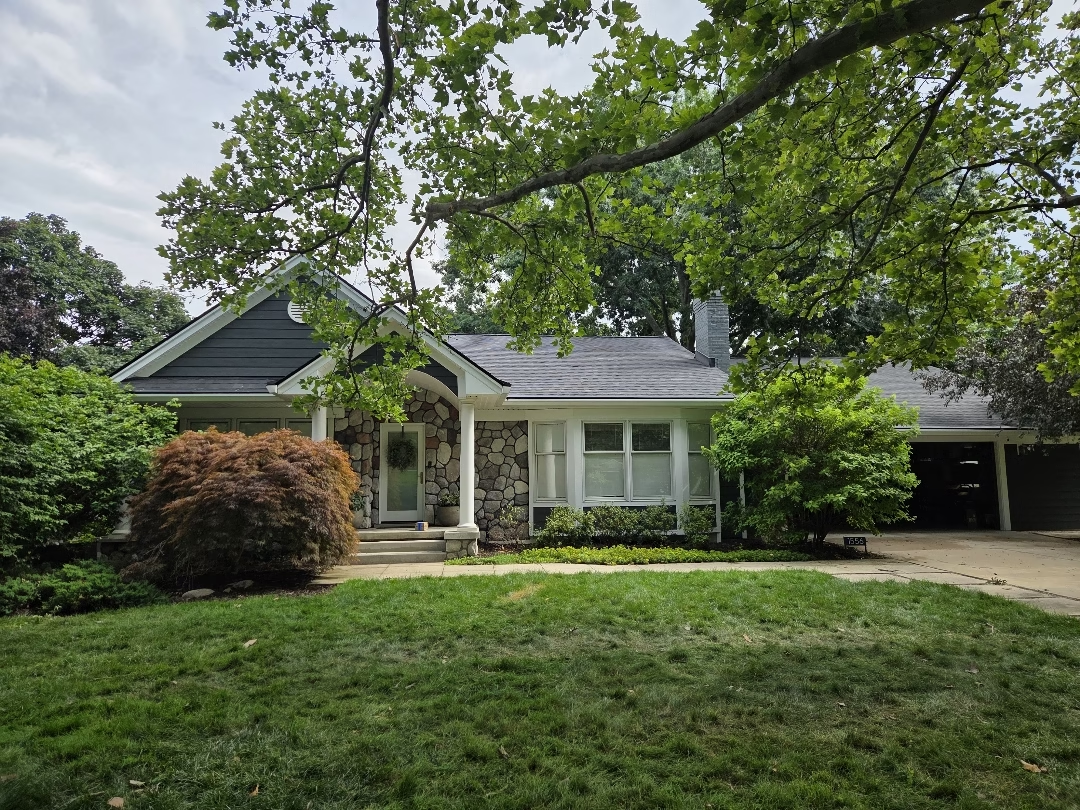
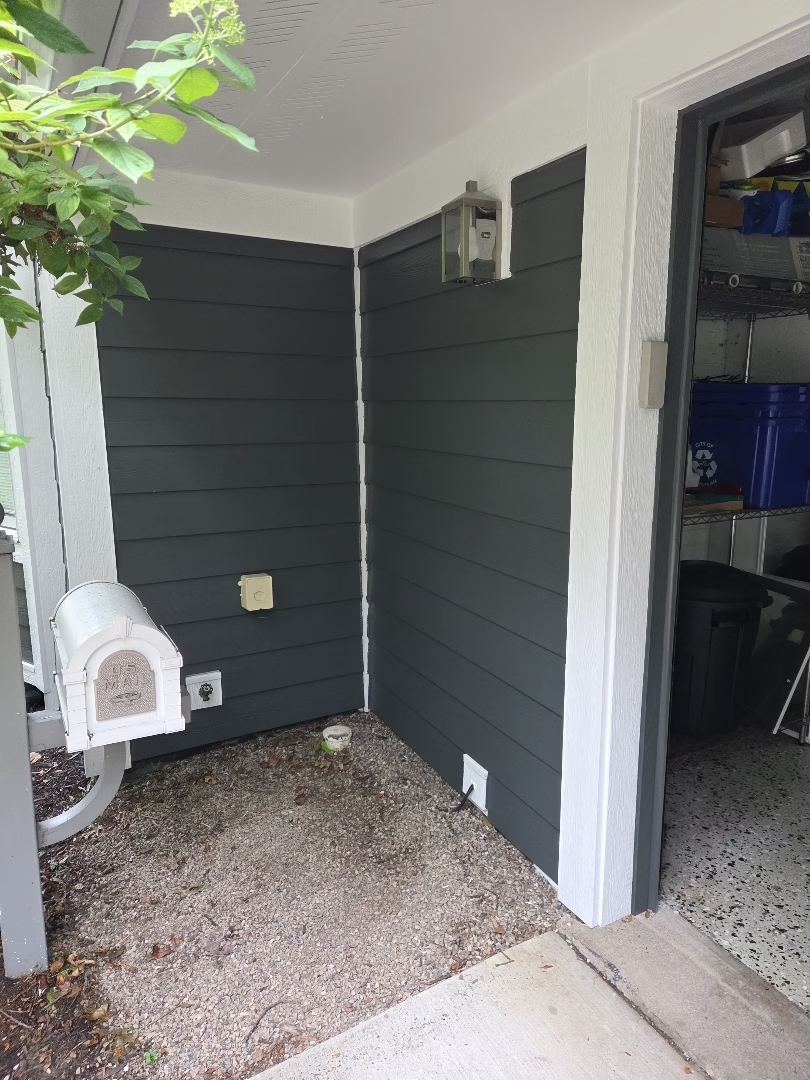
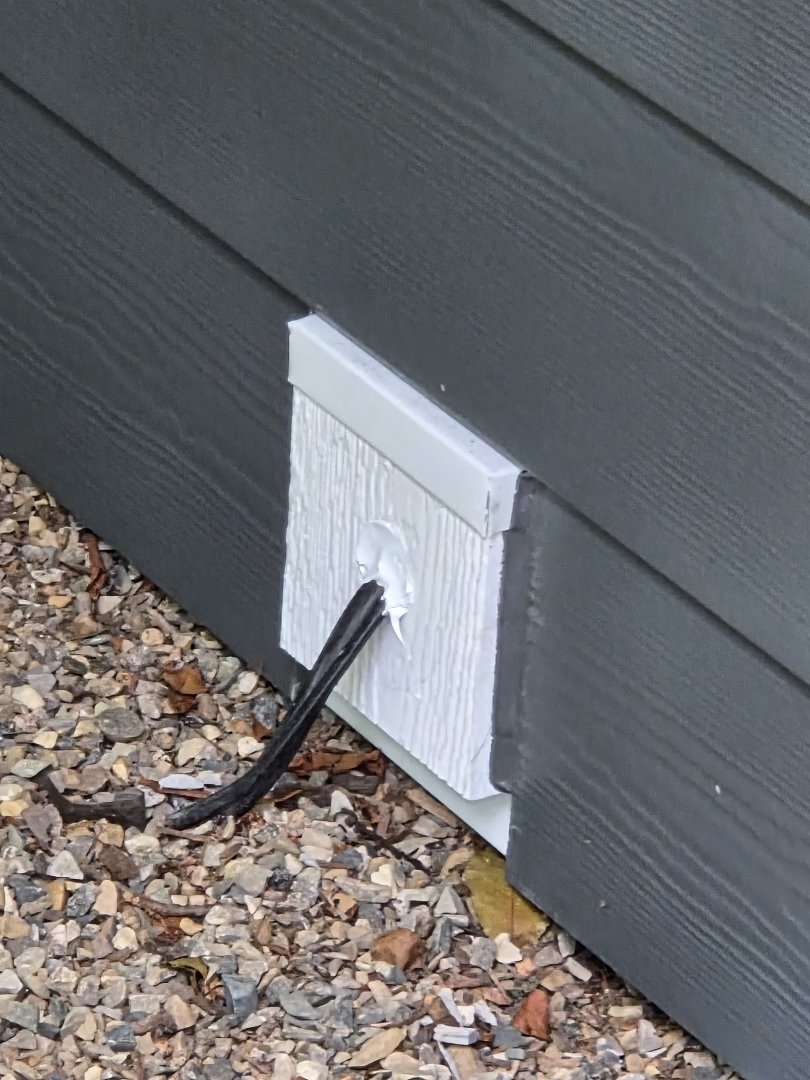
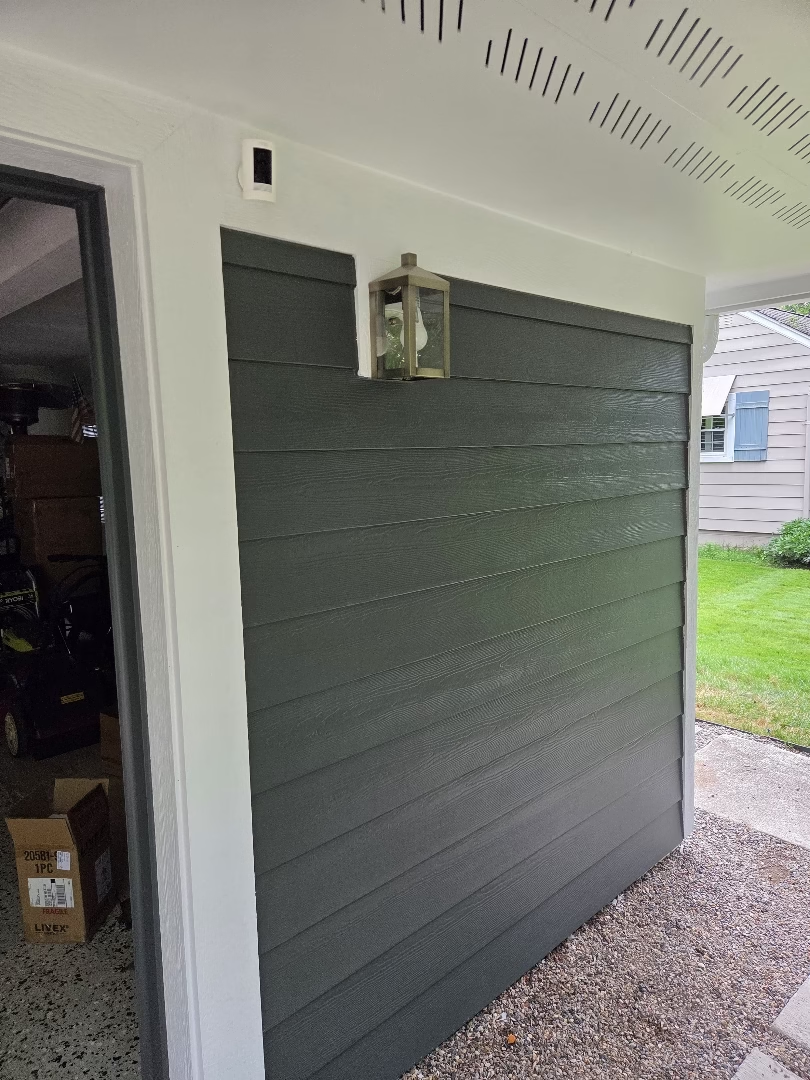
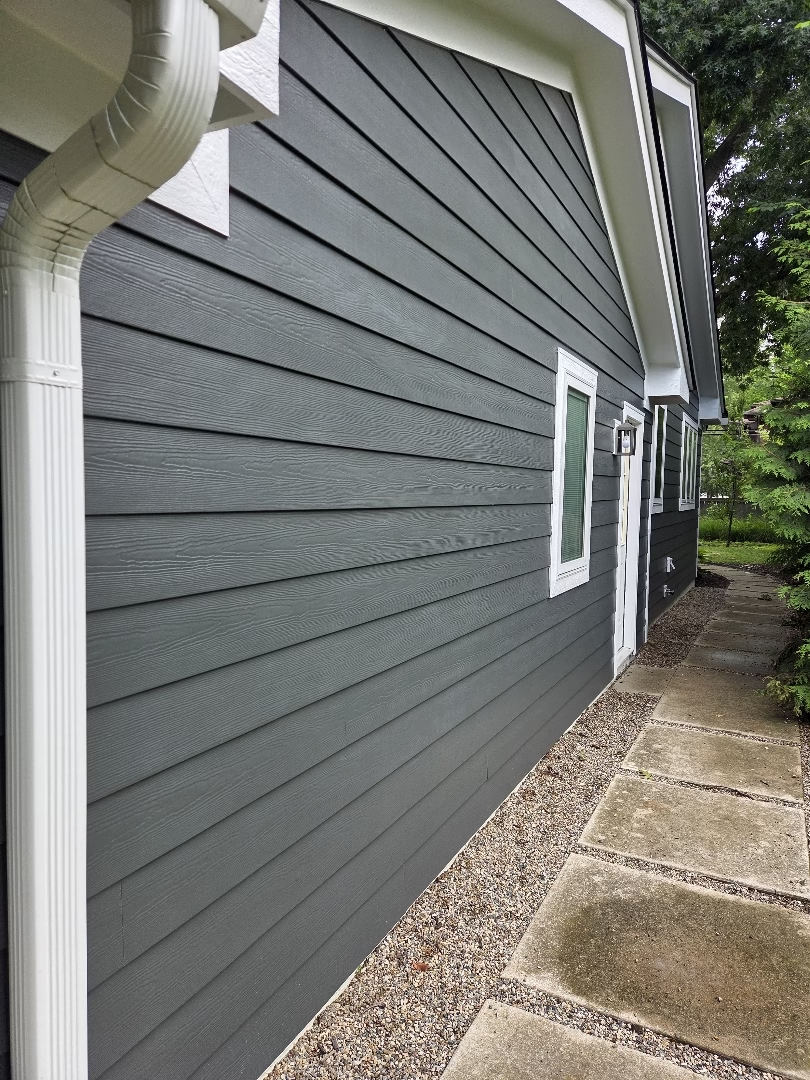
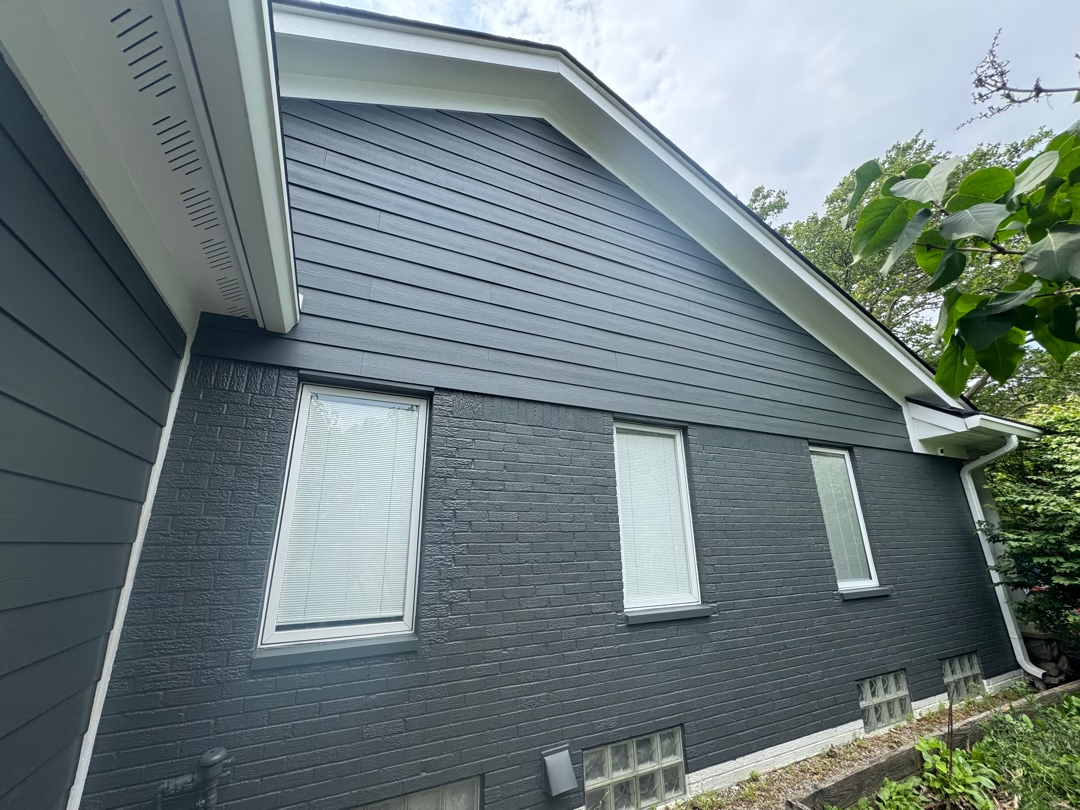
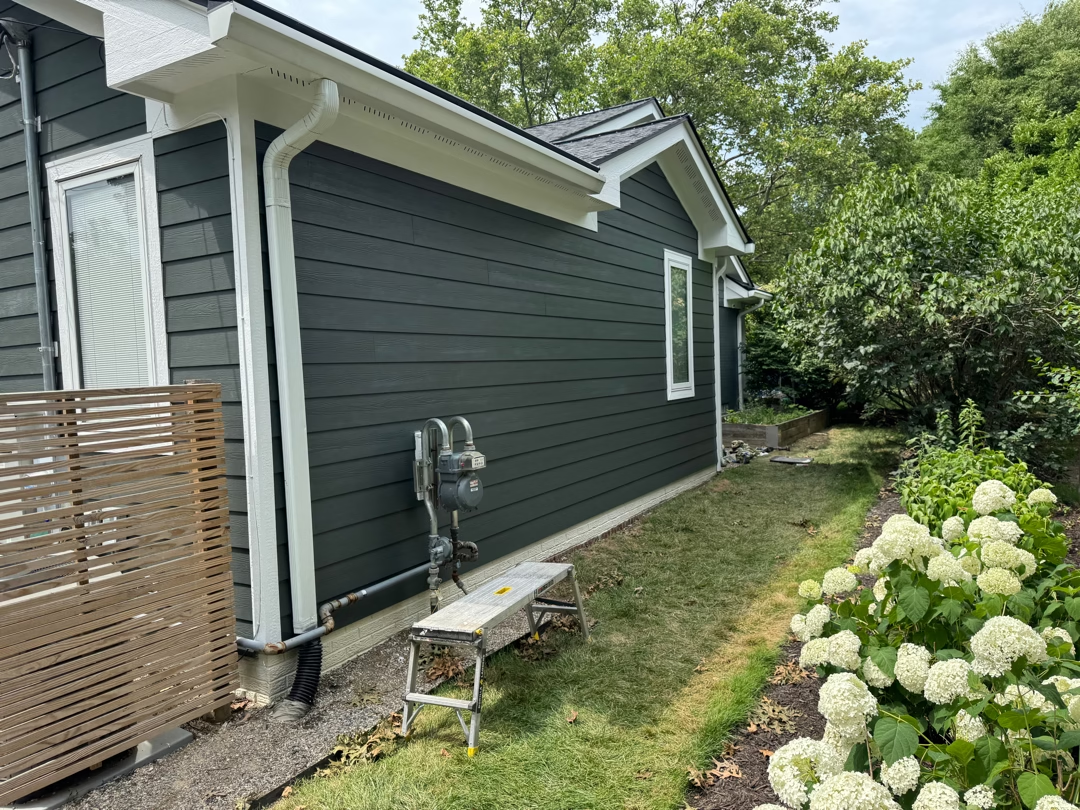
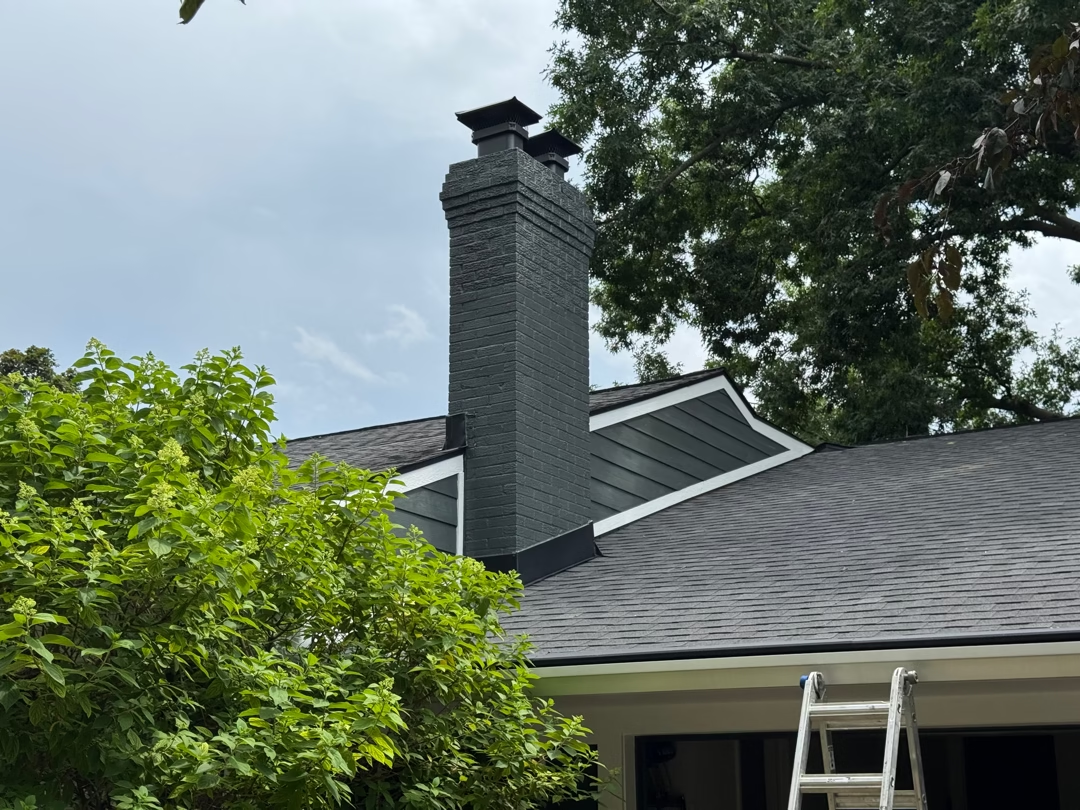
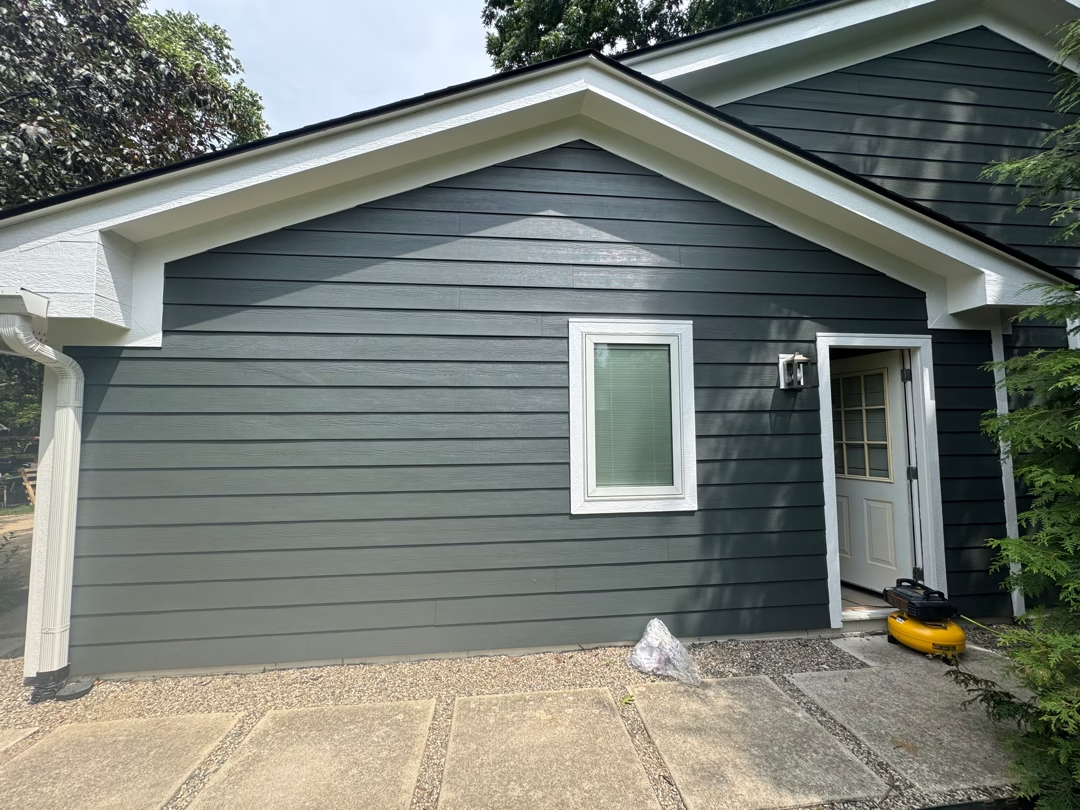
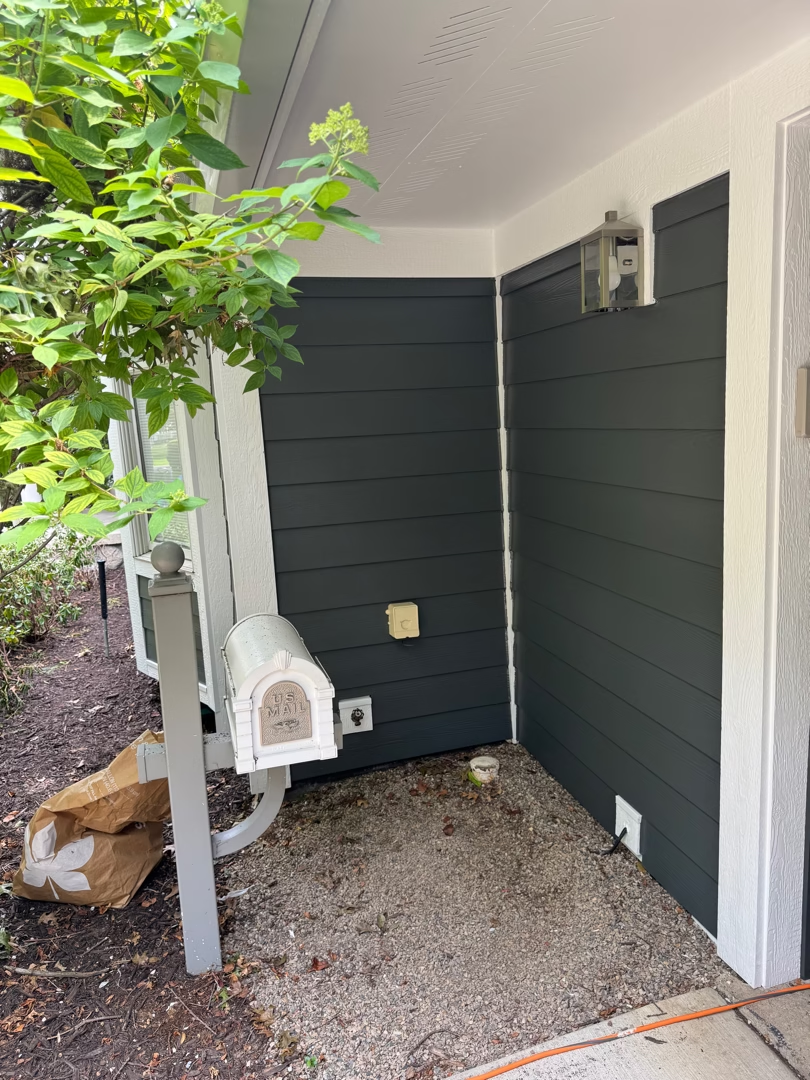
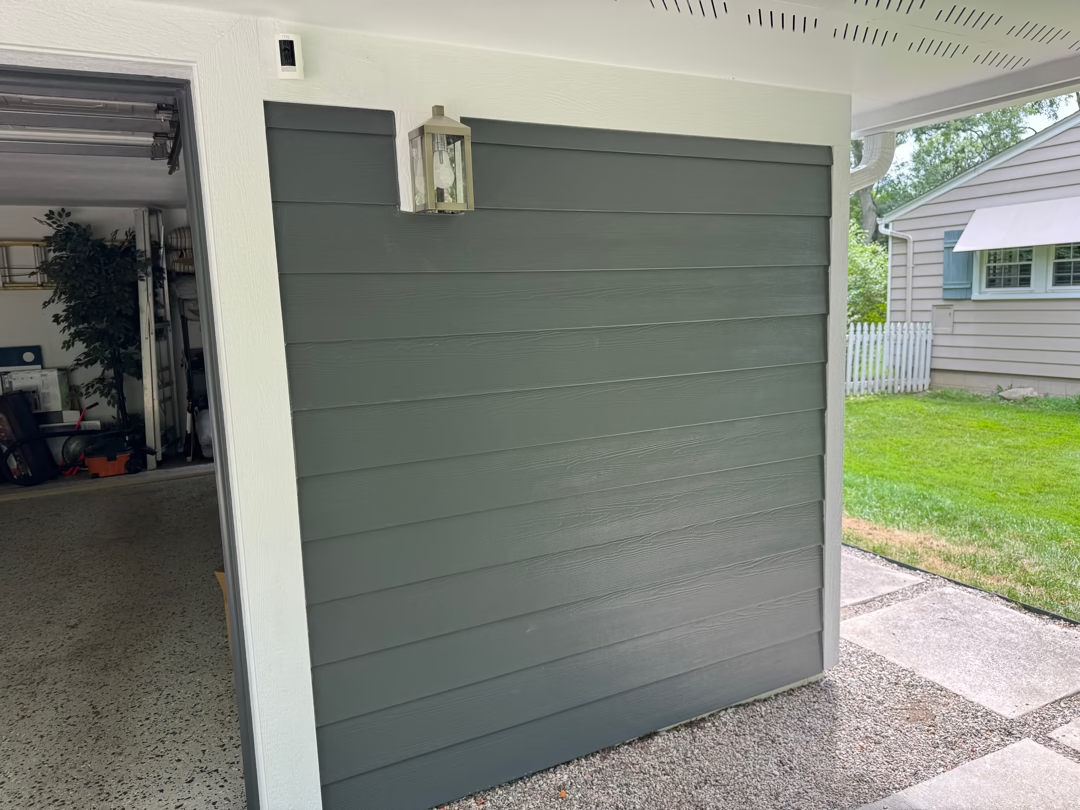
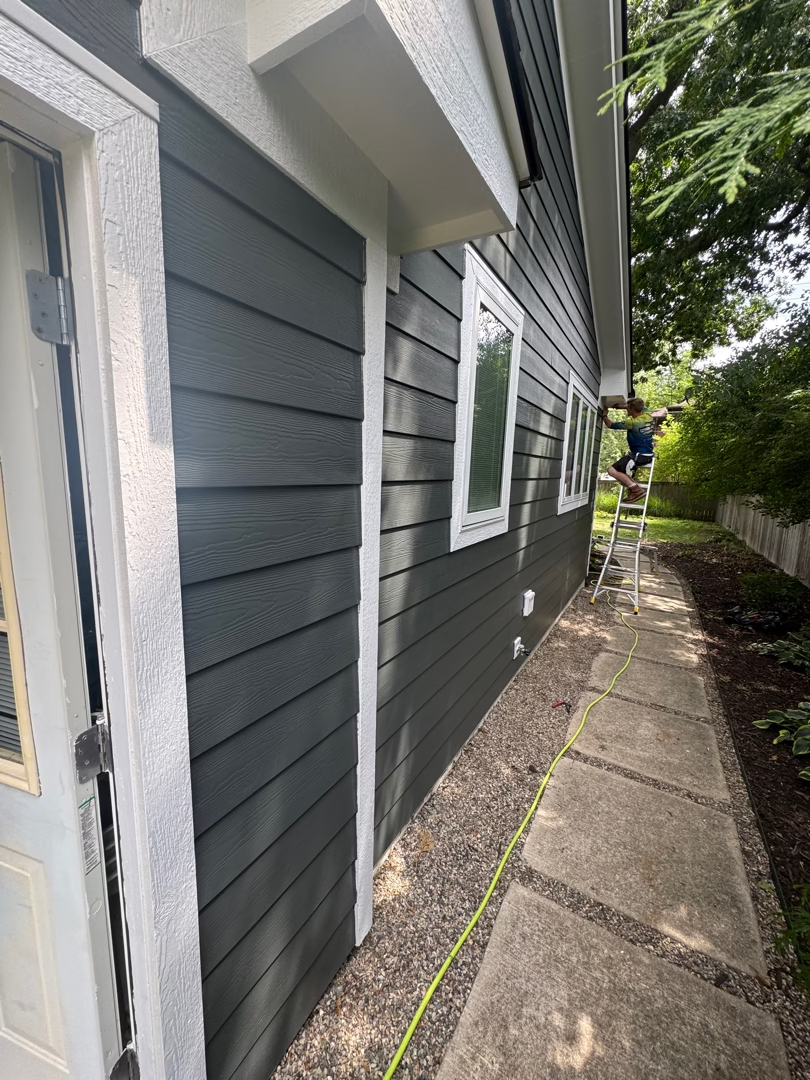
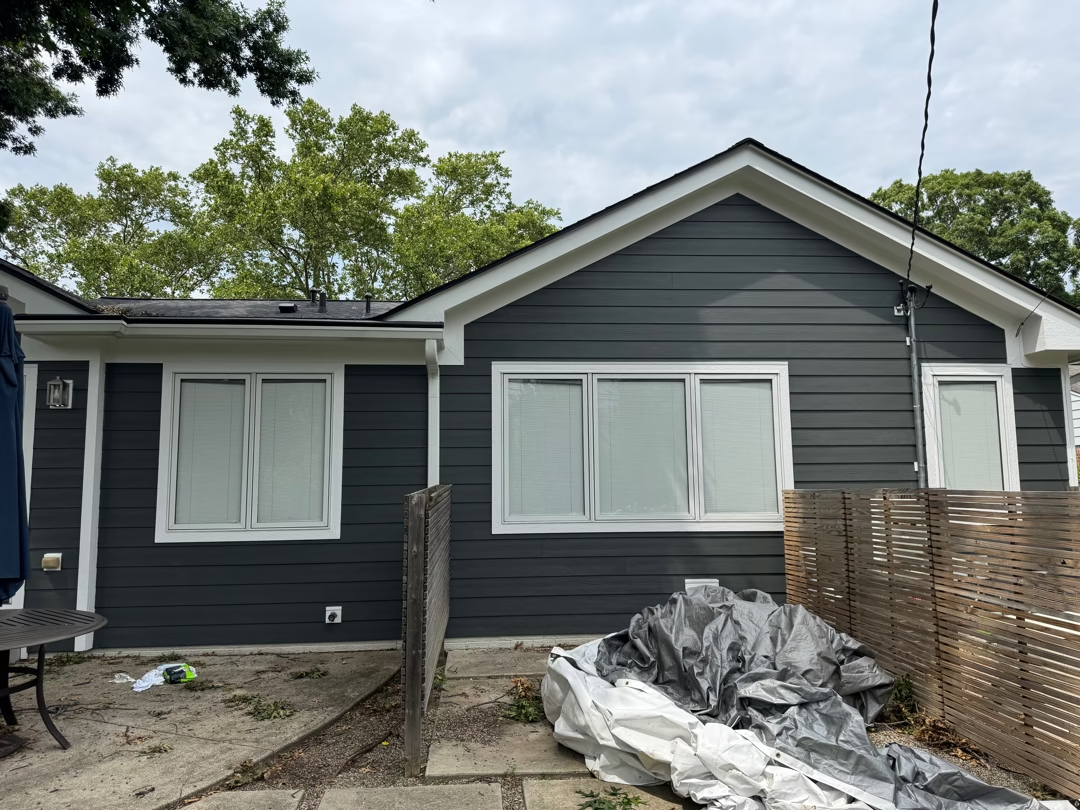
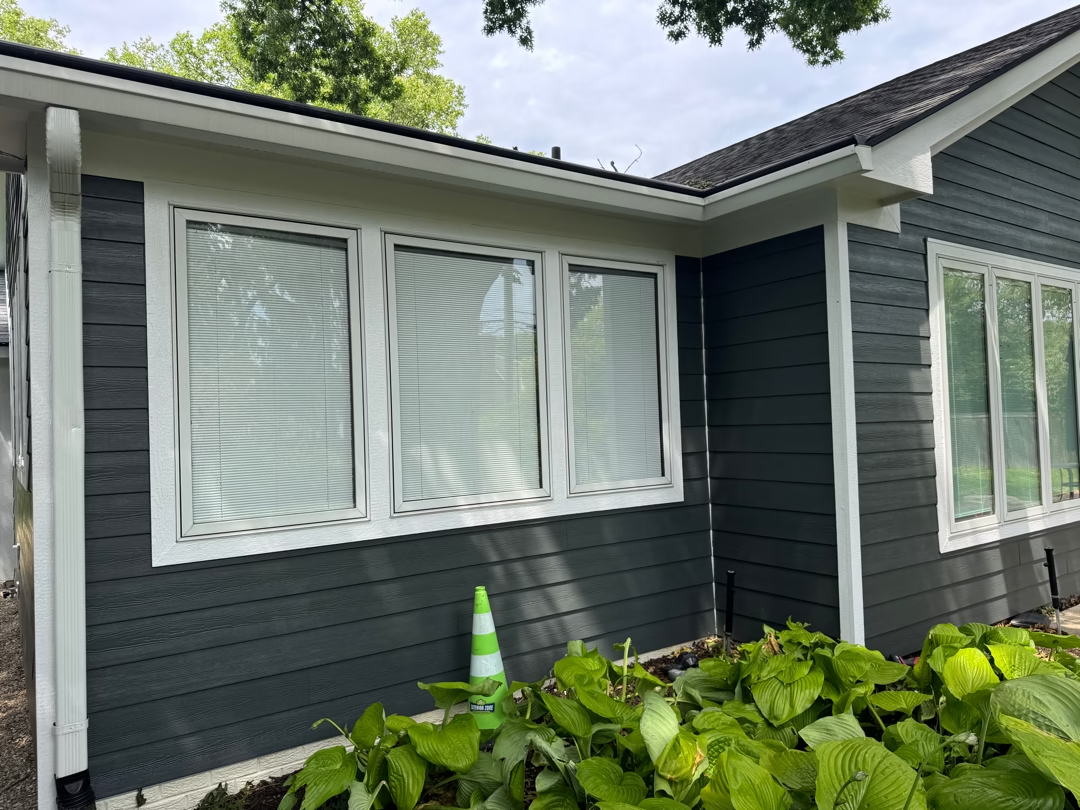
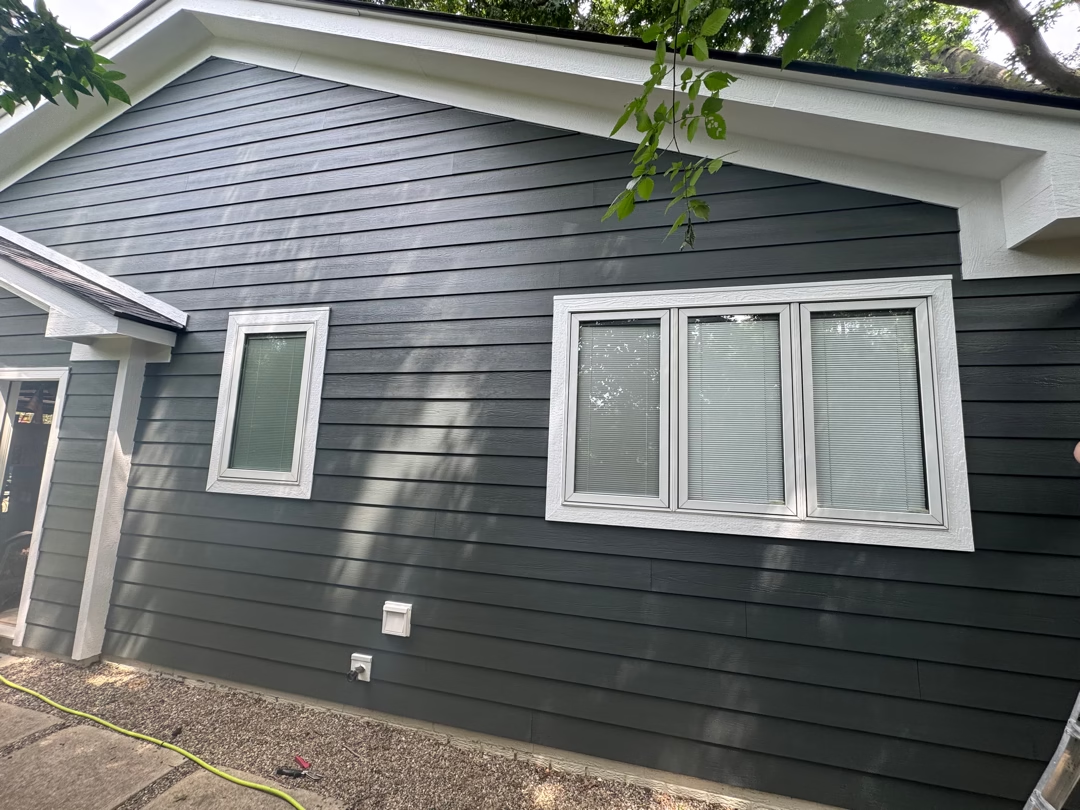
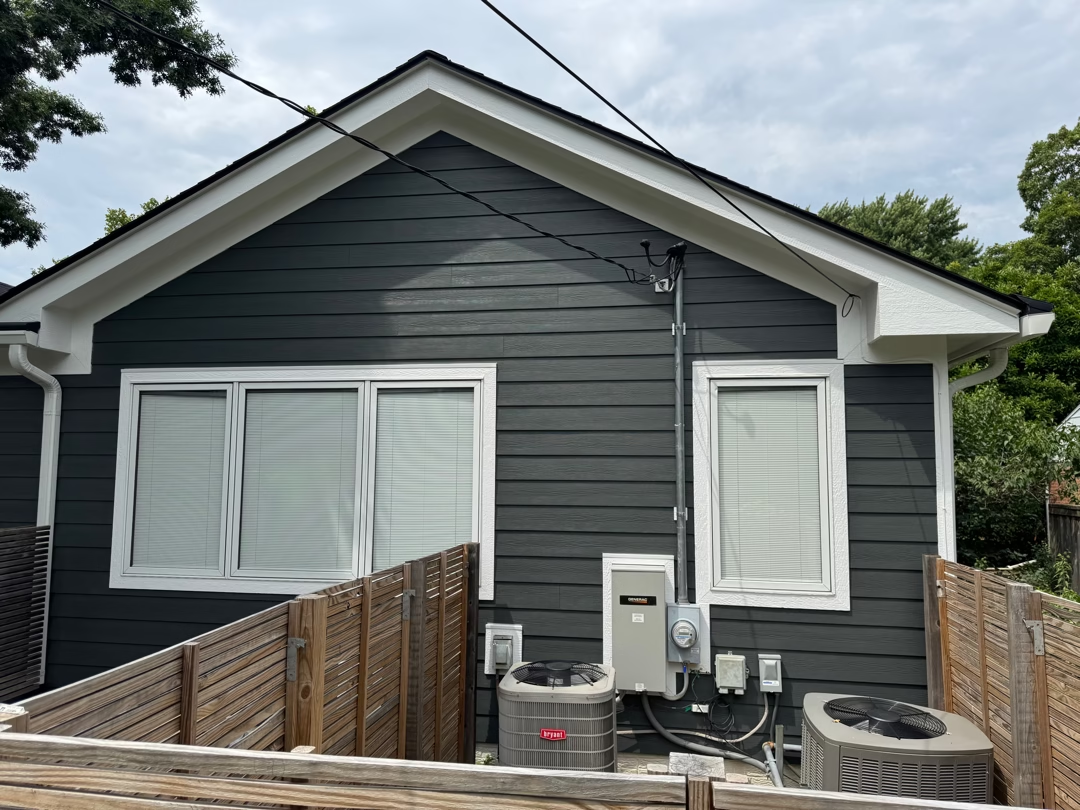
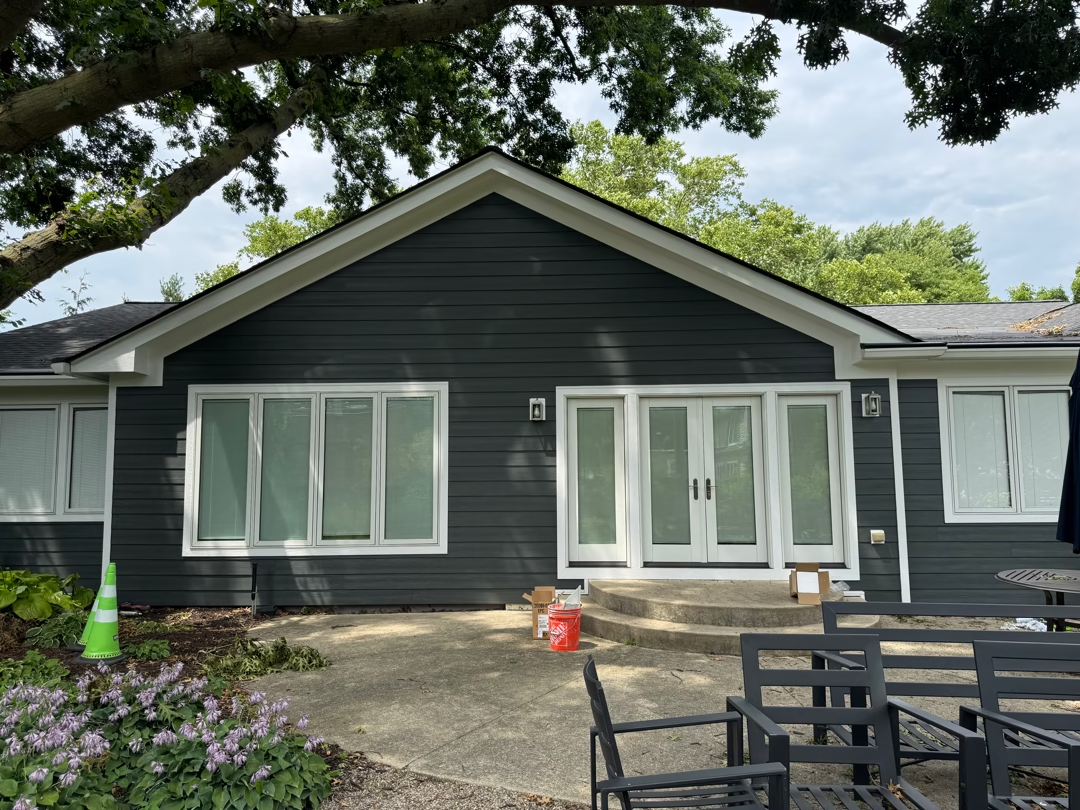
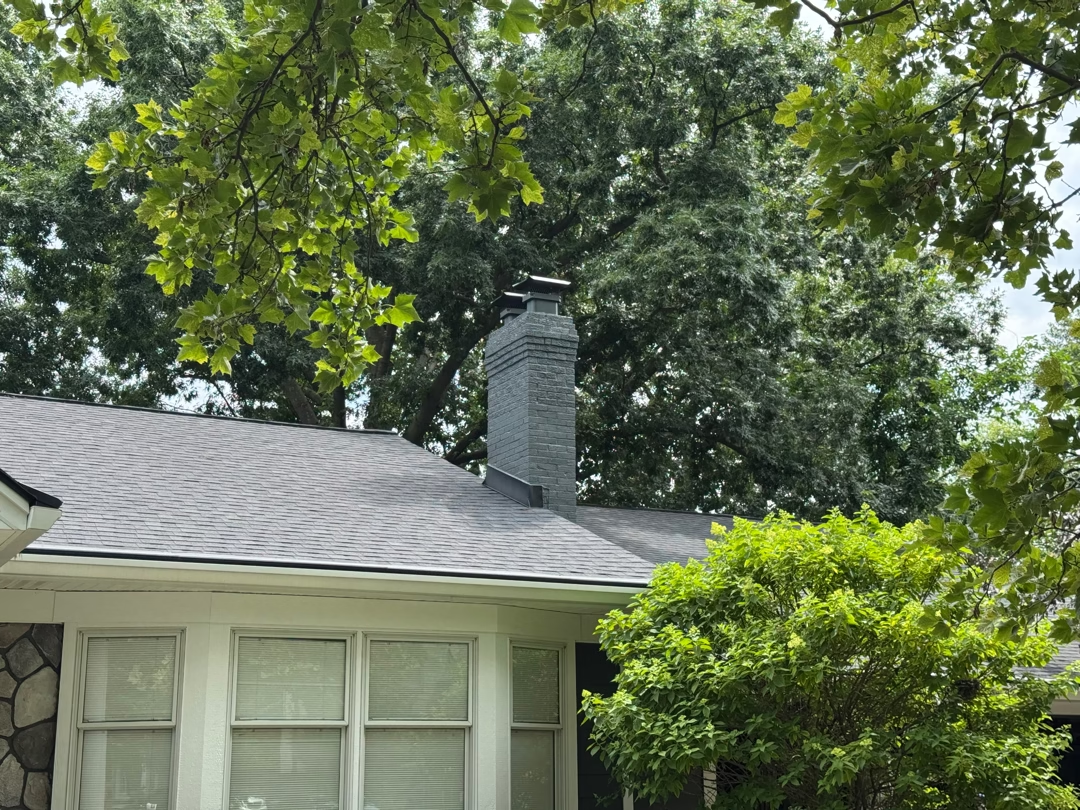
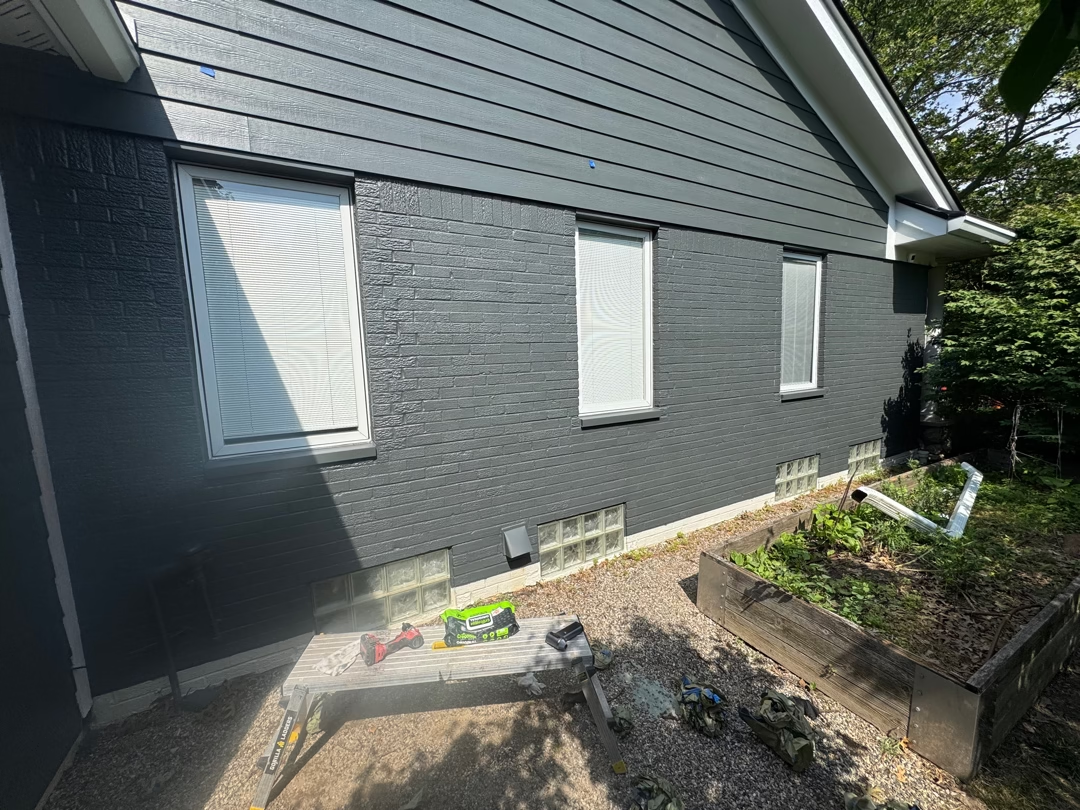
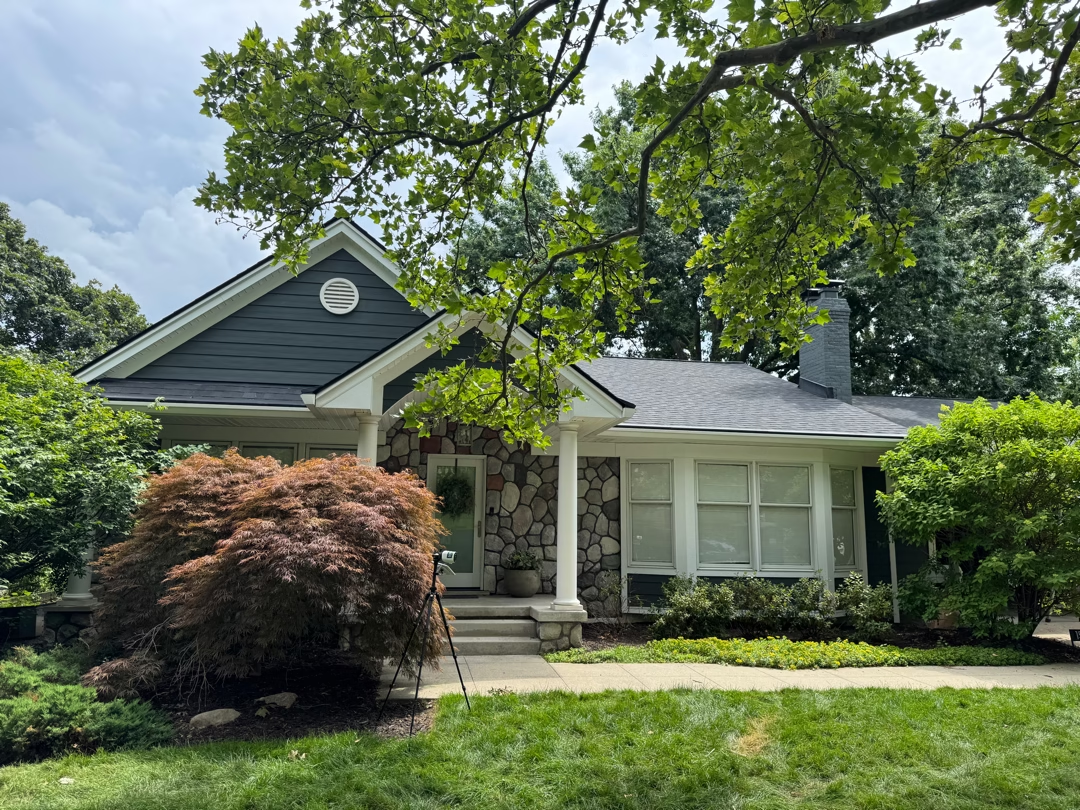
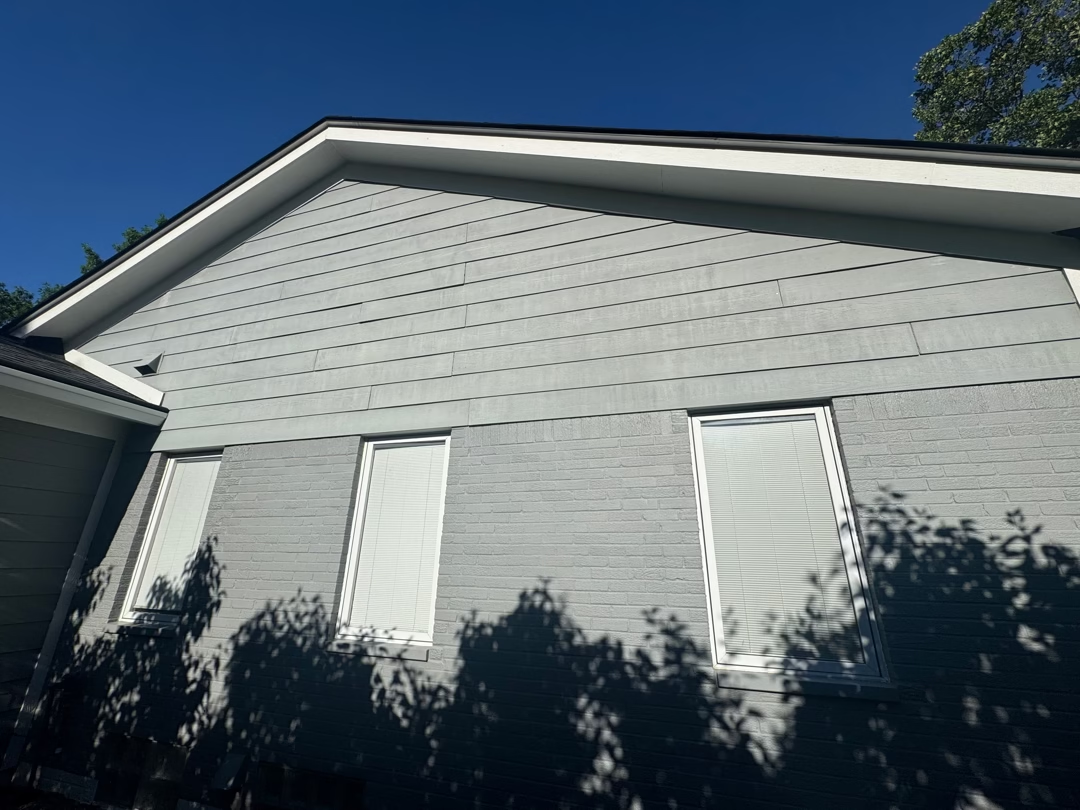
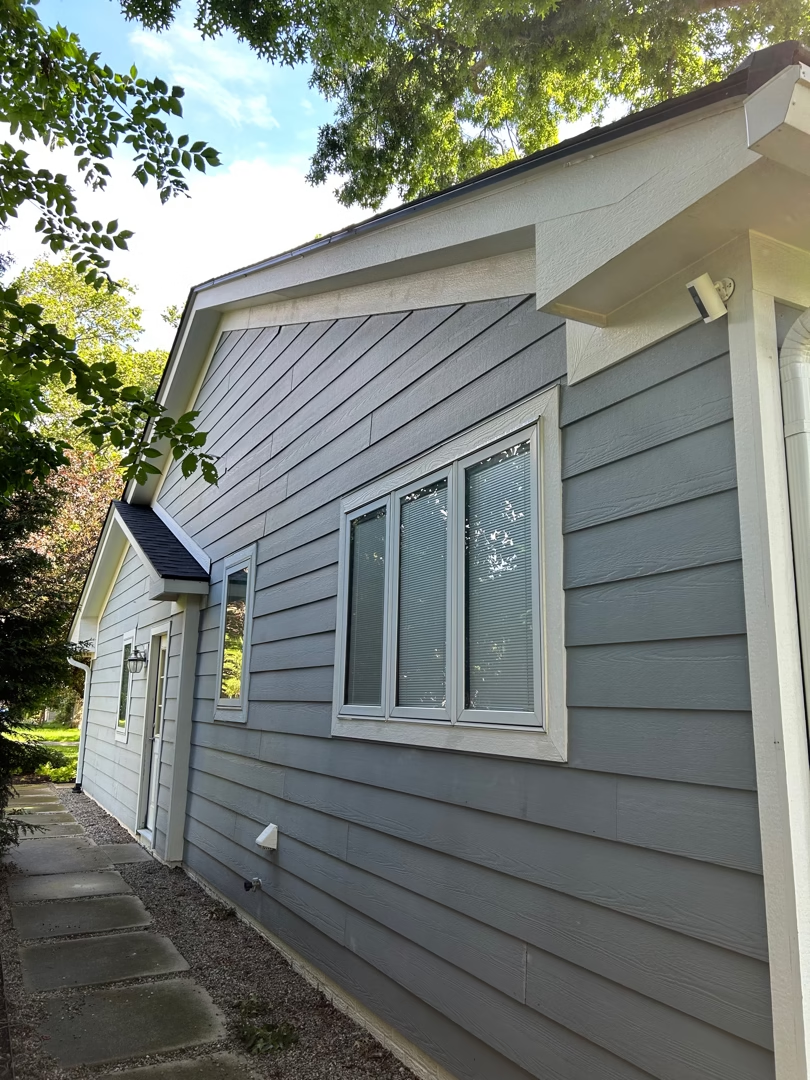
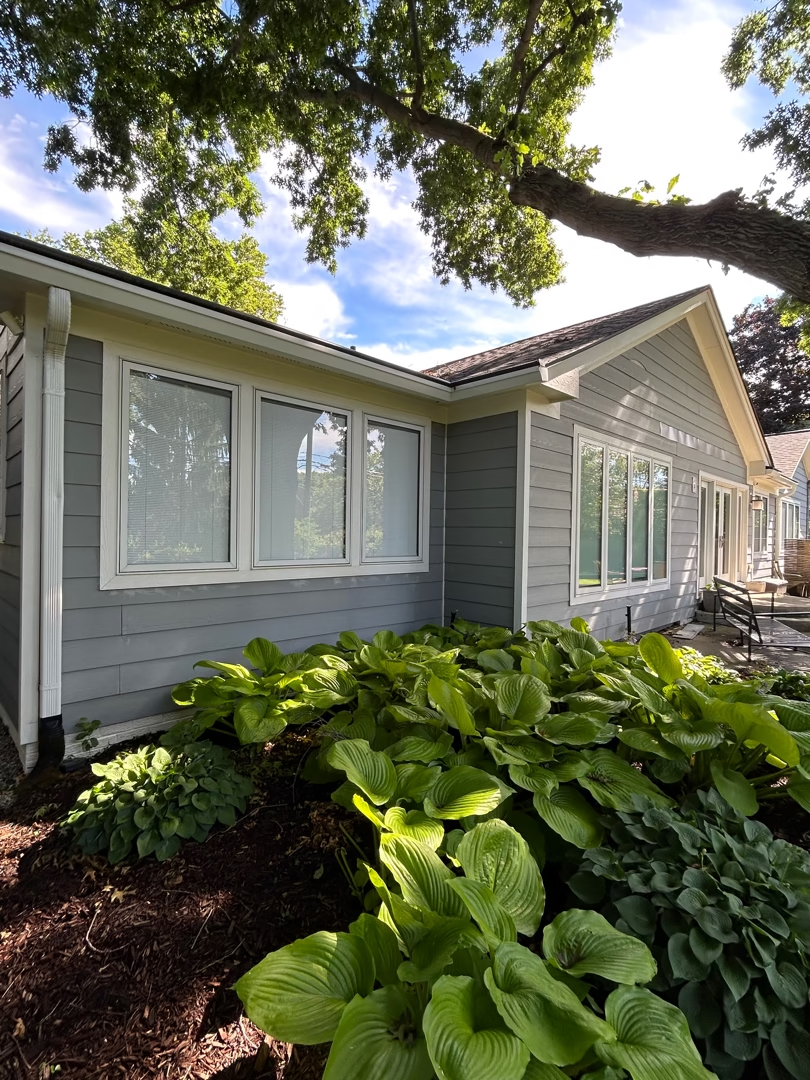
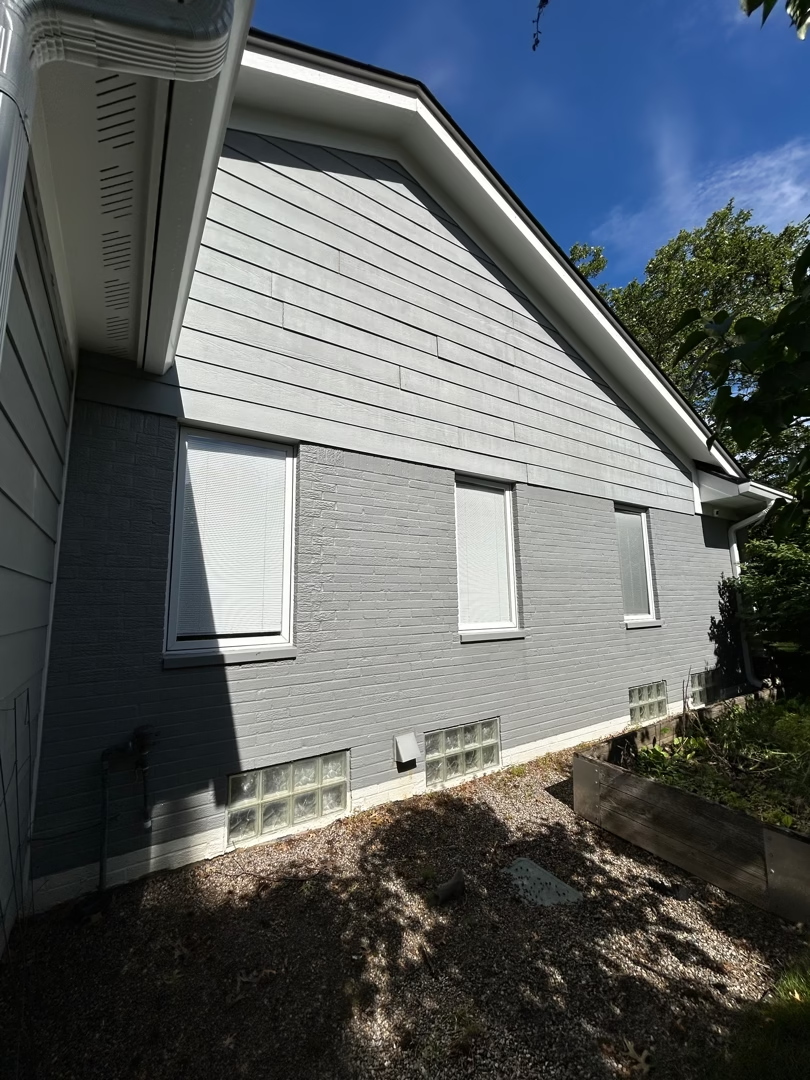
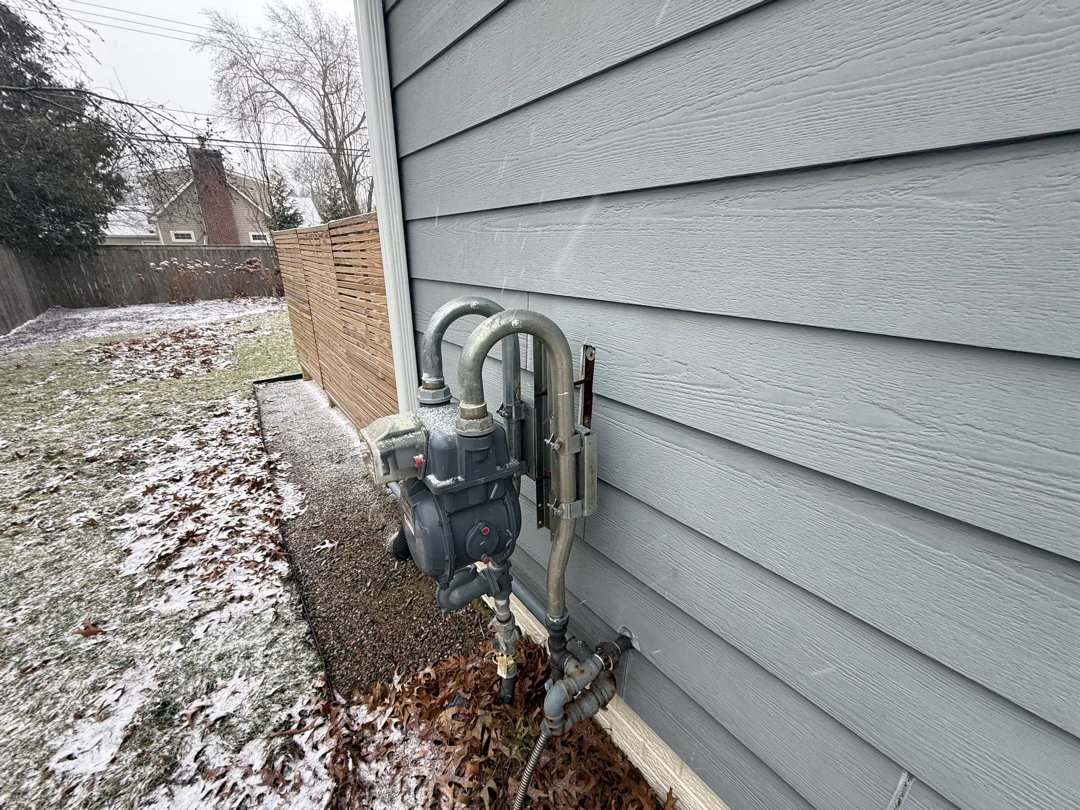
After Completion: Completed Iron Gray James Hardie lap siding with crisp white trim, coordinated painted brick and chimney, refinished garage door, repaired soffit and fascia, and fully reinstalled exterior fixtures and drainage components.